DIY ACRYLIC CARD PRESS: Deck Care and Repair
First off, since this kind of DIY project involves tools, I STRONGLY recommend that any minors ask for adult supervision and help if they want to tackle this project.
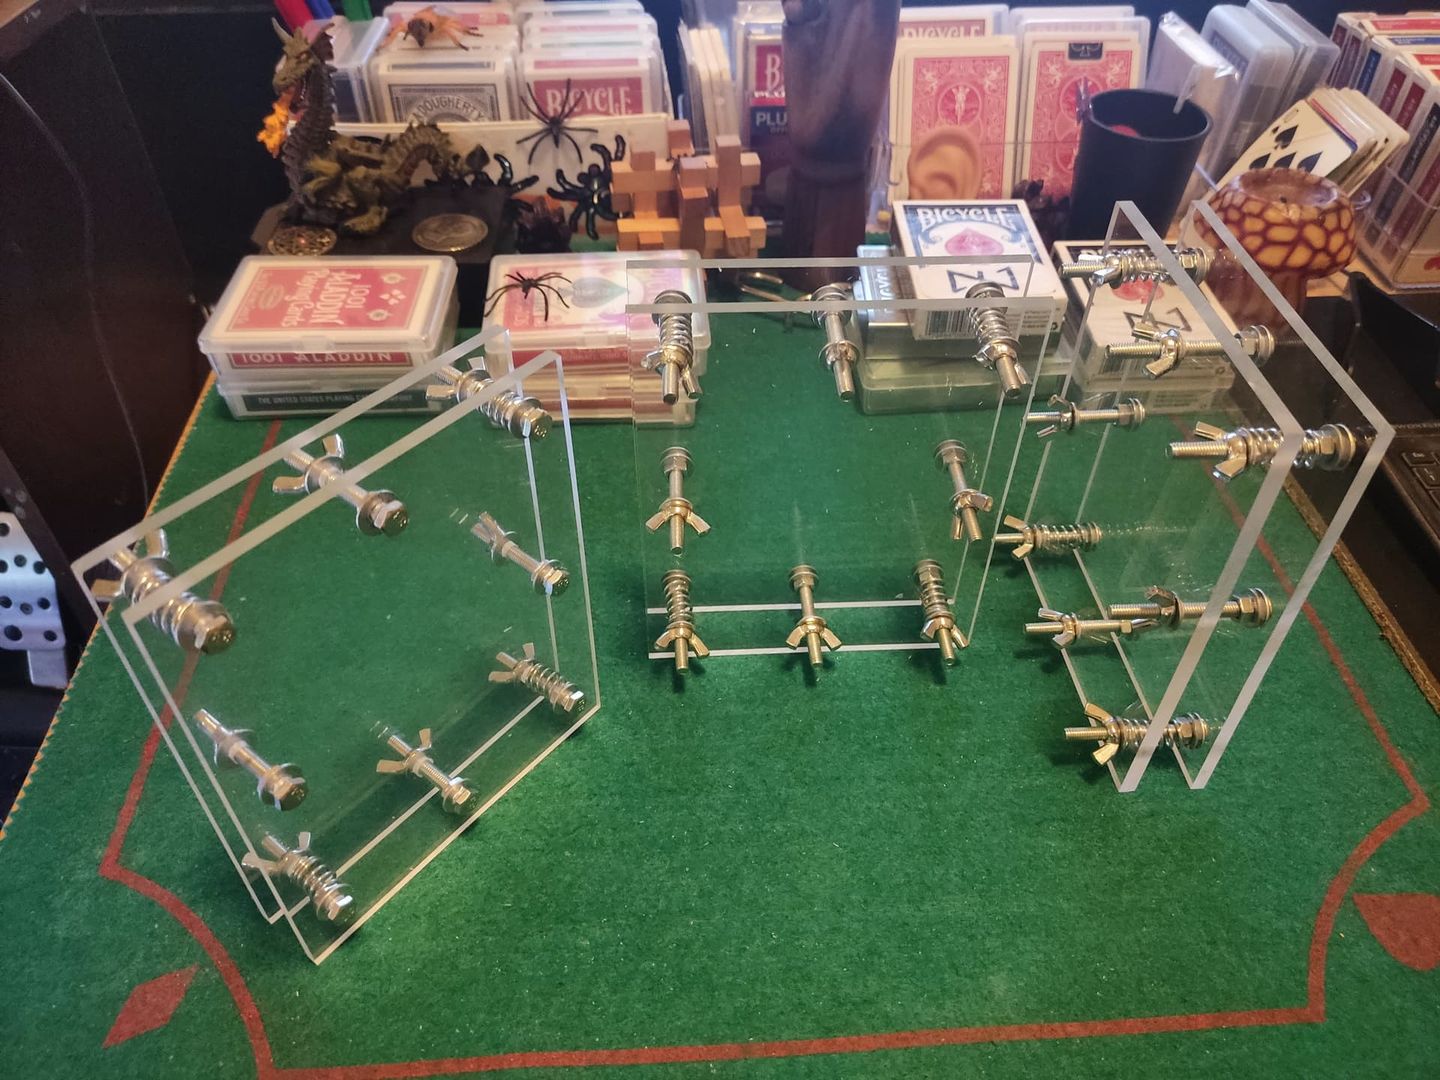
A quick recap:
This was one of many projects I'd been meaning to get around to.
The other day, one of my magician friends brought me a few old decks to try some zinc stearate on them, and honestly, the decks came back to life in an incredible way; even a lot of the grime on the edges came right off.
At that moment, my friend commented... "Man, all these cards need is a press, and they'd practically be new again..."
As soon as he left my place, my brain started hearing the tick-tock of DO IT NOW!.
😁
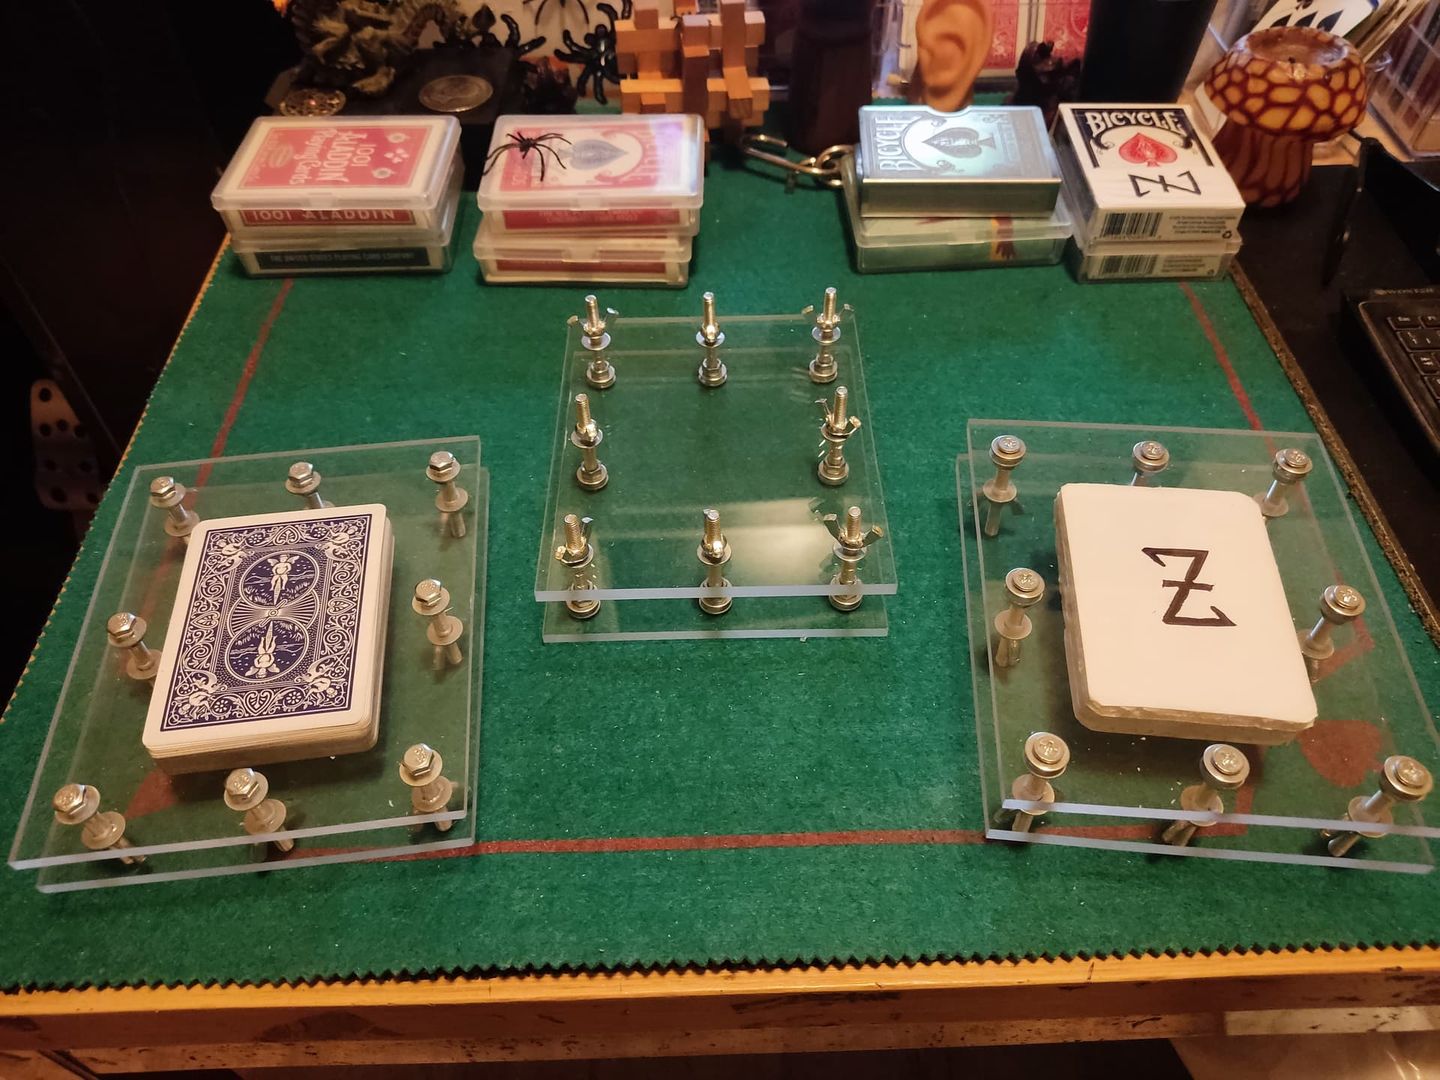
Materials needed:
Acrylic sheets;
Dimensions: Width: 120mm x Length: 150mm x Thickness: 5 mm
Price (including shipping): €24.07 / 10 = €2.407 per sheet.
In my case, I bought 10 sheets, since the shipping cost was the same, and the more sheets I got, the cheaper they were.
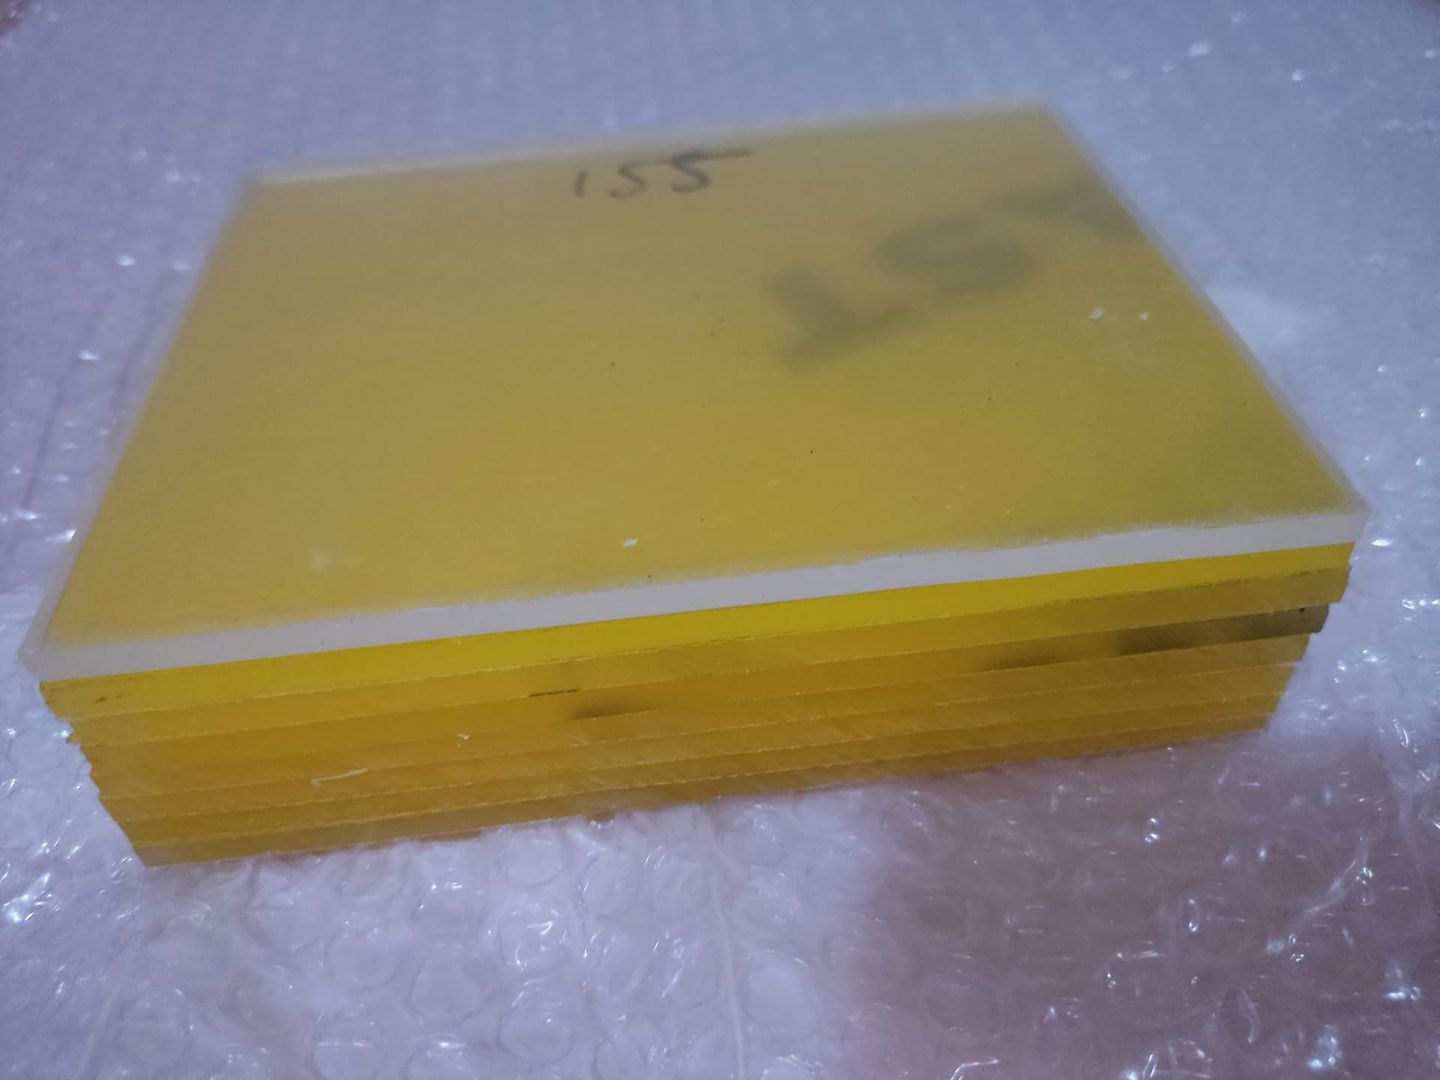
Cost for 2 sheets = €4.814, rounded up to €5
5mm bolts (€0.9), 5mm wing nuts (€0.85), springs (€0.8), and washers (€0.40) – around €2.95
Total material cost (€5 + €2.95) around €7.95 + labor.
Tools needed:
Cordless drill.
A wide-fluted, polished, and helically ground drill bit (a metal drill bit works perfectly)
Support board for drilling (a kitchen cutting board works perfectly)
Clamps to secure the sheets while drilling.
Needle-nose pliers (to tighten the nuts securely)
Assuming we have ALL the materials ready, the next steps are pretty straightforward.
First off, you'll want to create a template.
Something like this.
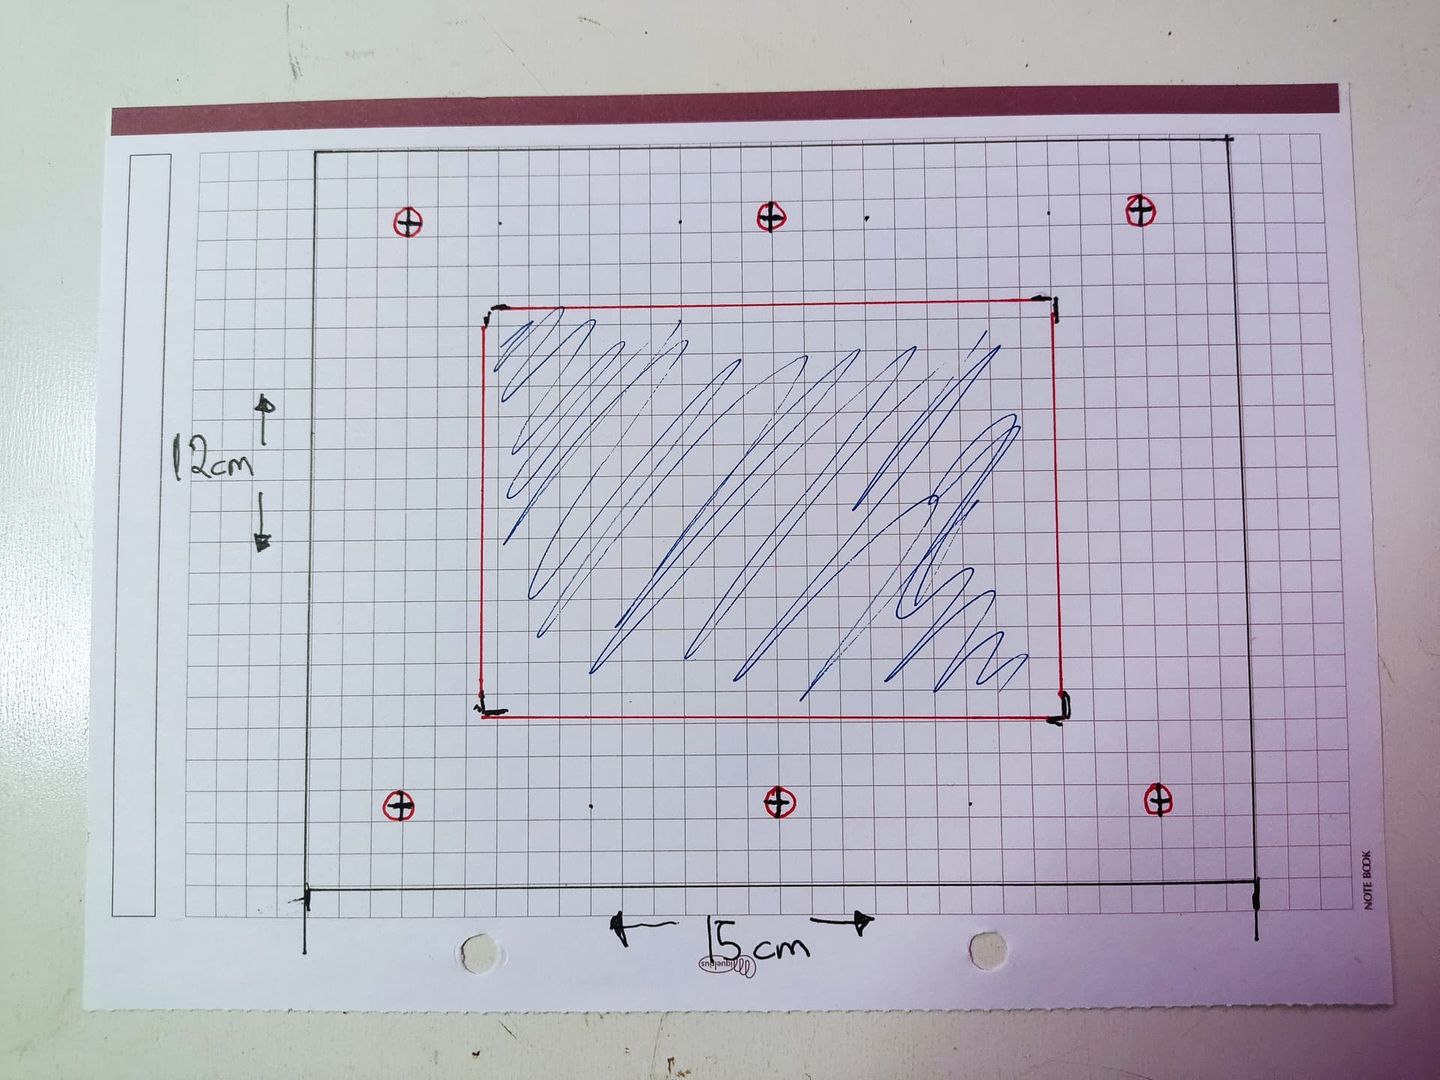
I'm assuming it goes without saying how to make a template, right? 😅
Just in case..., here's how you'd do it:
First, trace the outline of the acrylic sheet, then center a deck of cards within it and mark its perimeter. The holes will be drilled along the remaining outer edge.
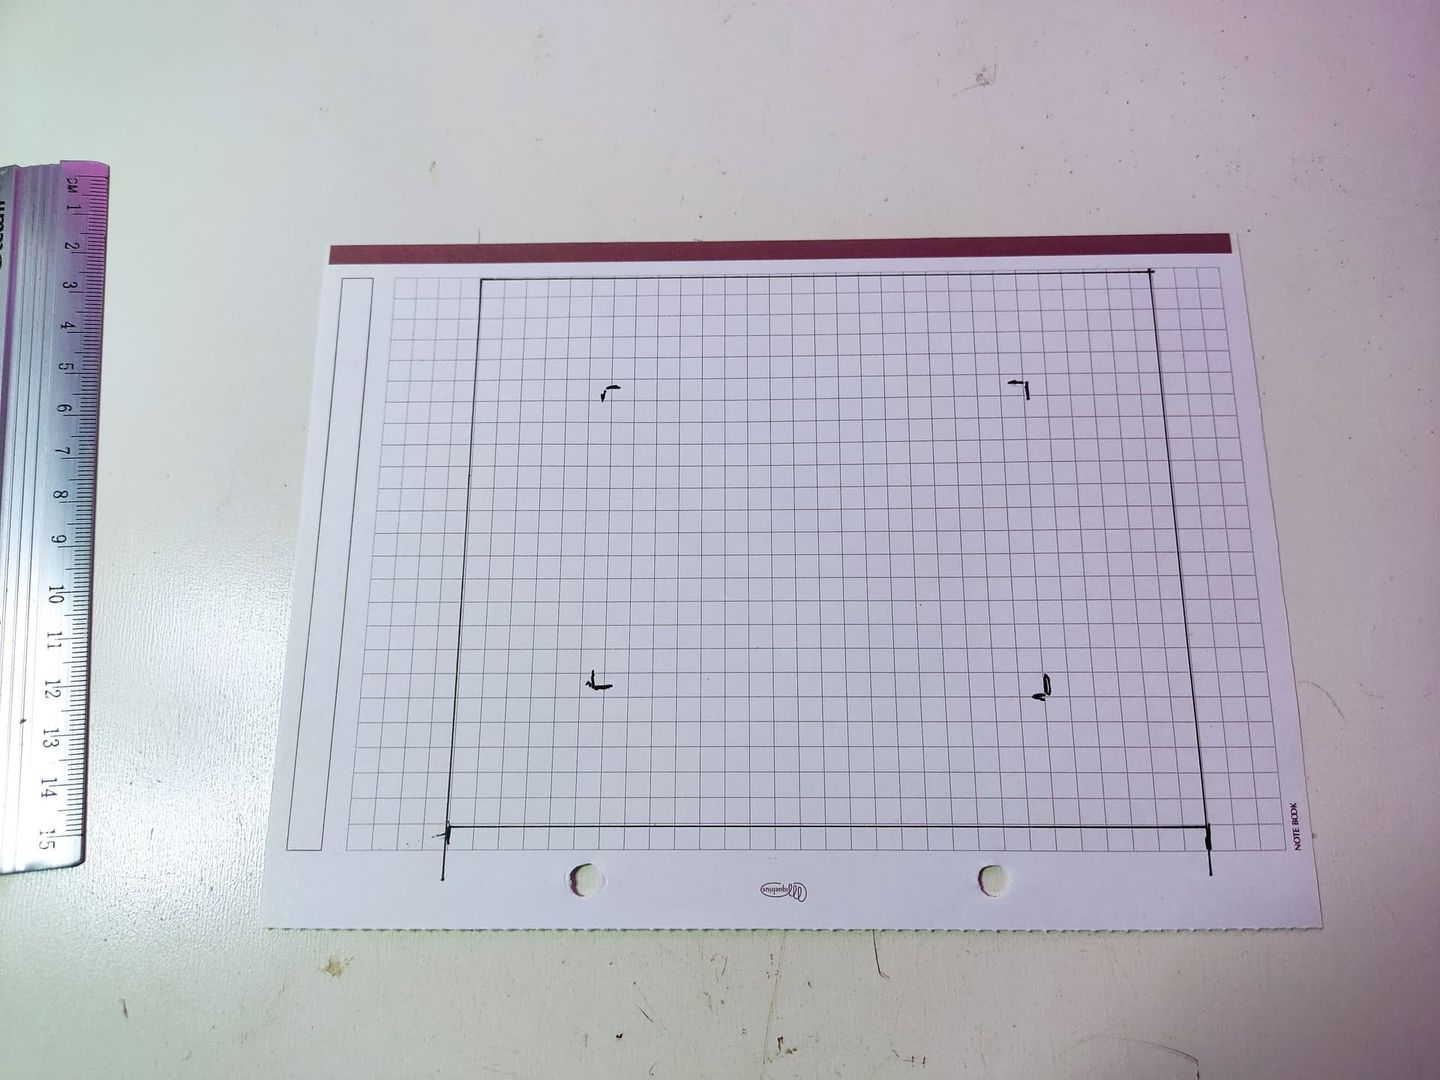
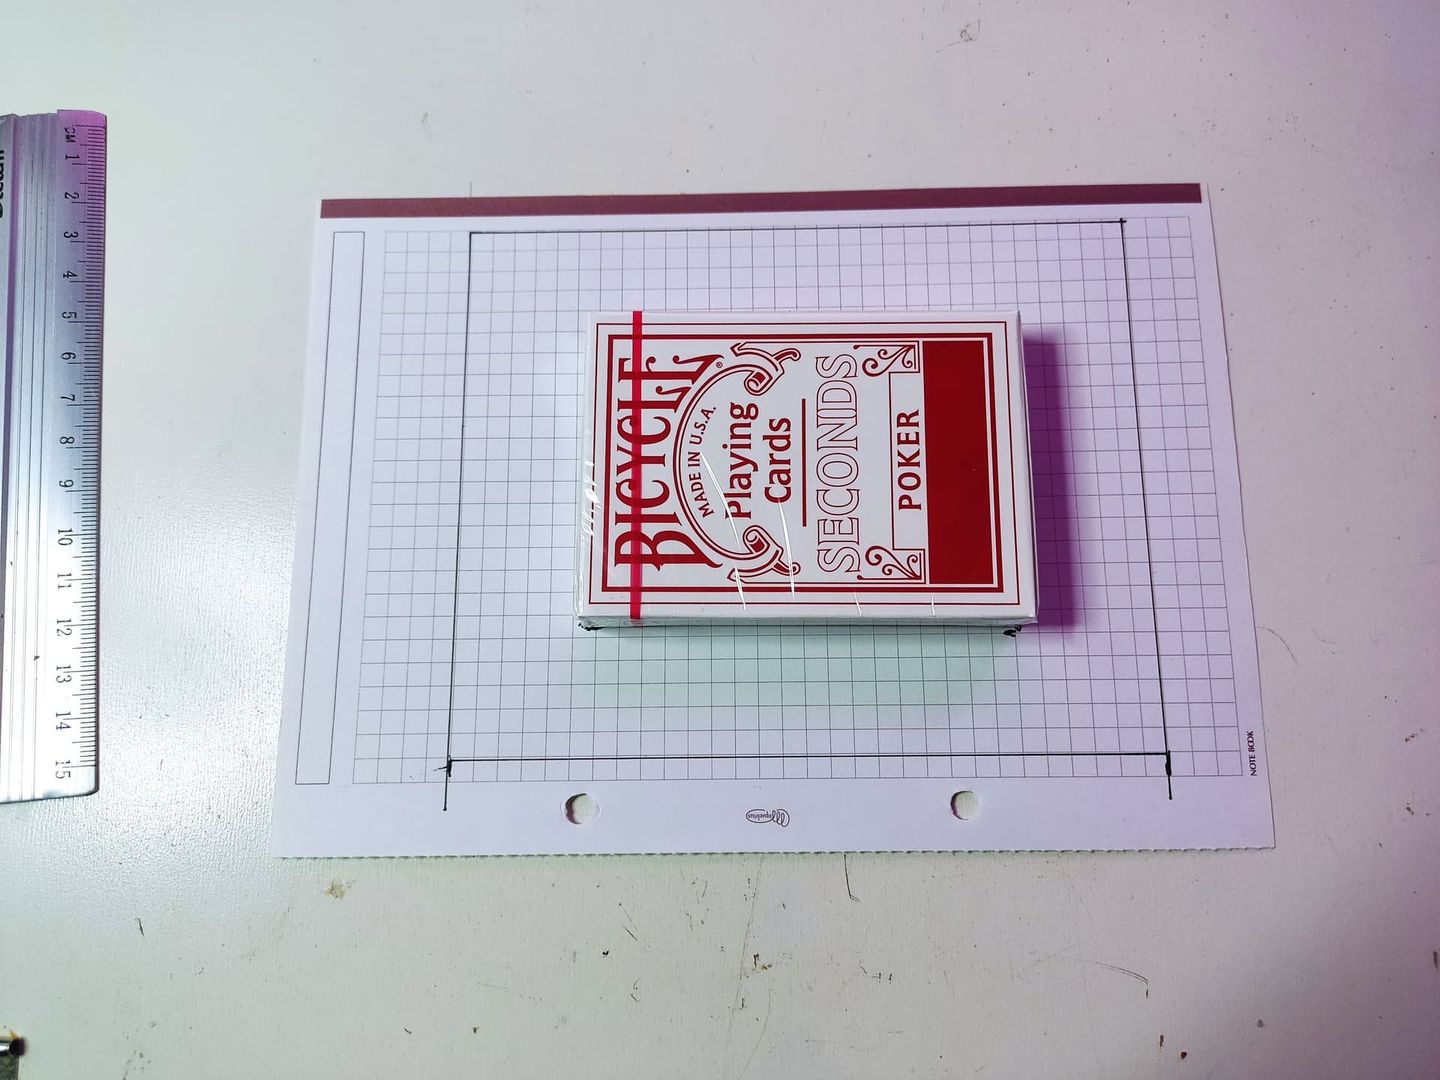
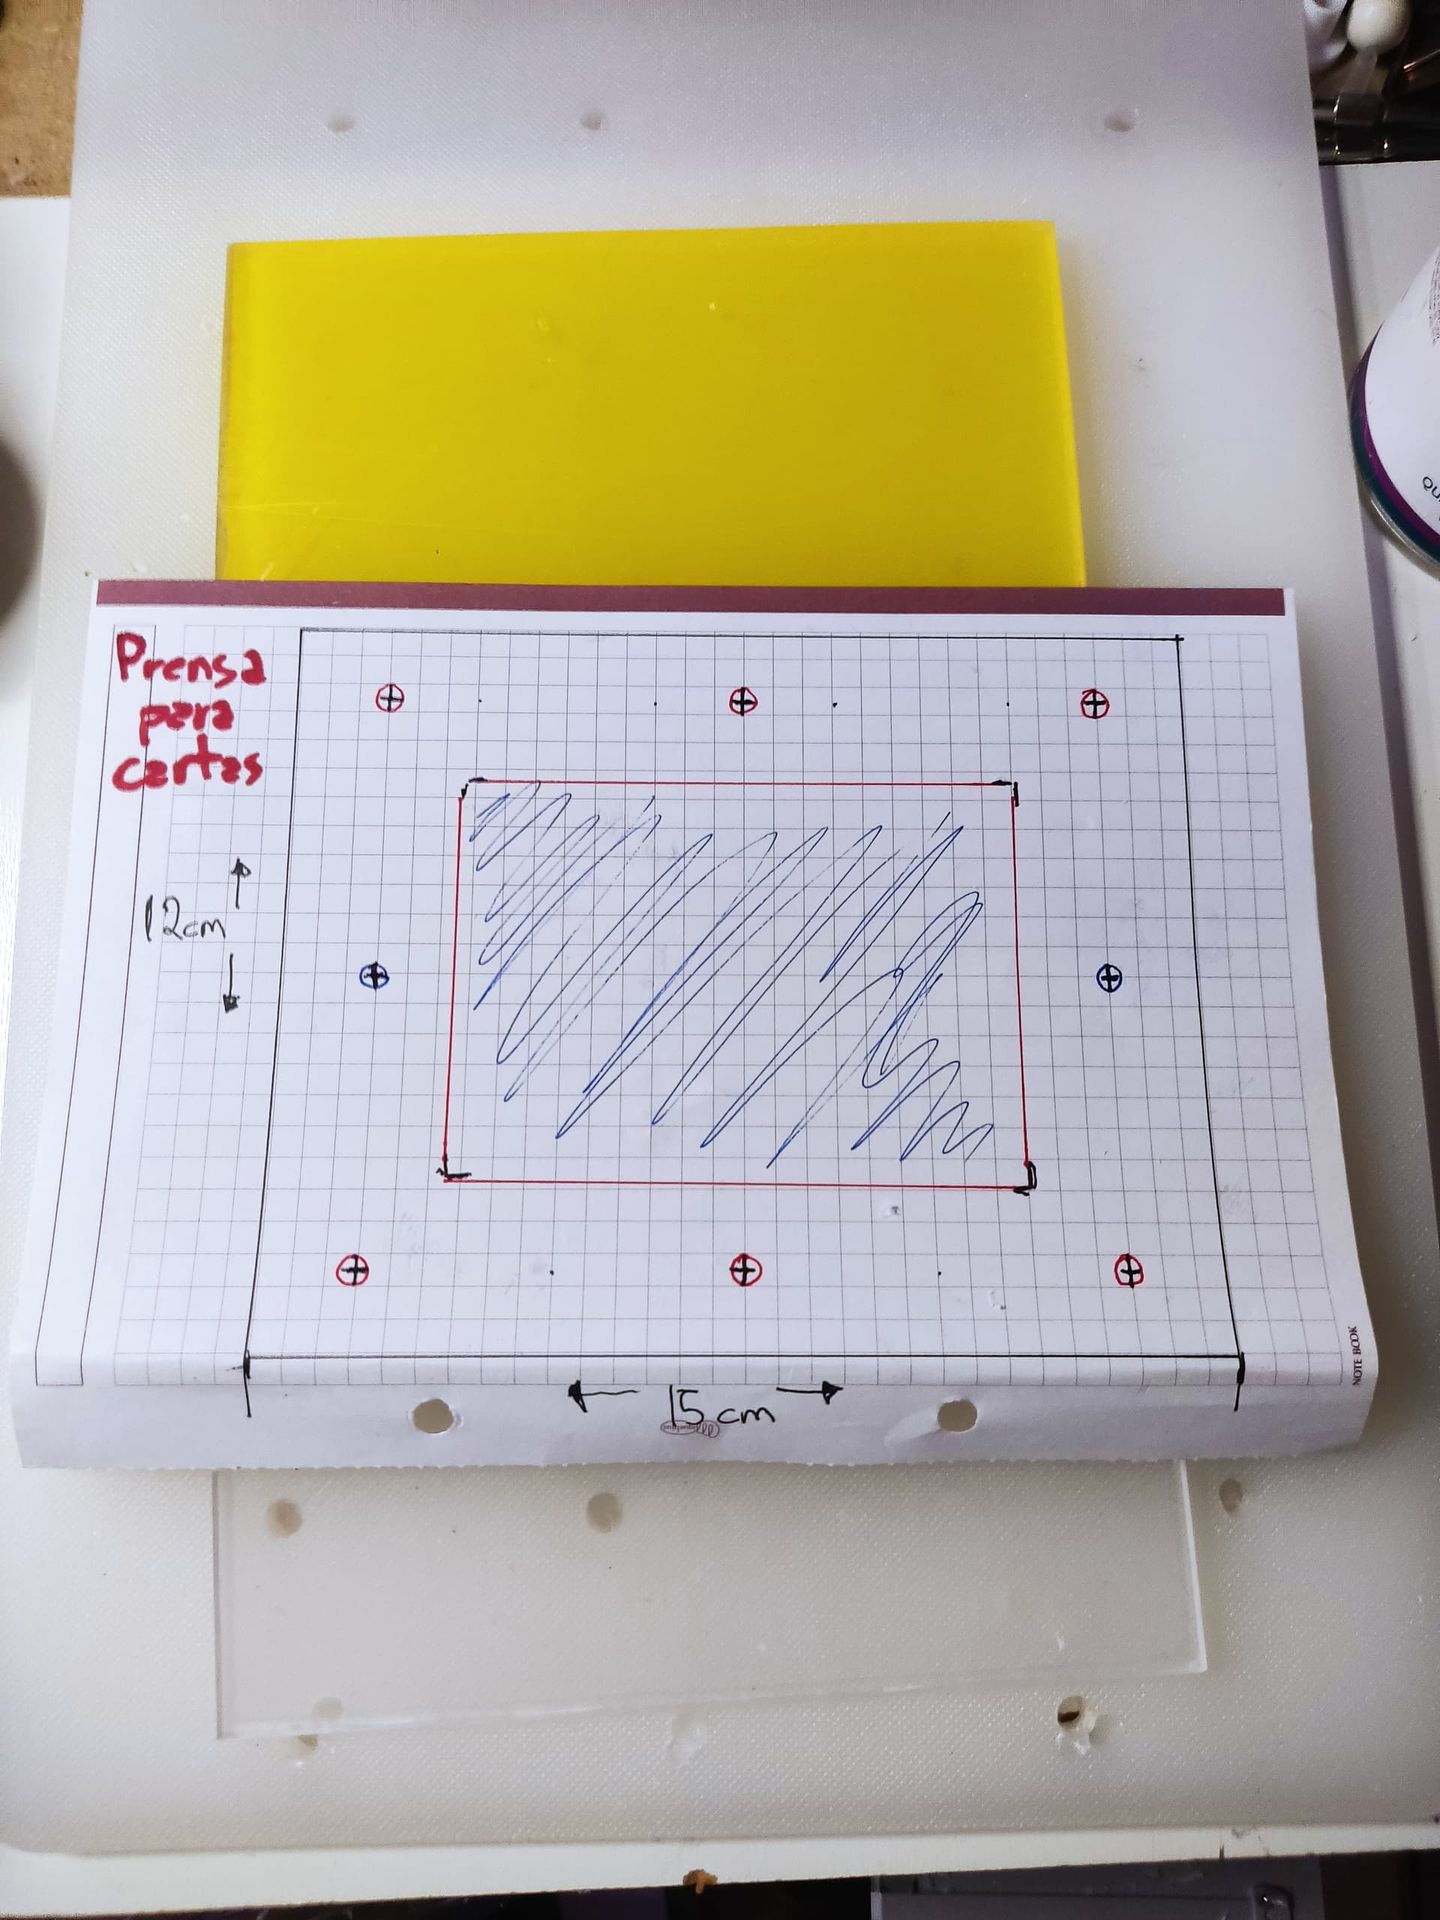
Next, secure the acrylic sheet onto the template, and both onto a support that can withstand the drill bit (meaning, don't drill directly on an unprotected table).
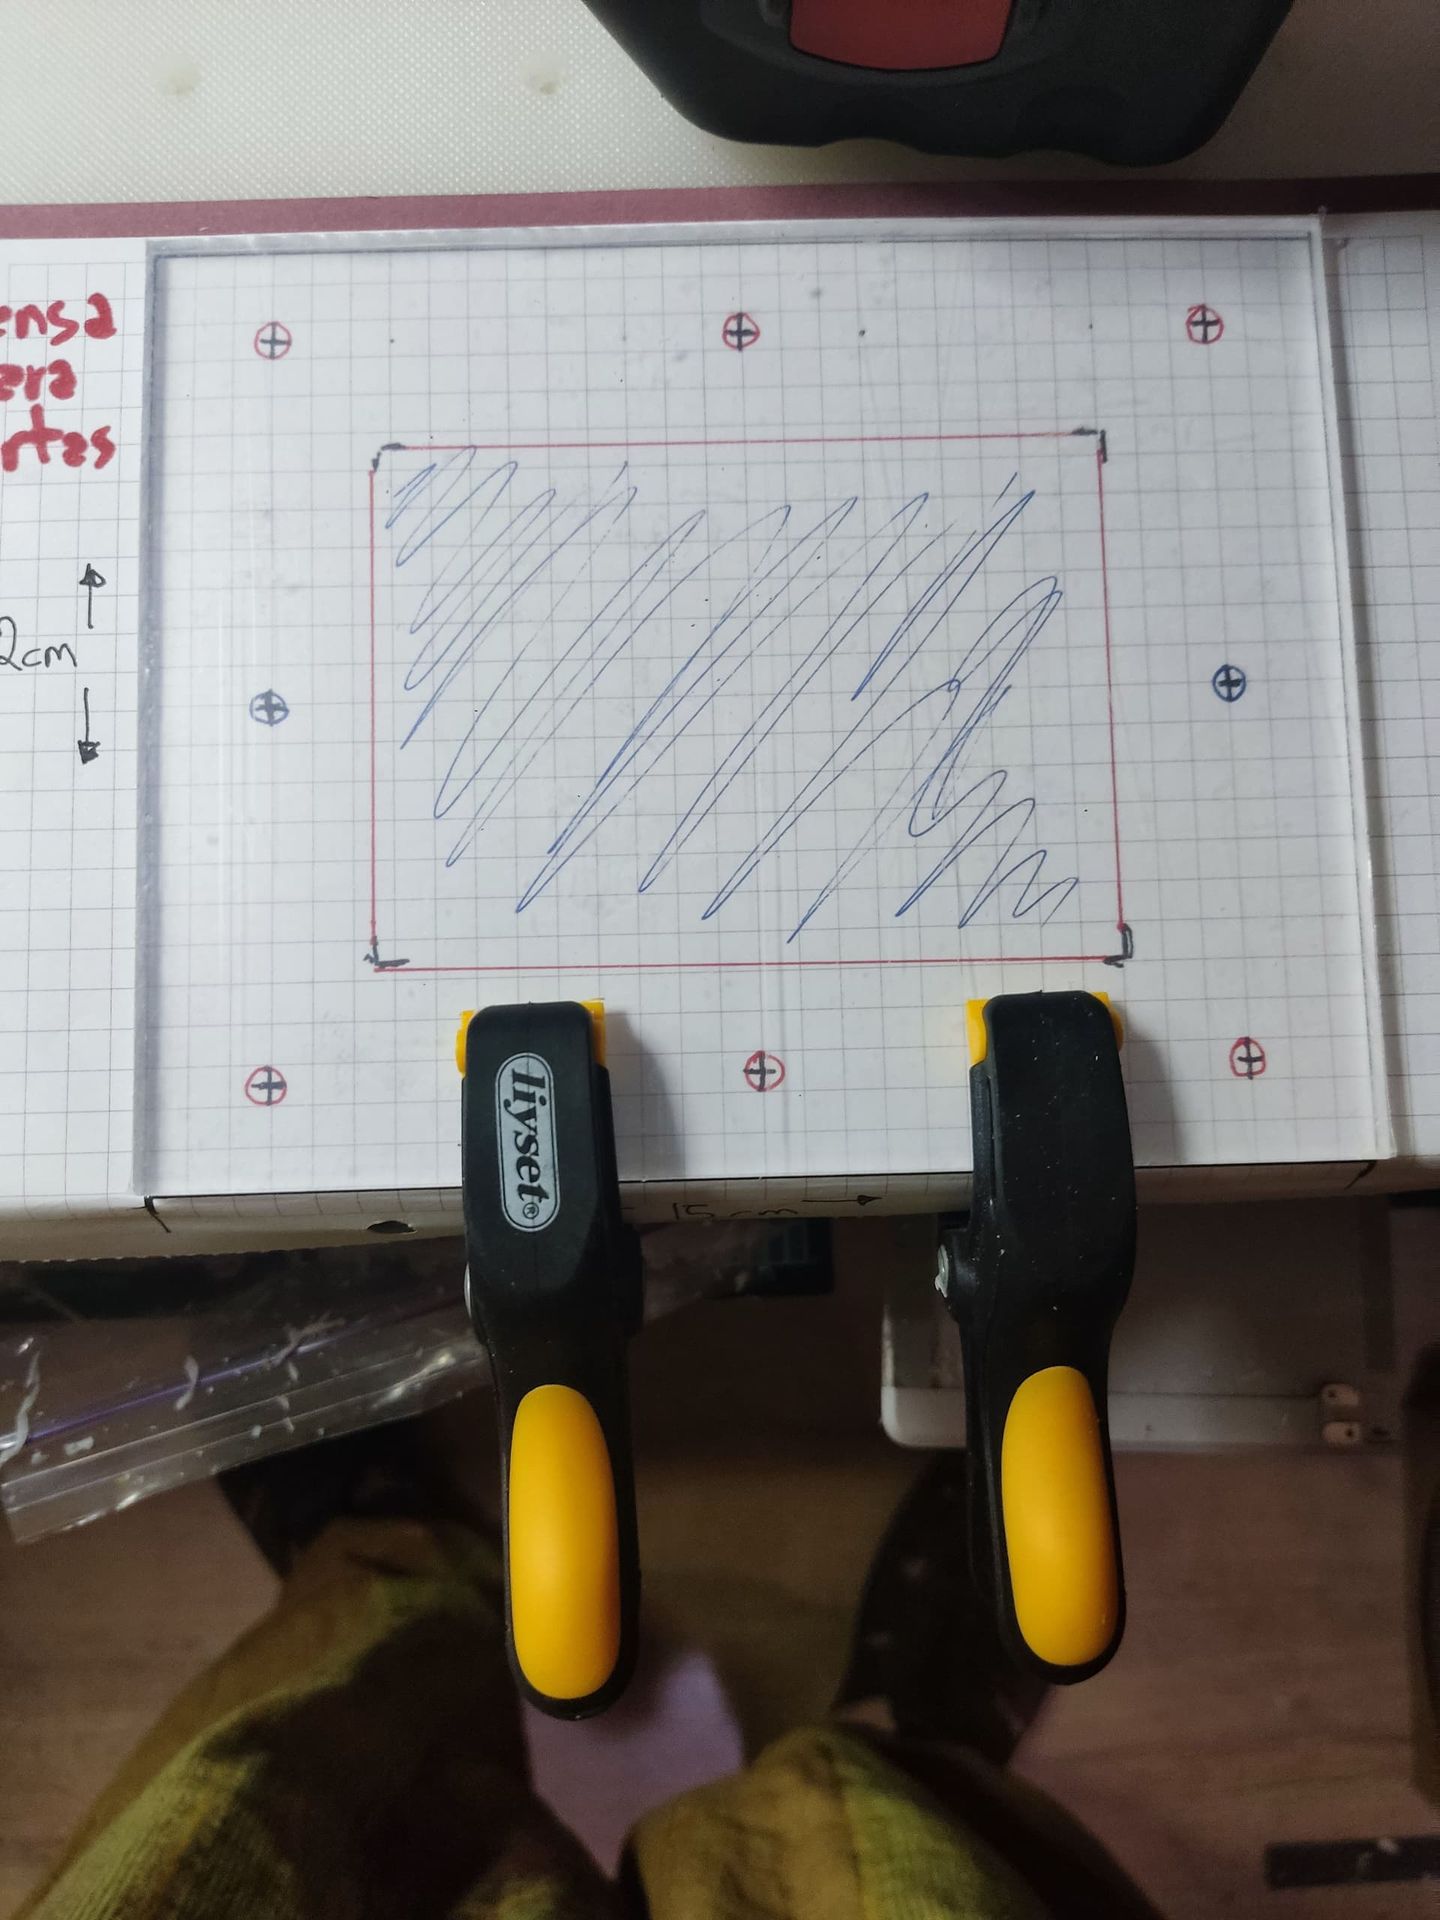
Everything should be securely clamped down (you need to prevent any movement of the sheet while drilling, both to avoid cracking the sheet and for safety).
From here on, we'll use the drill with the bit I mentioned and run it at the LOWEST speed.
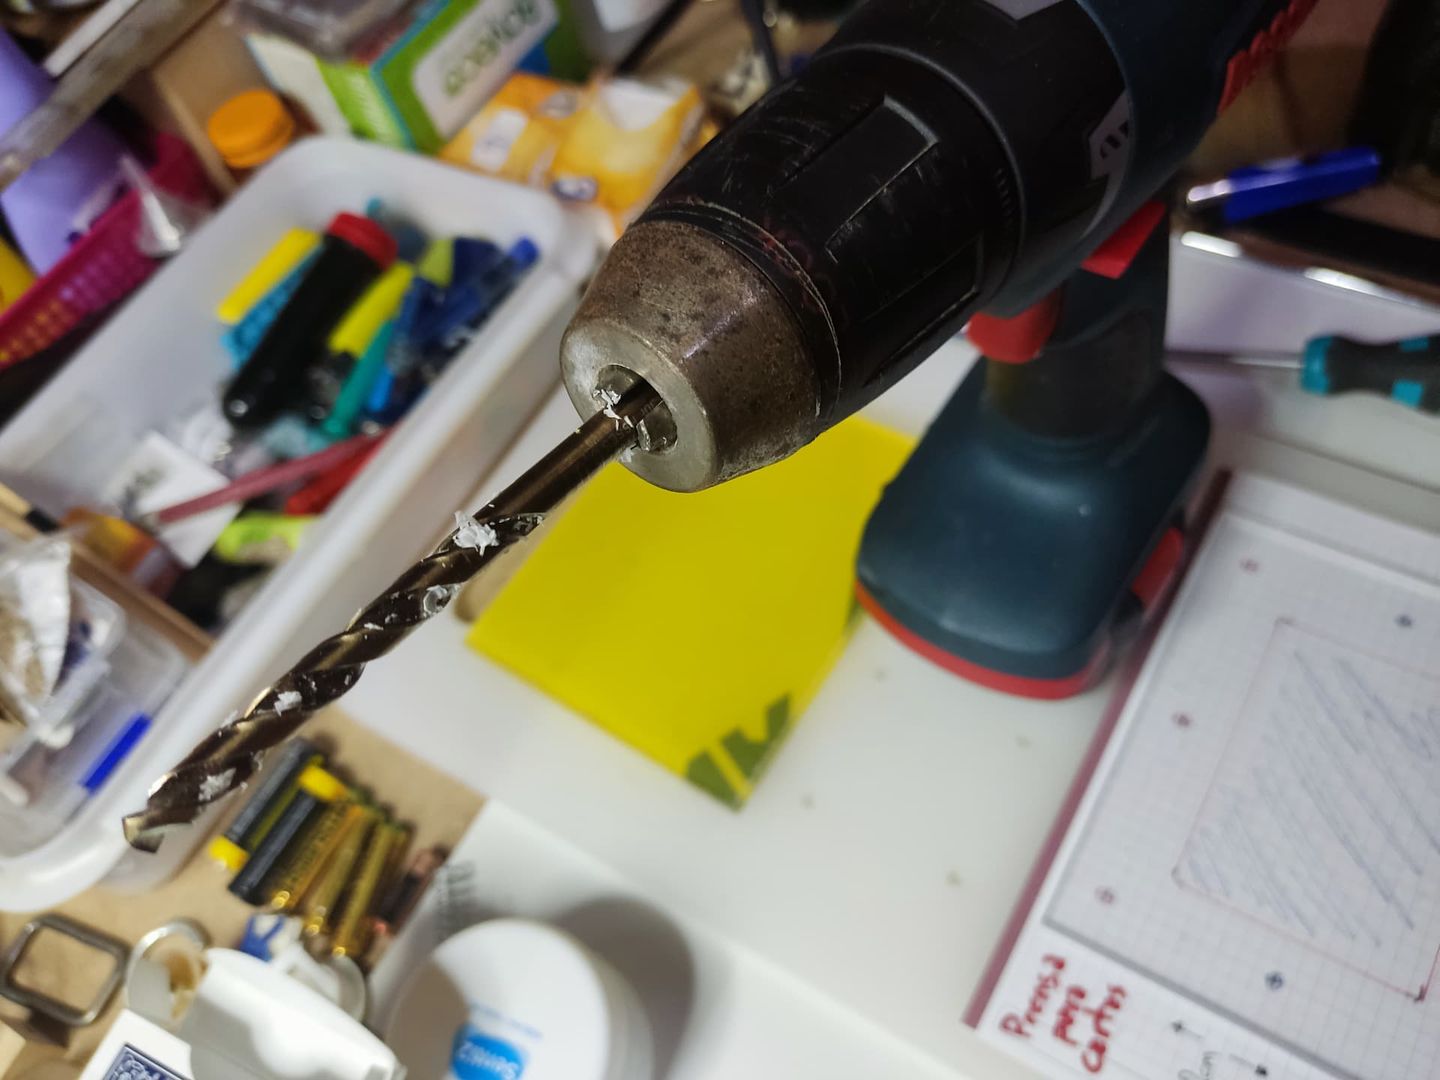
We'll just drill enough to mark the holes. This way, we won't damage the template and can use it multiple times (if you want to use it again; otherwise, it doesn't matter).
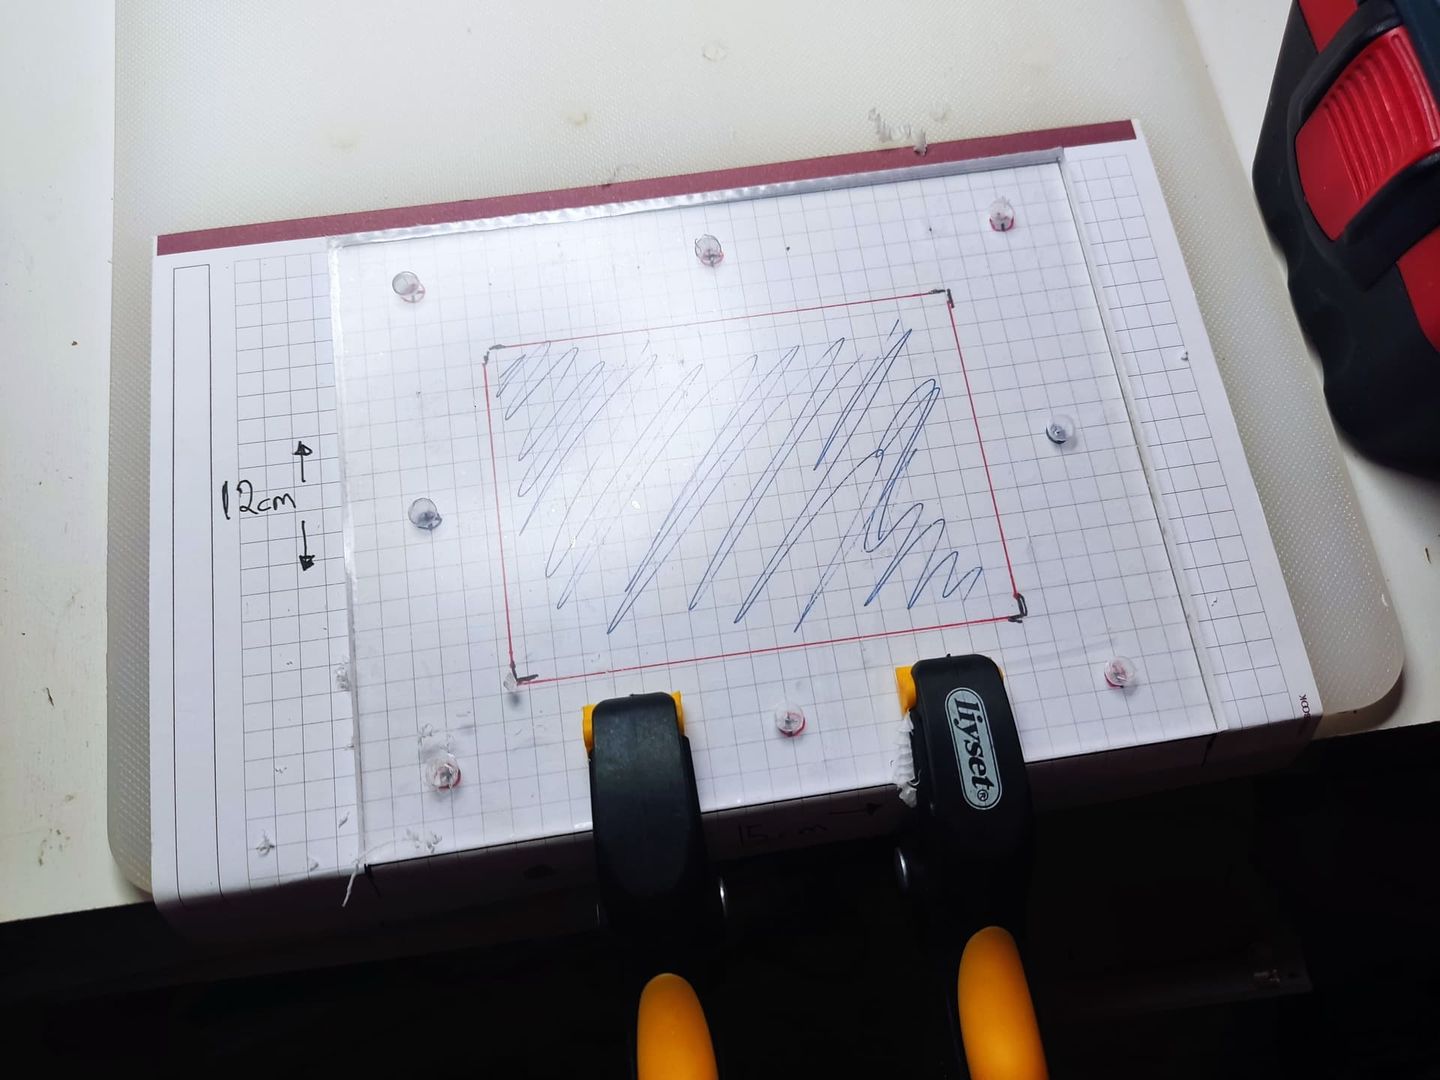
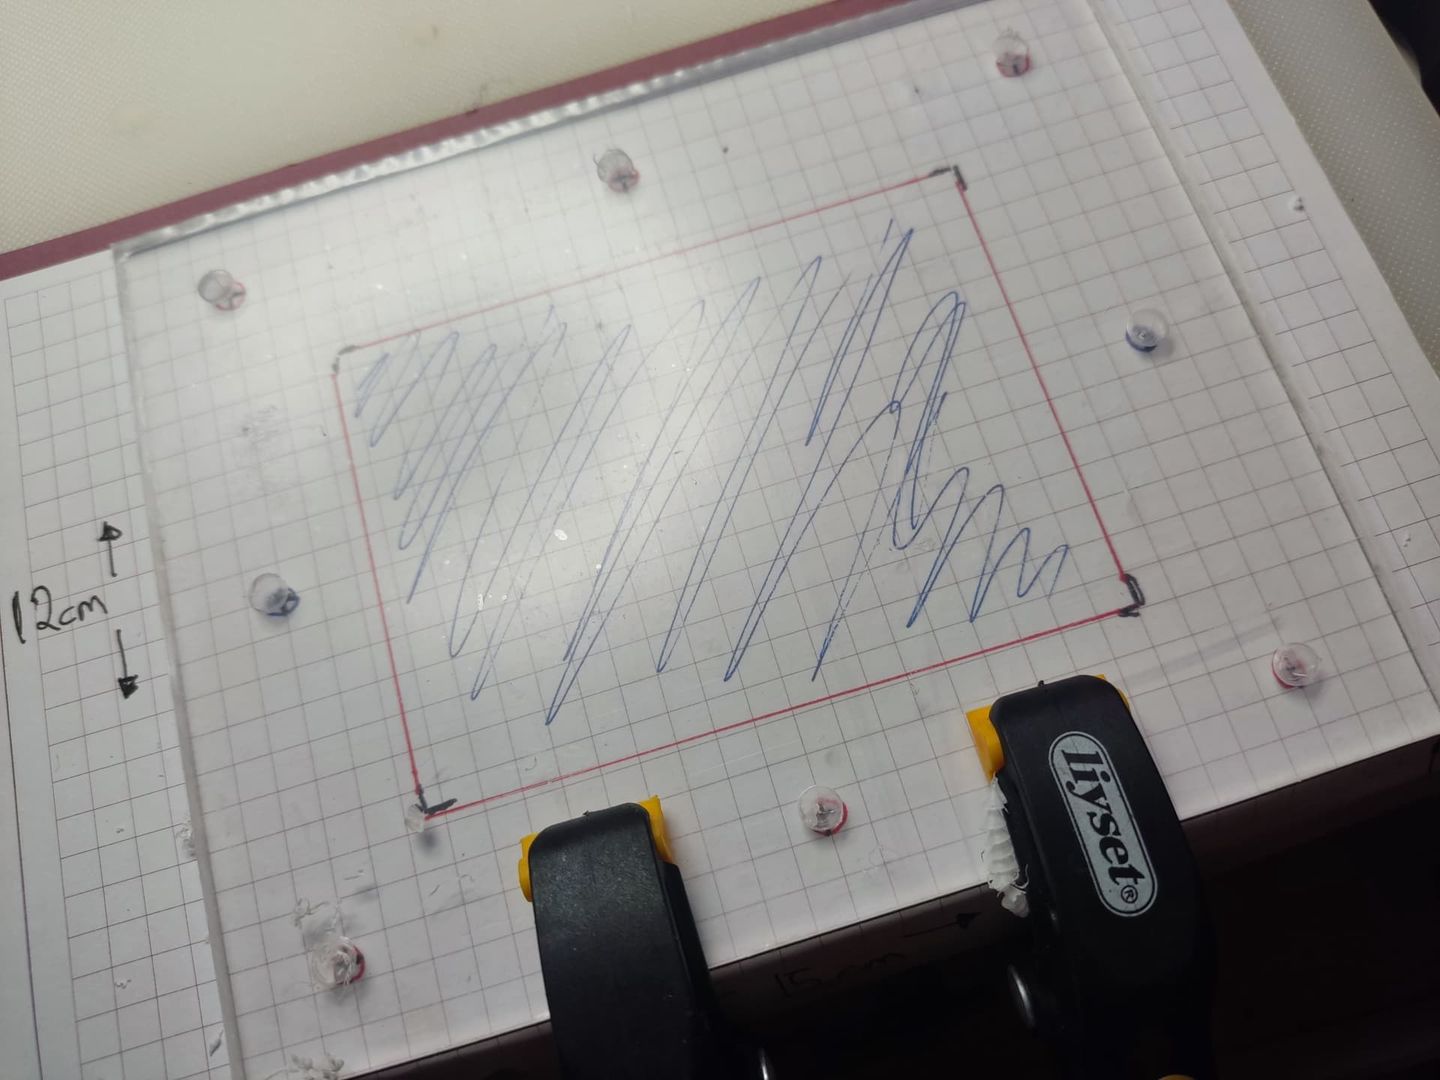
Then, remove the template, re-clamp everything just like before (but without the template), and finish drilling the holes.
The slower, the better.
If you notice the drill bit getting too hot, you can use petroleum jelly (regular or even scented) to lubricate and cool the bit.
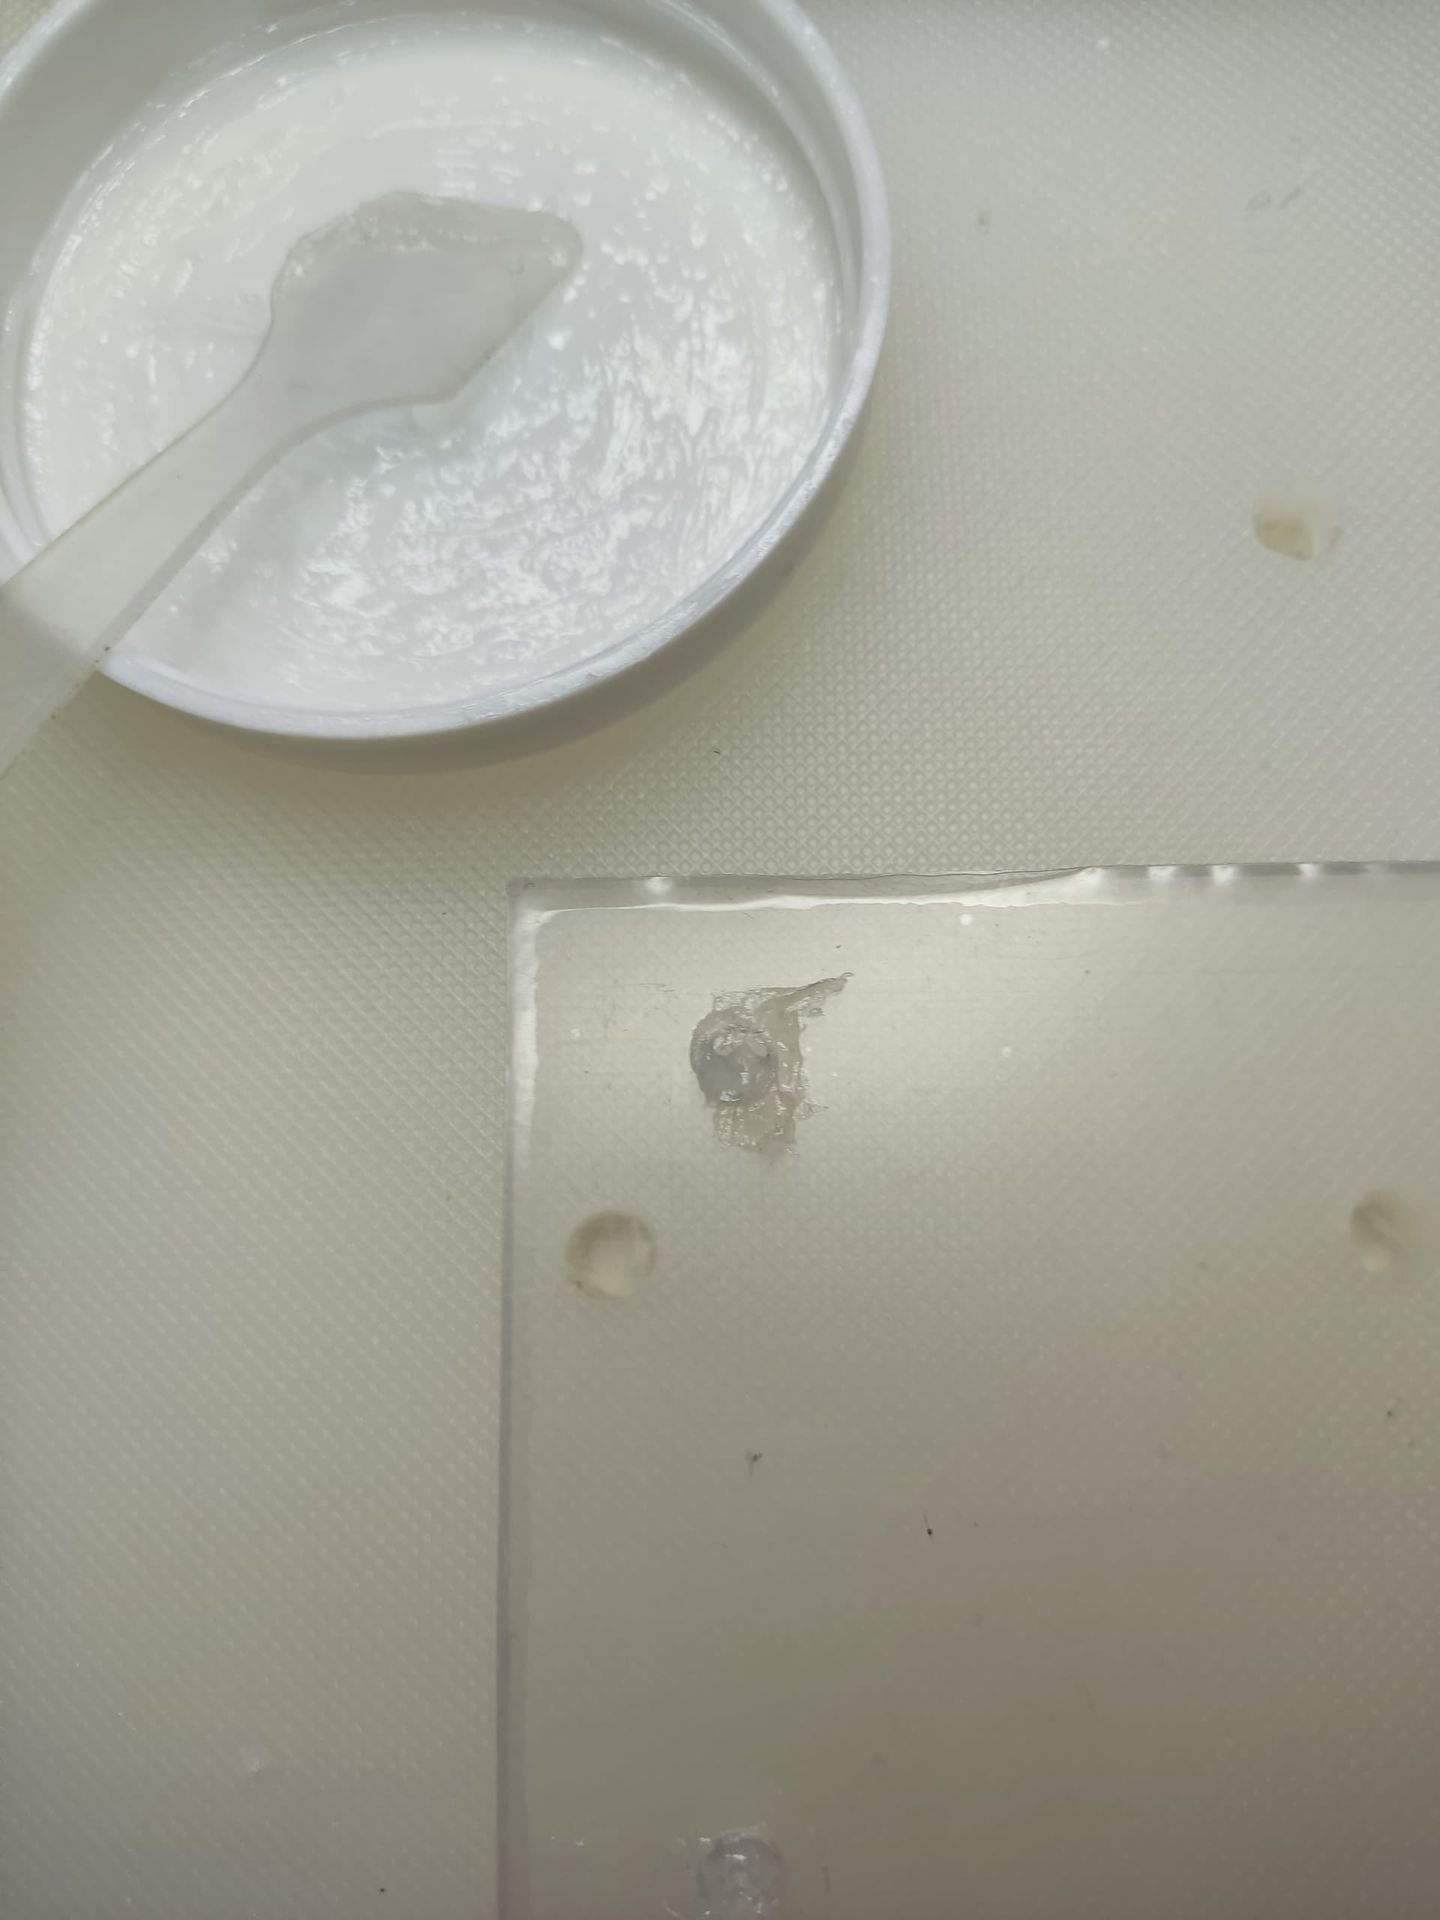
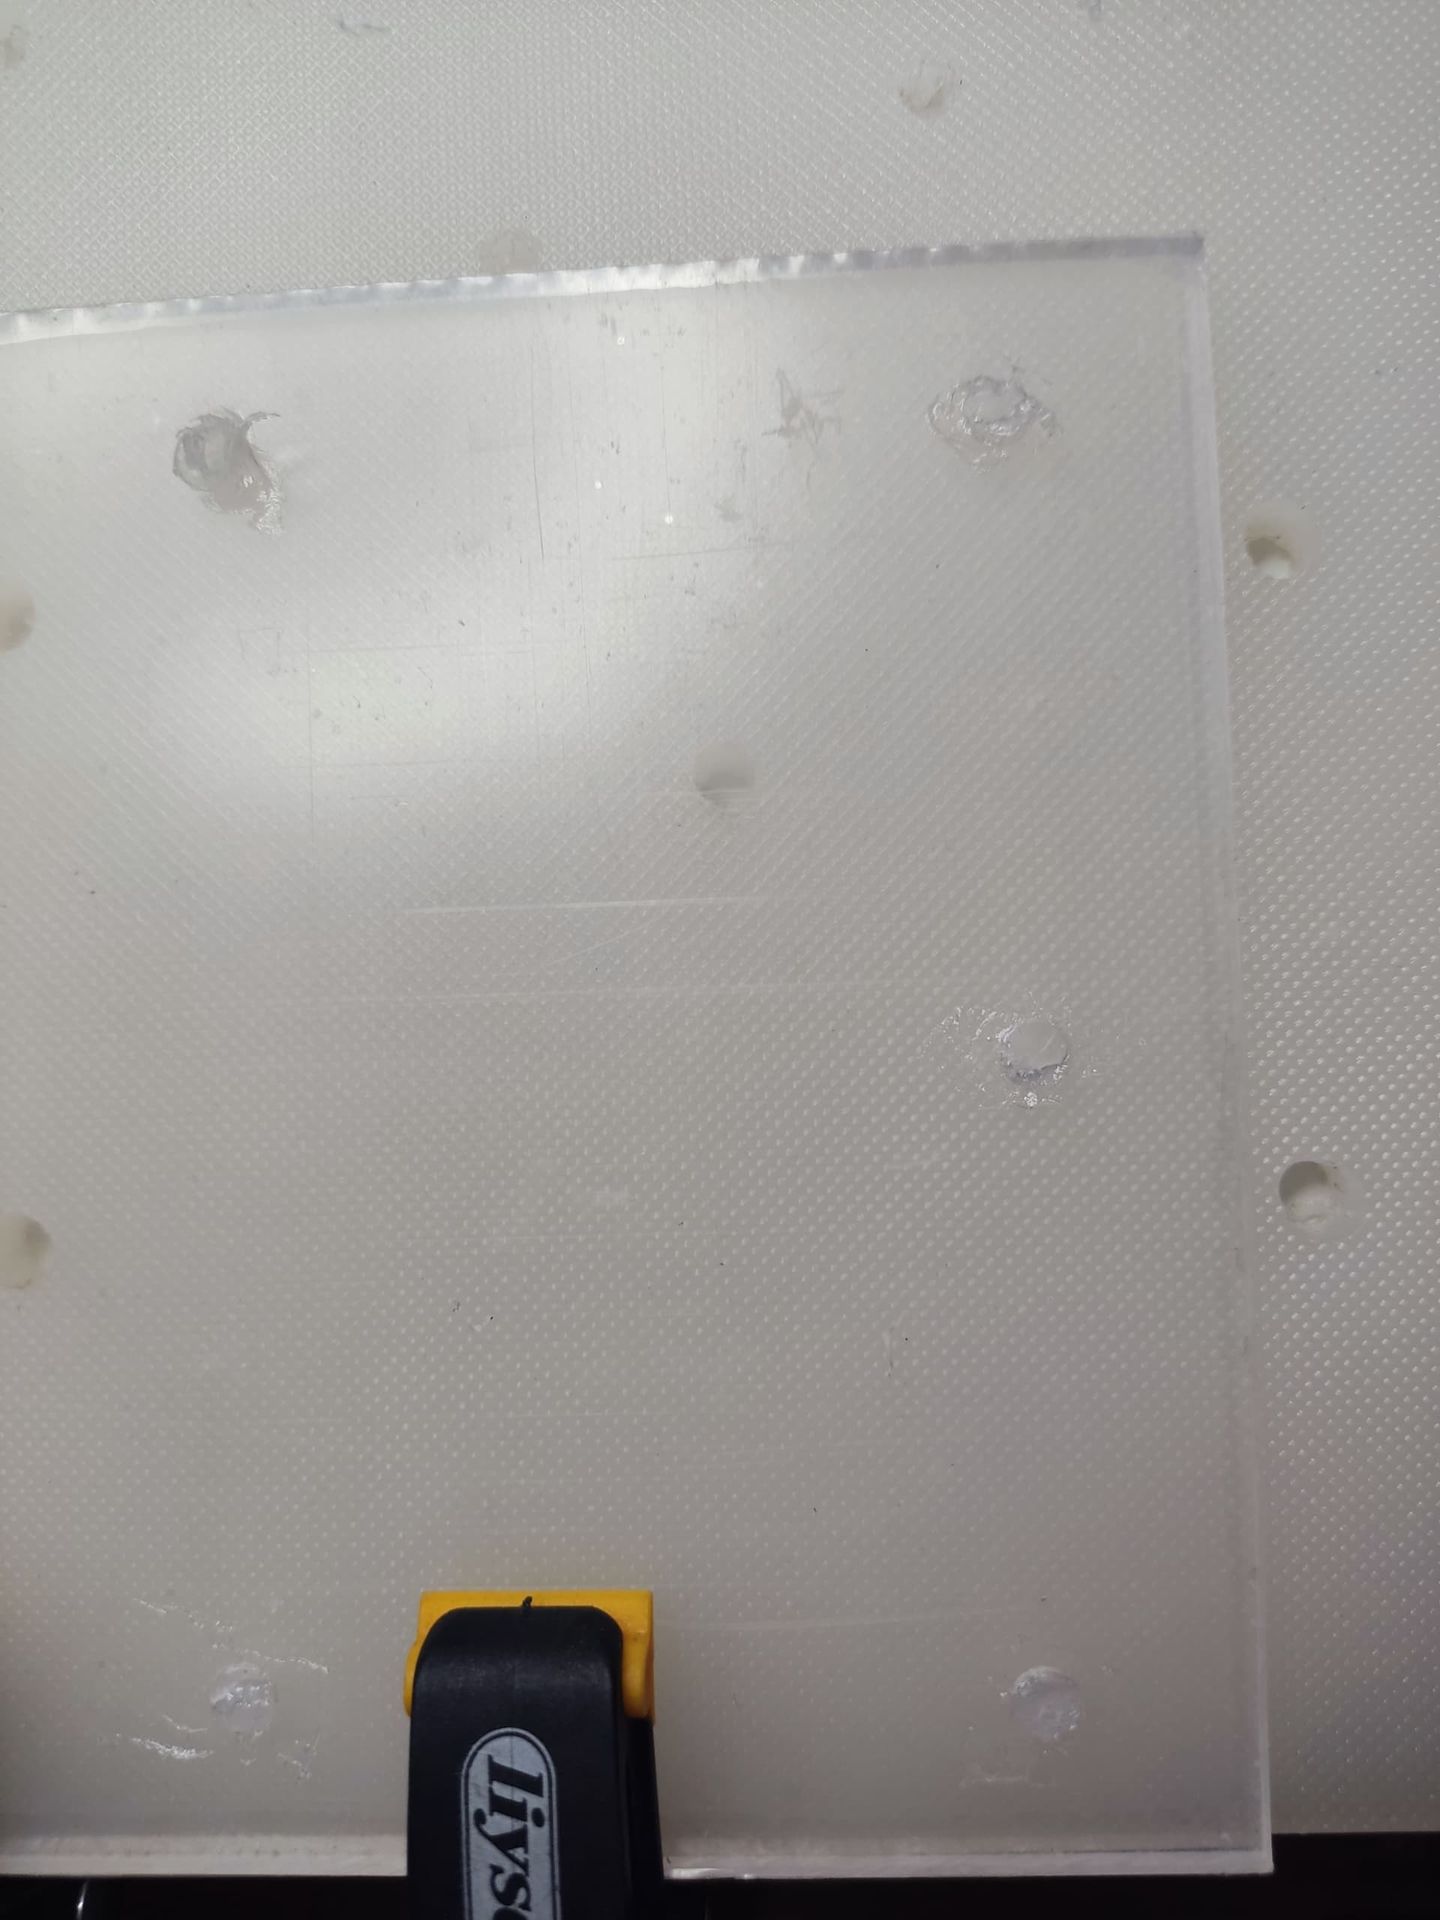
Once you're done drilling the holes, it's time to assemble the bolts, and you're all set.
Easier than IKEA furniture, for sure!!! 🤣
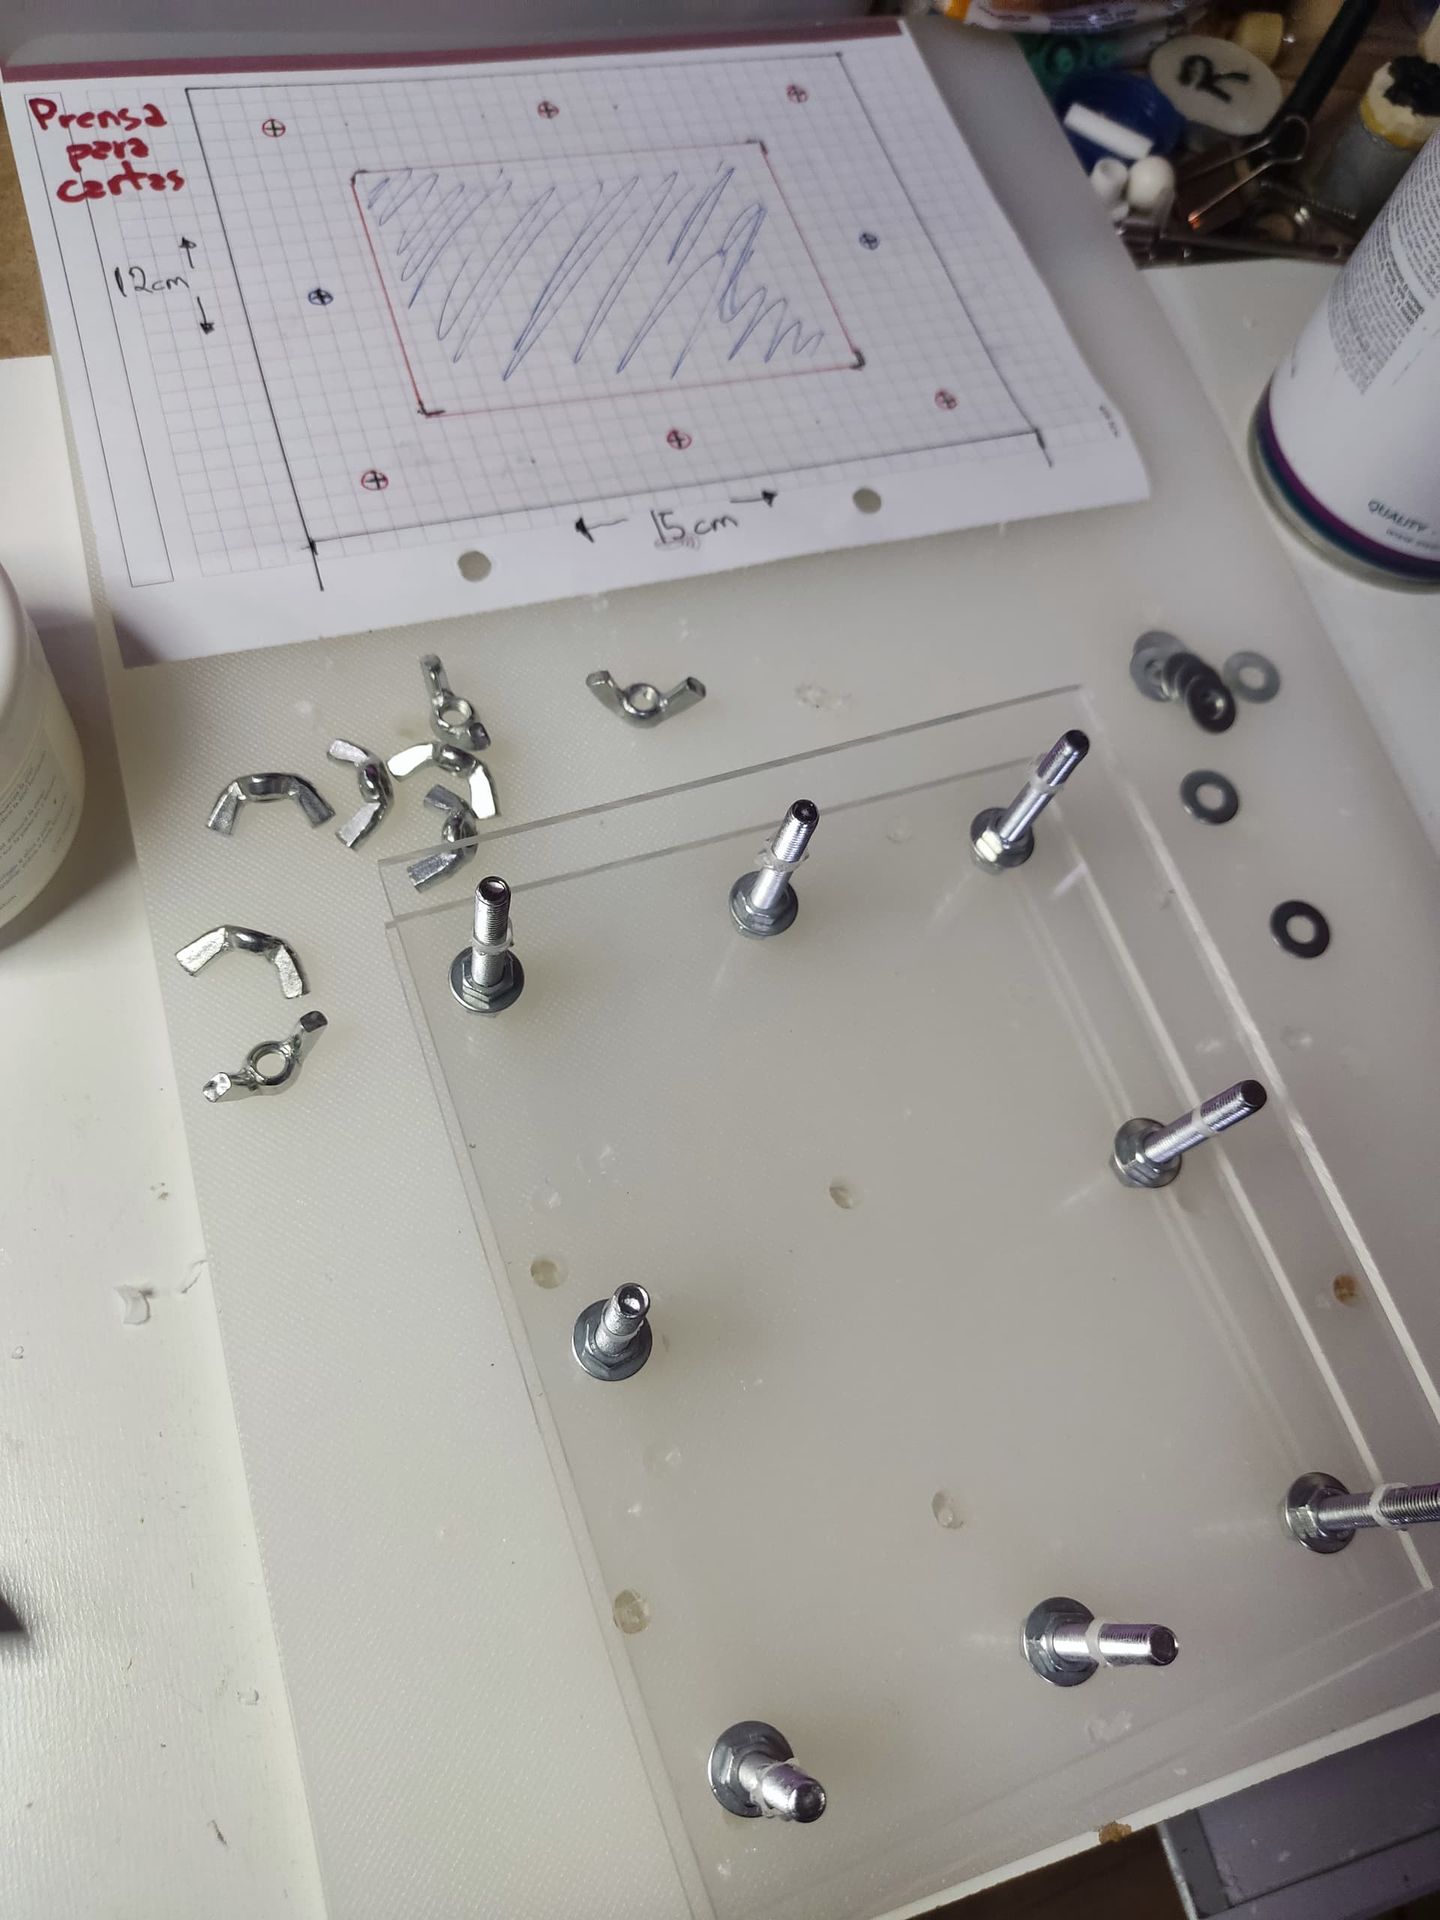
And you're done!!!!
You've got your card press.
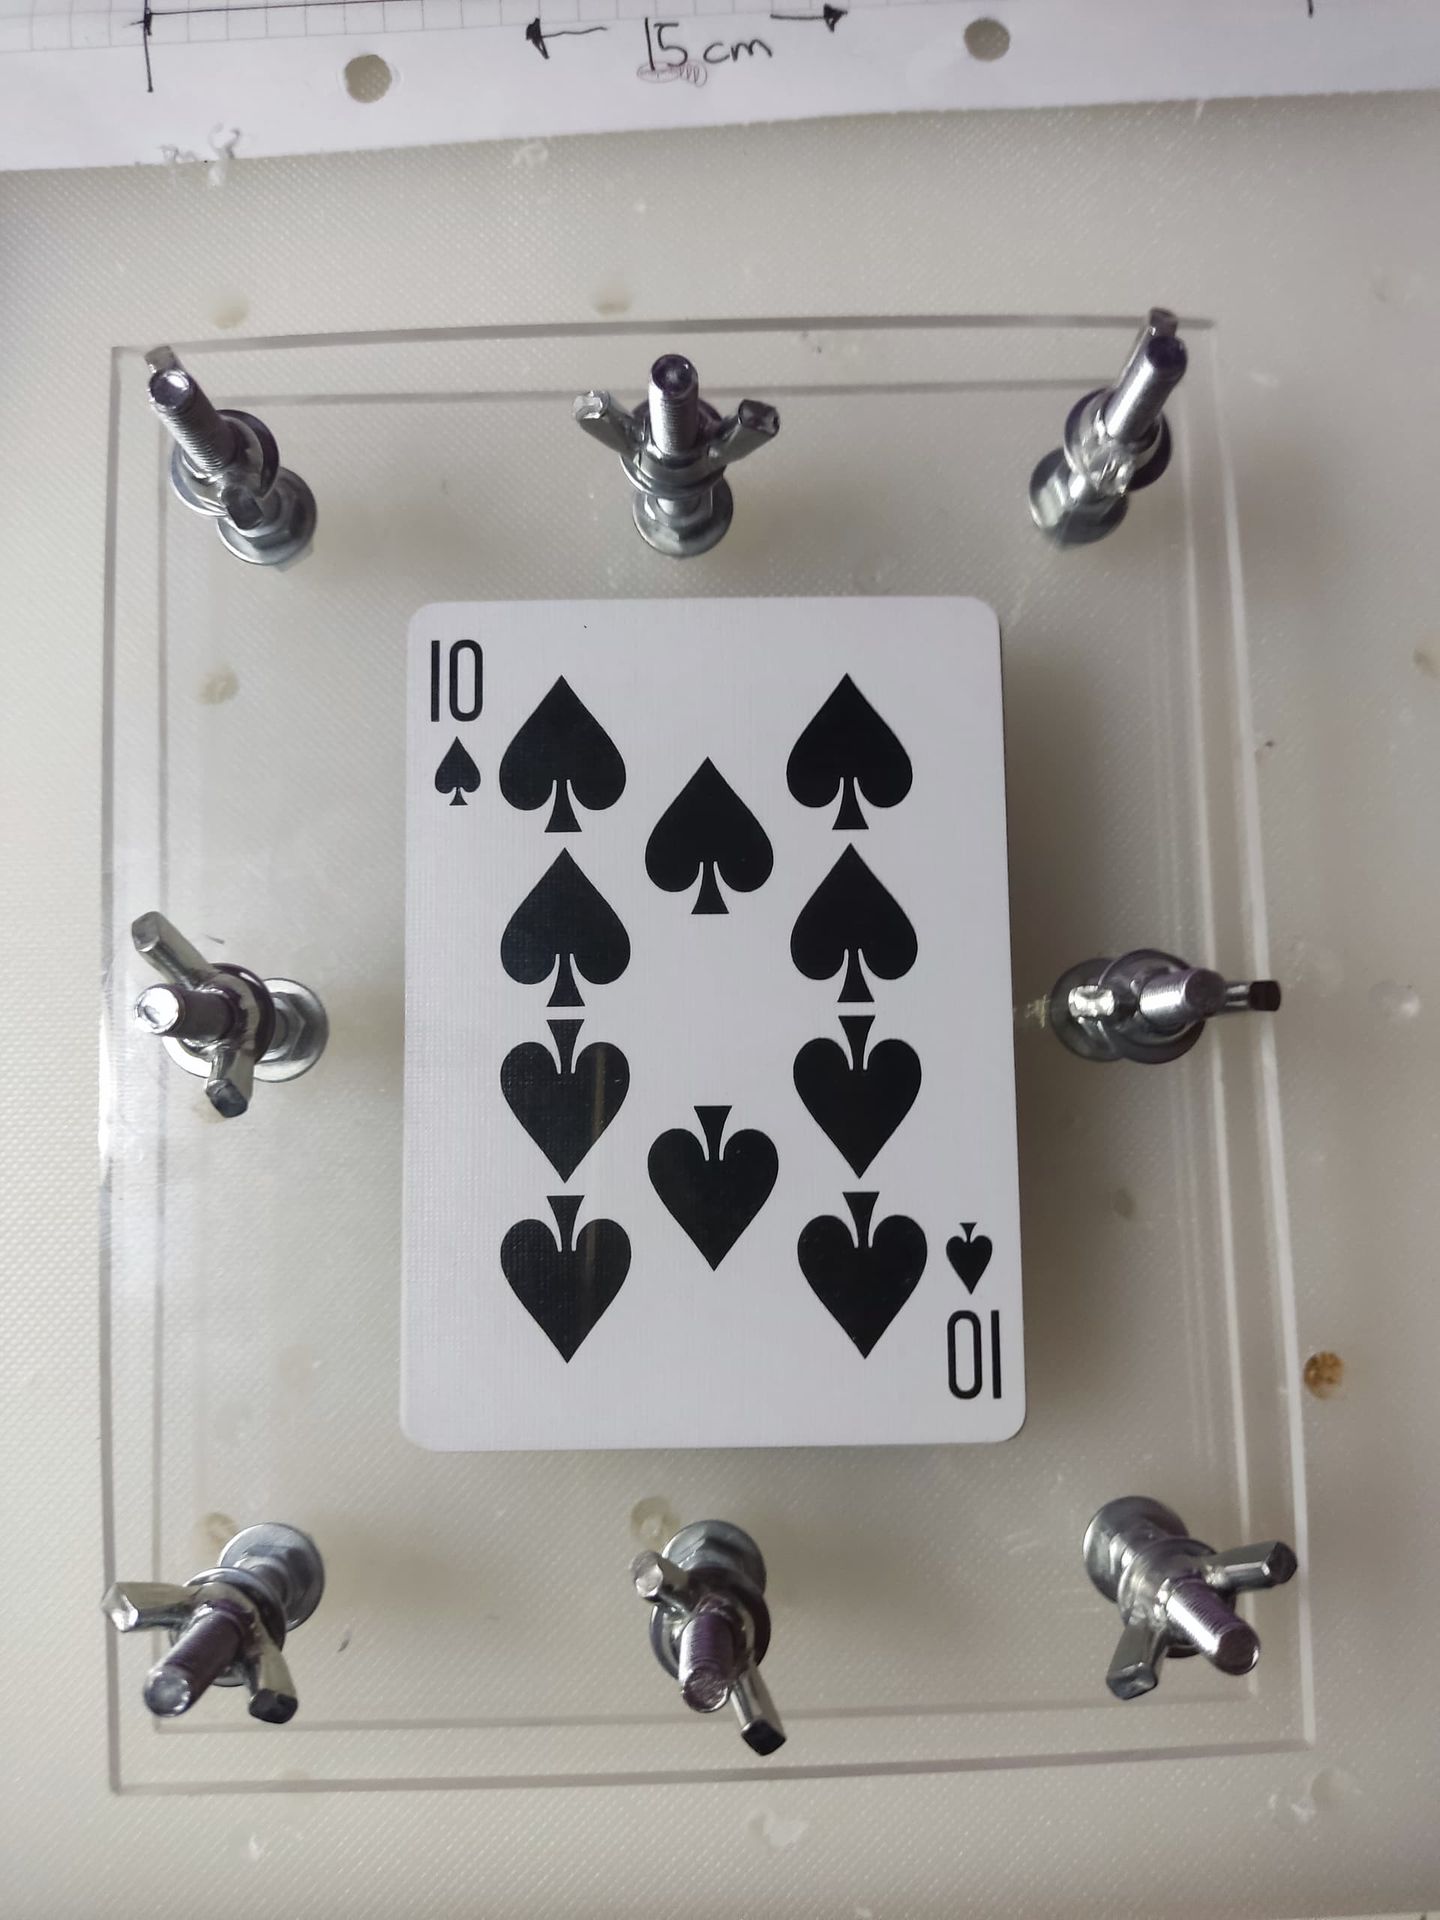
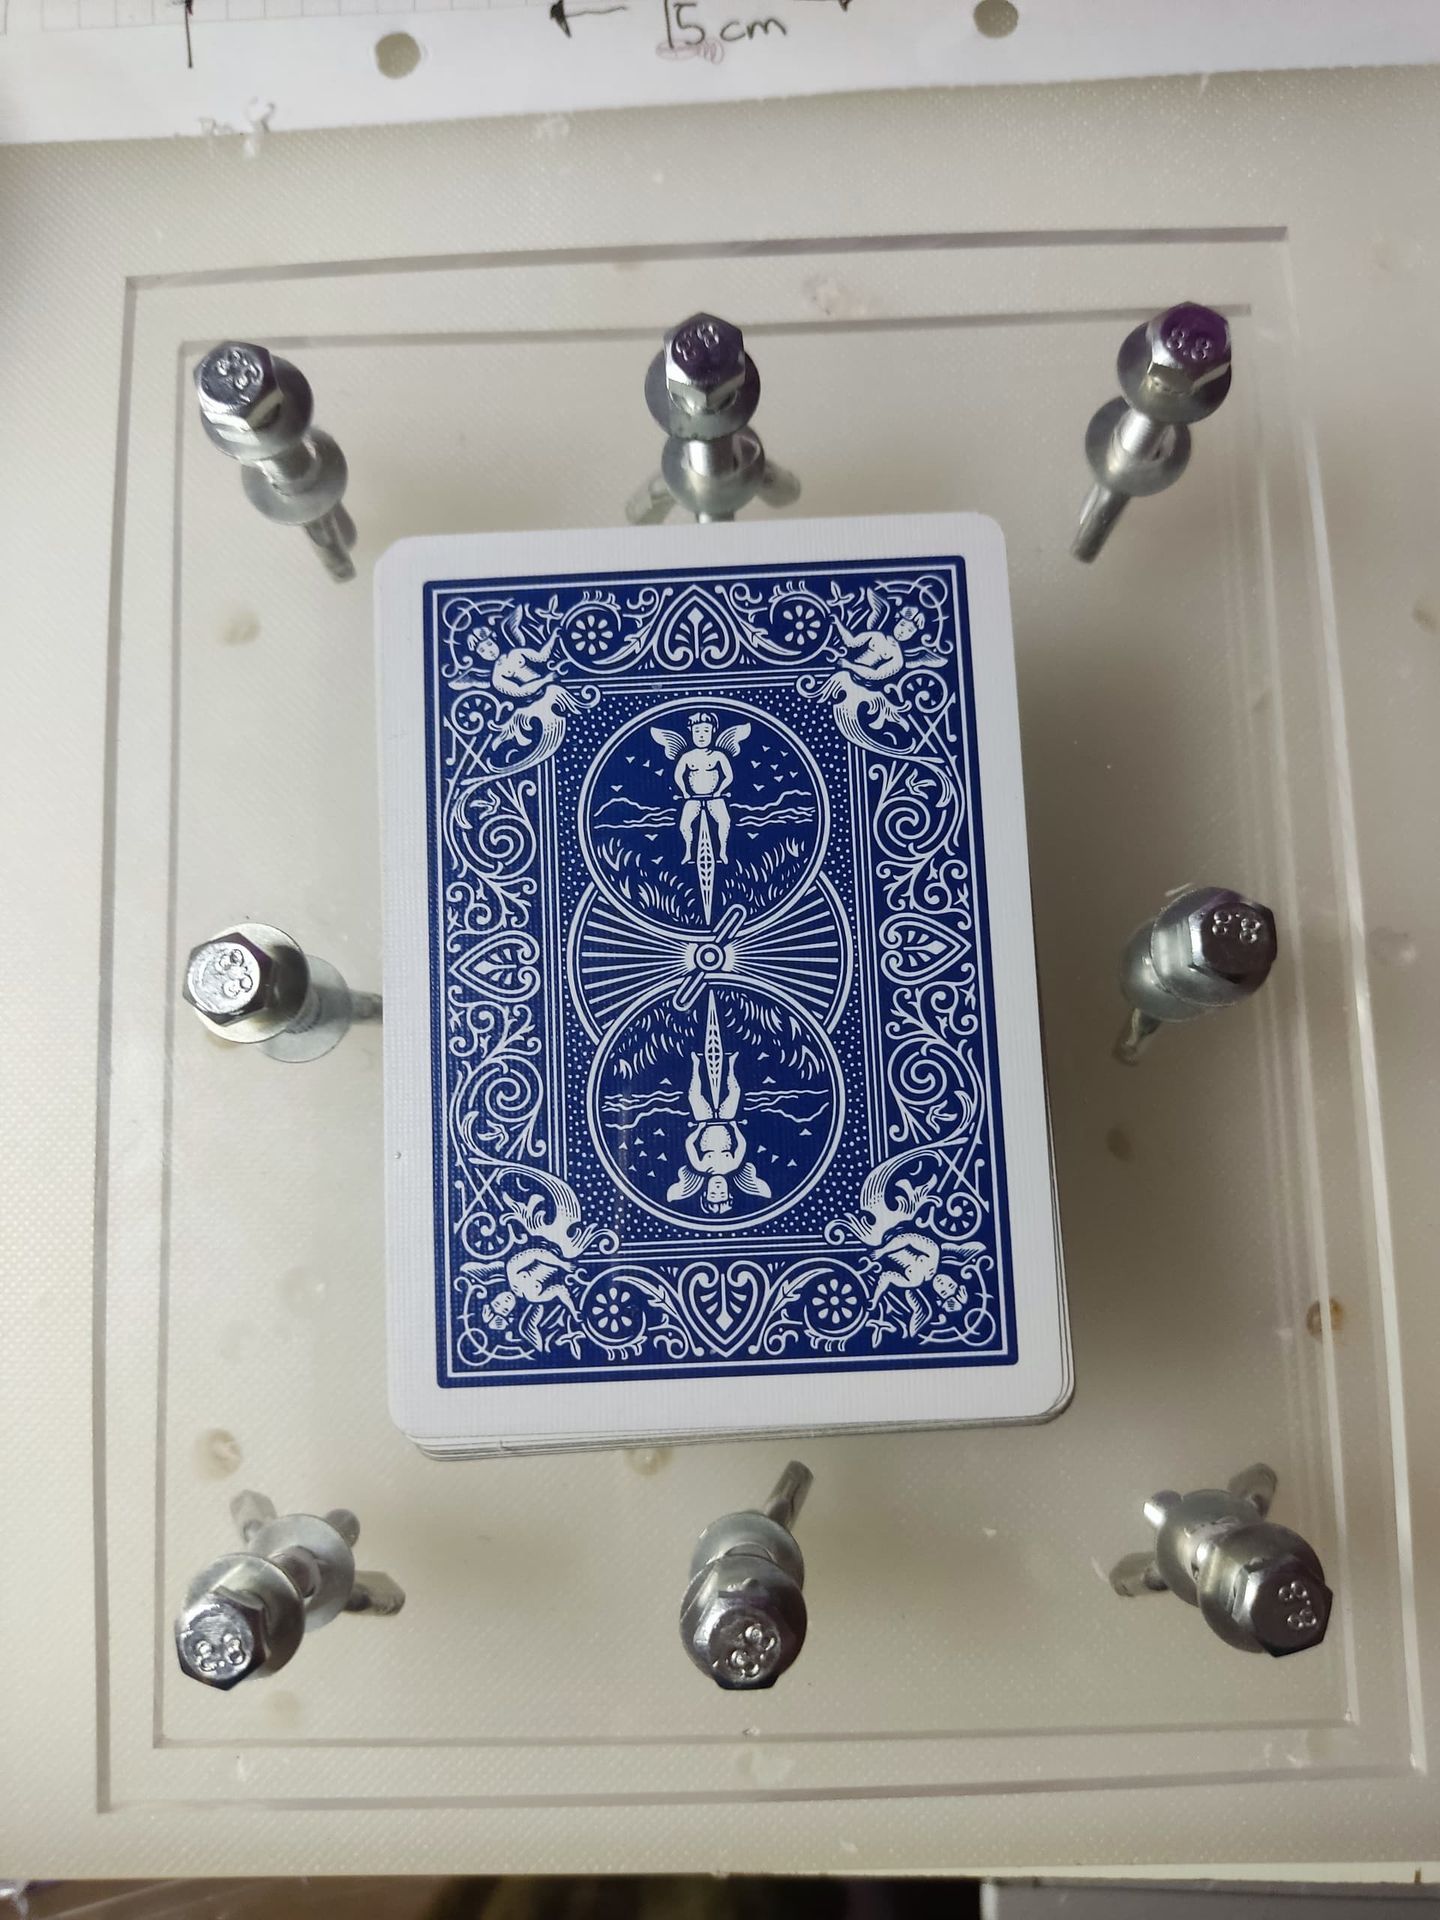
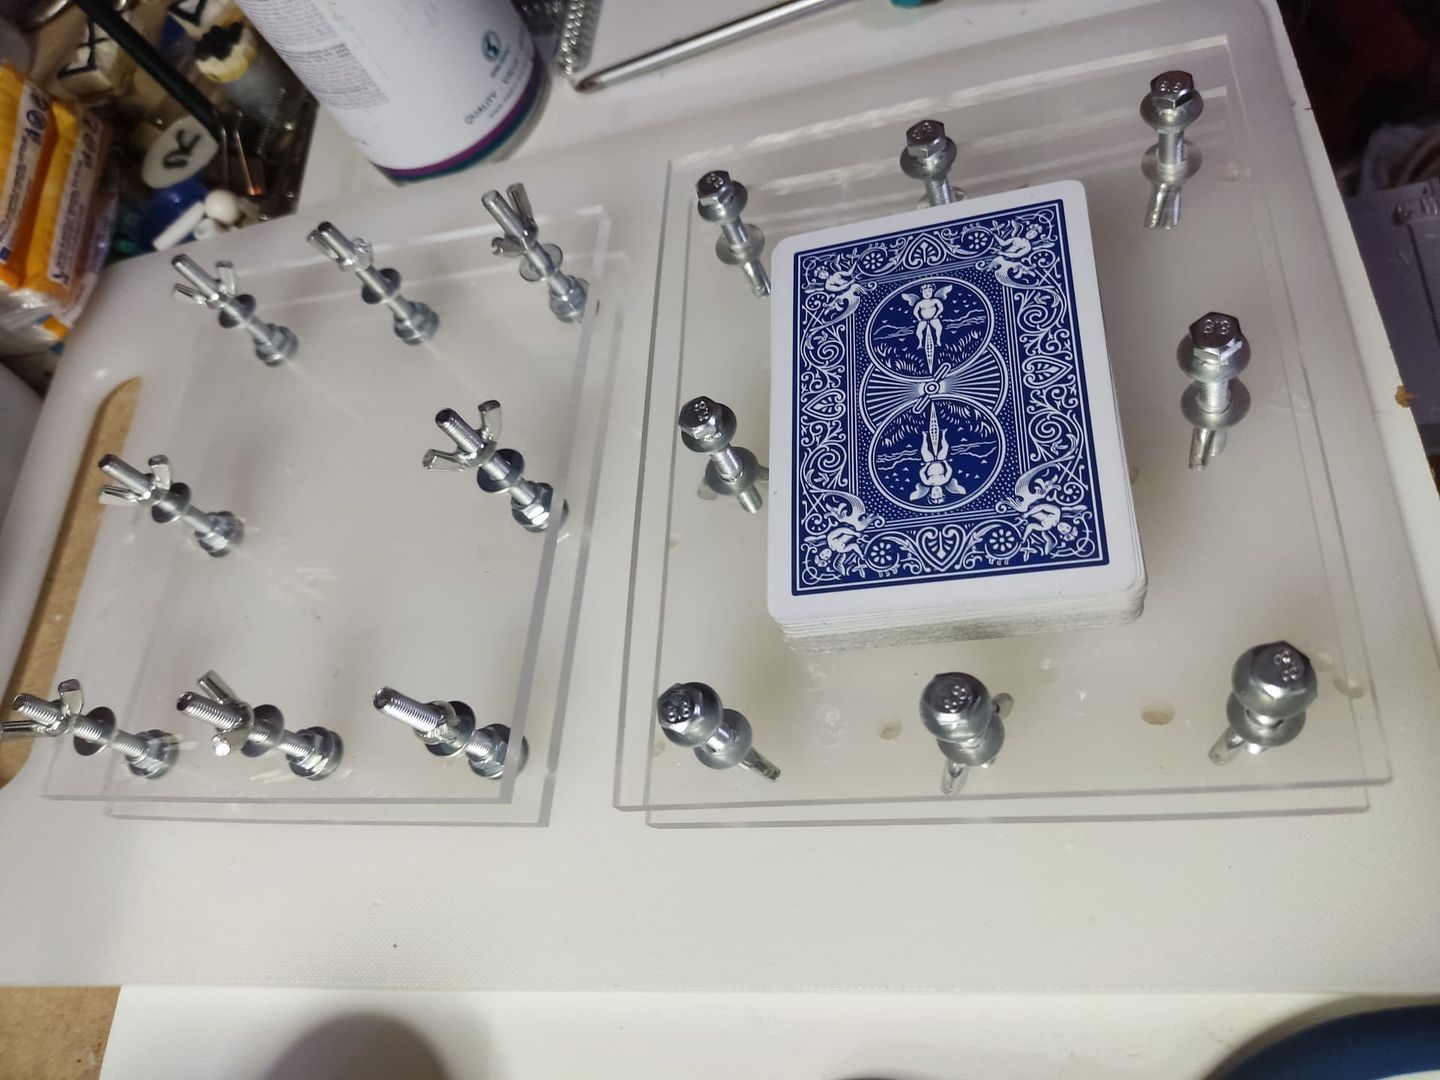
If you want to extend the life of your decks, especially your special editions, I recommend getting at least one of these.
As always, I'm delighted to share ideas with the community.
Join the conversation
Log in to read 14 comments and replies.