Solving the 3×3 Rubik's Cube: Layer by Layer Method
Solving the cube from the beginning
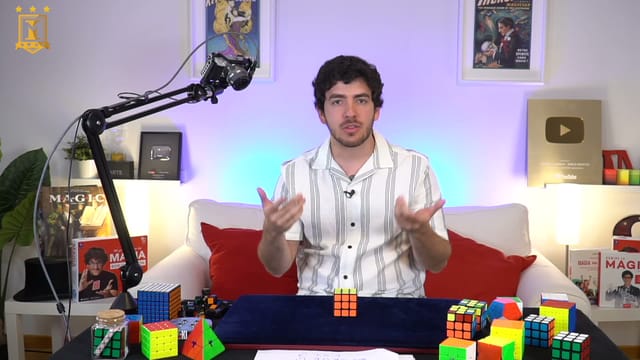
Adrián Marmac teaches a beginner-friendly method that walks through the complete solution of a 3×3 Rubik's cube. The explanation prioritizes understanding the early stages and reusing a few movement sequences. The goal is to be able to solve the puzzle with control, rather than chasing competition times.
The class starts with the cube's structure and progresses through examples, repetitions, and alternative cases. You don't need to know how to solve it or understand its notation before starting; however, it's helpful to have a cube on hand and pause the video to practice each stage.
Pieces, orientation, and notation
Centers, edges, and corners are distinguished, explaining why the centers determine the color of each face. A piece can be in the correct position yet have the wrong orientation: learning to recognize this difference prevents confusing a single-colored face with a truly solved layer.
Singmaster notation is introduced to identify faces and read clockwise, counterclockwise, and double turns. The movements are accompanied by demonstrations and visual references, allowing you to connect each letter with what your hands are doing.
The seven stages of the method
- First layer cross. Locate the white edges, bring them into position, and make their secondary color match the corresponding center. Cases with flipped pieces or pieces located in other layers are explained.
- First layer corners. Recognize where each corner belongs based on its three colors, place it, and retrieve incorrectly inserted pieces. The various possible orientations are shown.
- Second layer edges. Select the appropriate pieces, insert them to the left or right, and remove any that occupy an incorrect position.
- Last layer cross. Distinguish between dot, line, and L cases and apply a common sequence to orient the yellow edges.
- Positioning the top edges. Make each cross edge match its center, identifying when to repeat the algorithm.
- Positioning the last corners. Verify that each corner occupies its spot even if it is still twisted, and rearrange the ones that do not match.
- Final orientation. Complete the remaining corners while keeping the cube's reference. Cases with two, three, and four corners to orient are demonstrated.
Algorithms and practice
The sequence known as the "sexy move," its inverse, and the Sune and Niklas algorithms are practiced. Adrián combines notation, tracking blocks of pieces, and memory aids to facilitate learning. You do not need to memorize a vast catalog of algorithms to follow this method.
The explanation emphasizes practicing the first layer before adding the second, and consolidating both before tackling the finale. Common mistakes are discussed: choosing a piece based on only one color, losing orientation, forgetting to undo a move, or changing the reference frame during the final phase.
It is also clarified why repeating a sequence returns the cube to its initial pattern: that does not mean a single formula solves any scramble. Furthermore, it mentions how a manually twisted corner can leave a cube in a state that cannot be solved with normal moves.
Materials and scope
You need a standard 3×3 cube in good condition with smooth turning. Although the instructor uses several cubes to demonstrate different cases, one is enough to follow the explanation. Materials are not included.
The conclusion compares the features of cubes for magic versus competition, and introduces other puzzles such as the 2×2, 4×4, and Pyraminx. These are references to explore, not solving methods taught in this class. Nor does this explain a complete magic routine or offer advanced speedcubing training.