Magic Workshop - Guide/Tutorial for the Loops Knitter (PART 2 of 2)
Now for the part you've all been waiting for.
PART 2 - The Loop Maker Itself
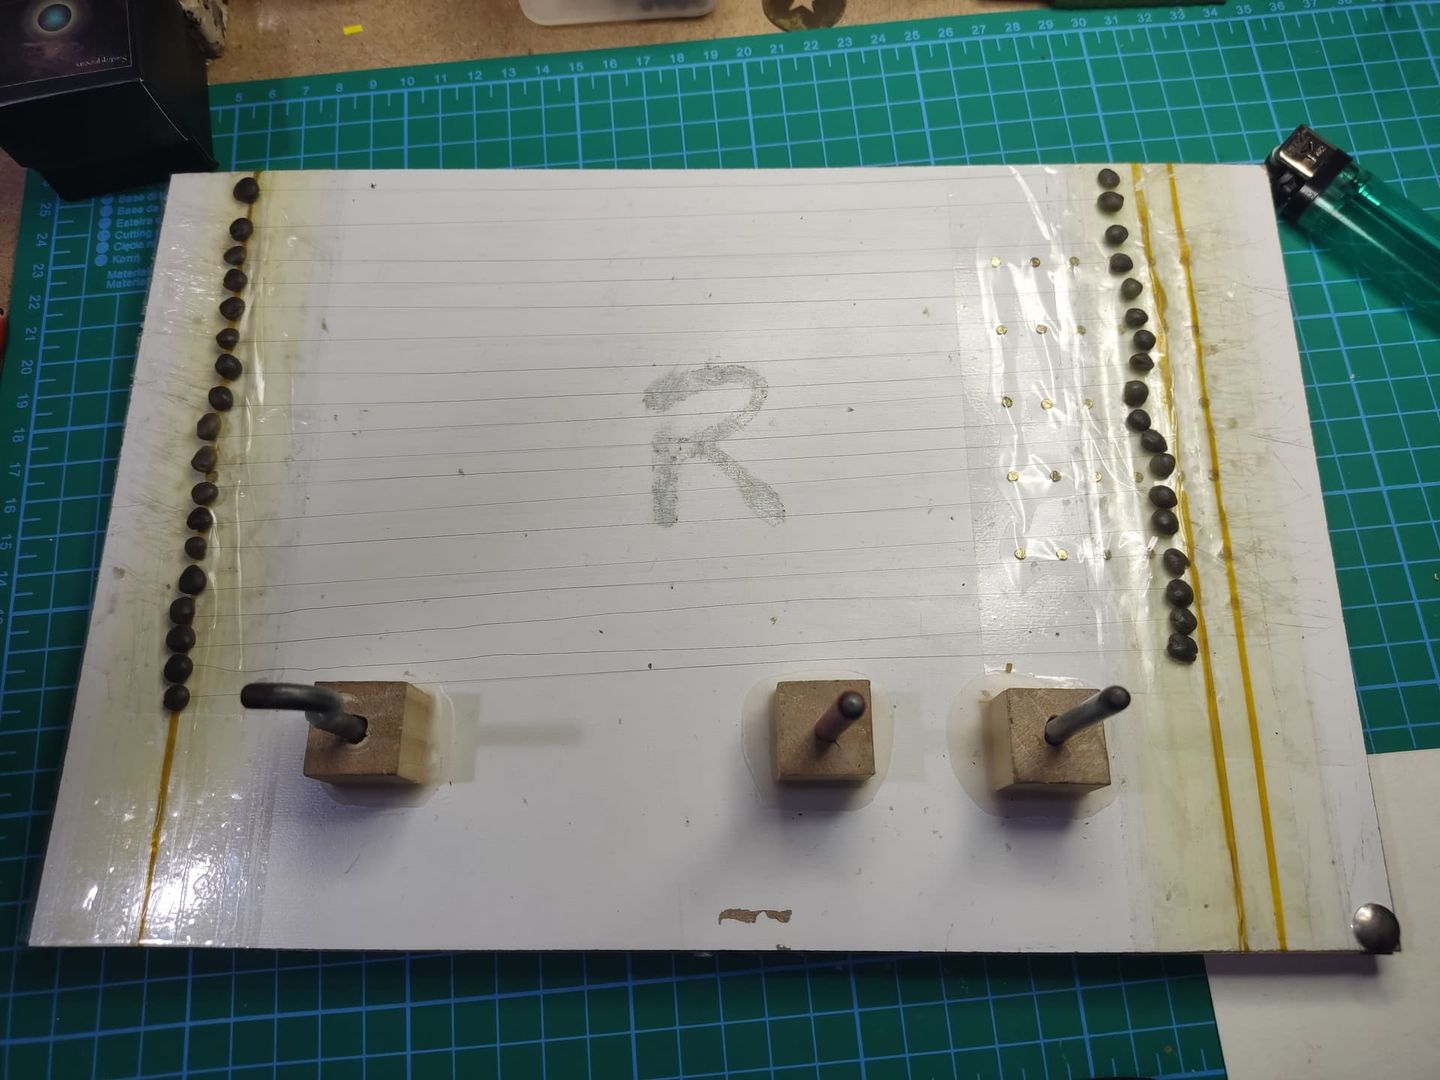
Well, here it is, plain and simple.
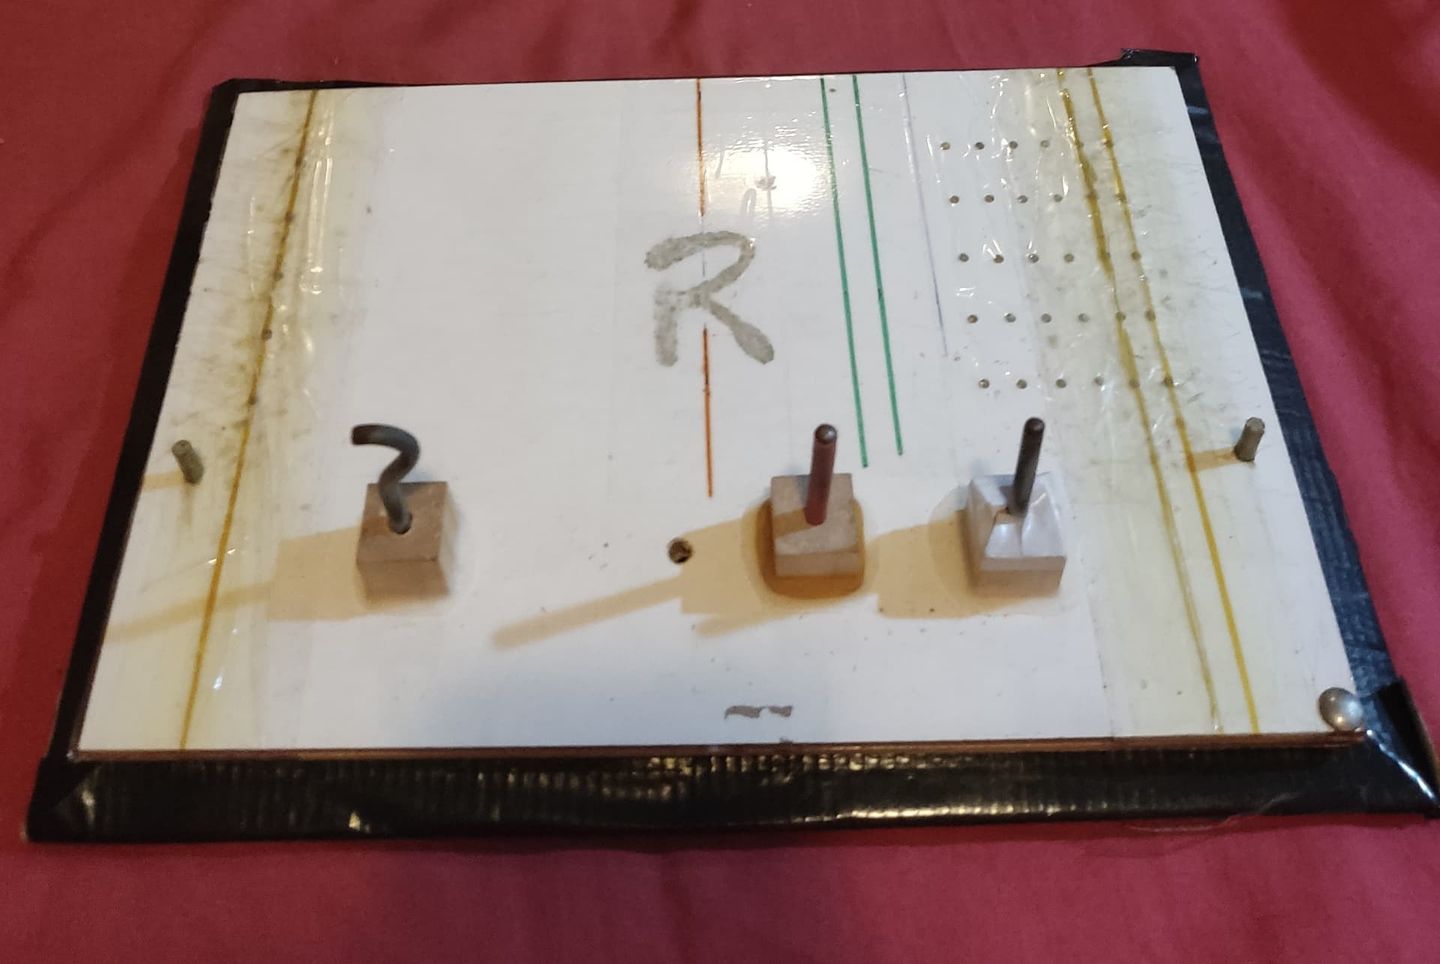
Looking at it, it doesn't seem like much, does it?
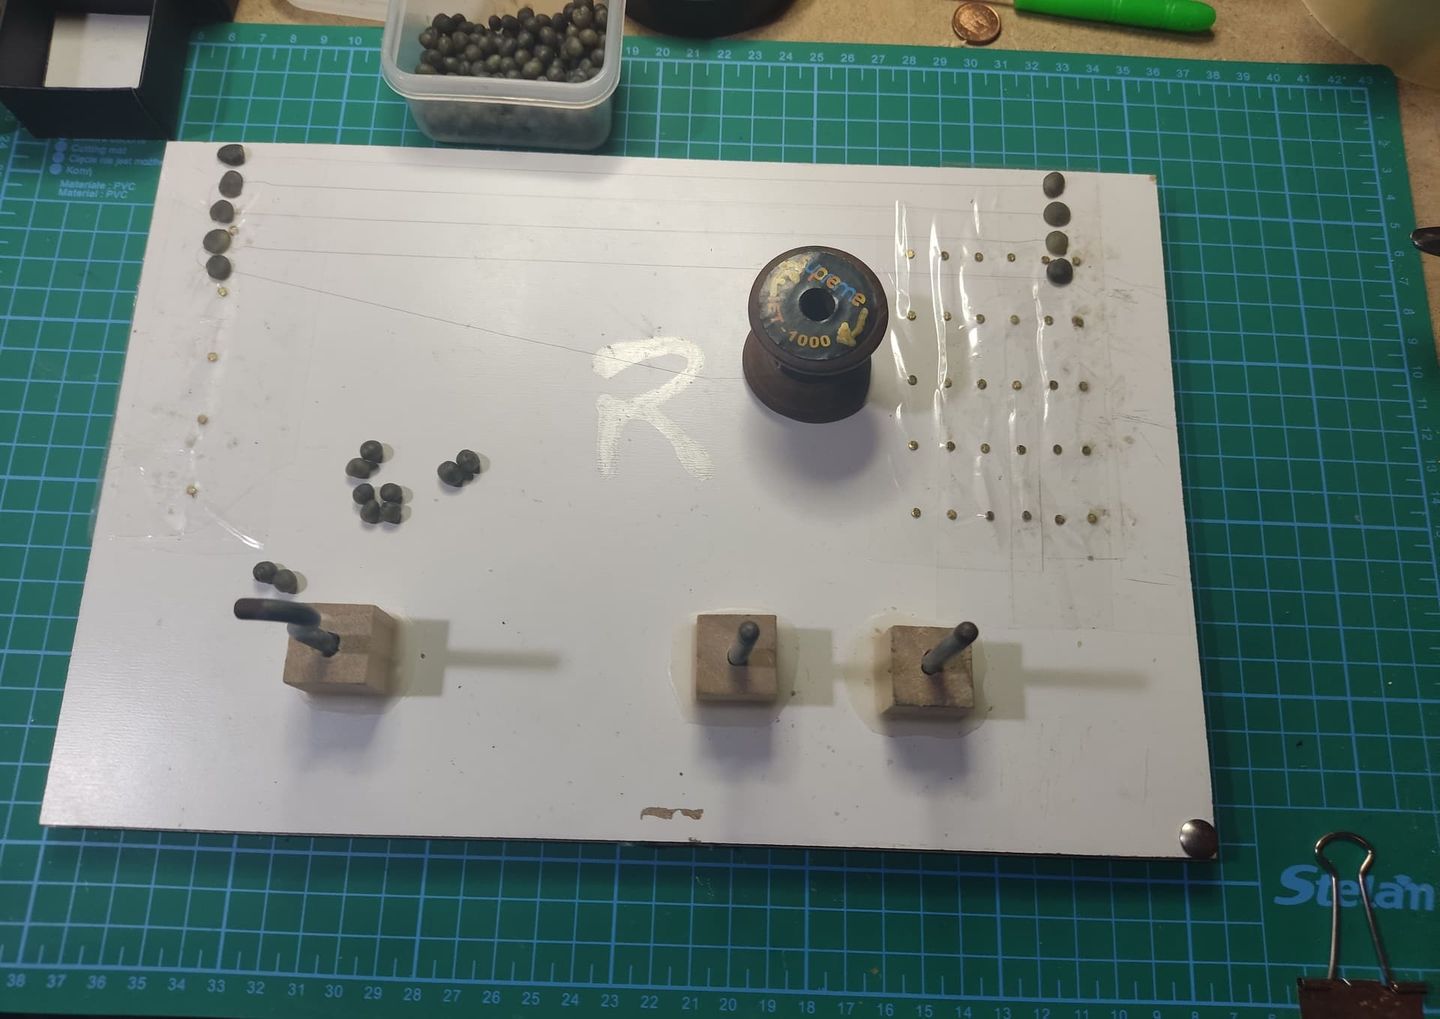
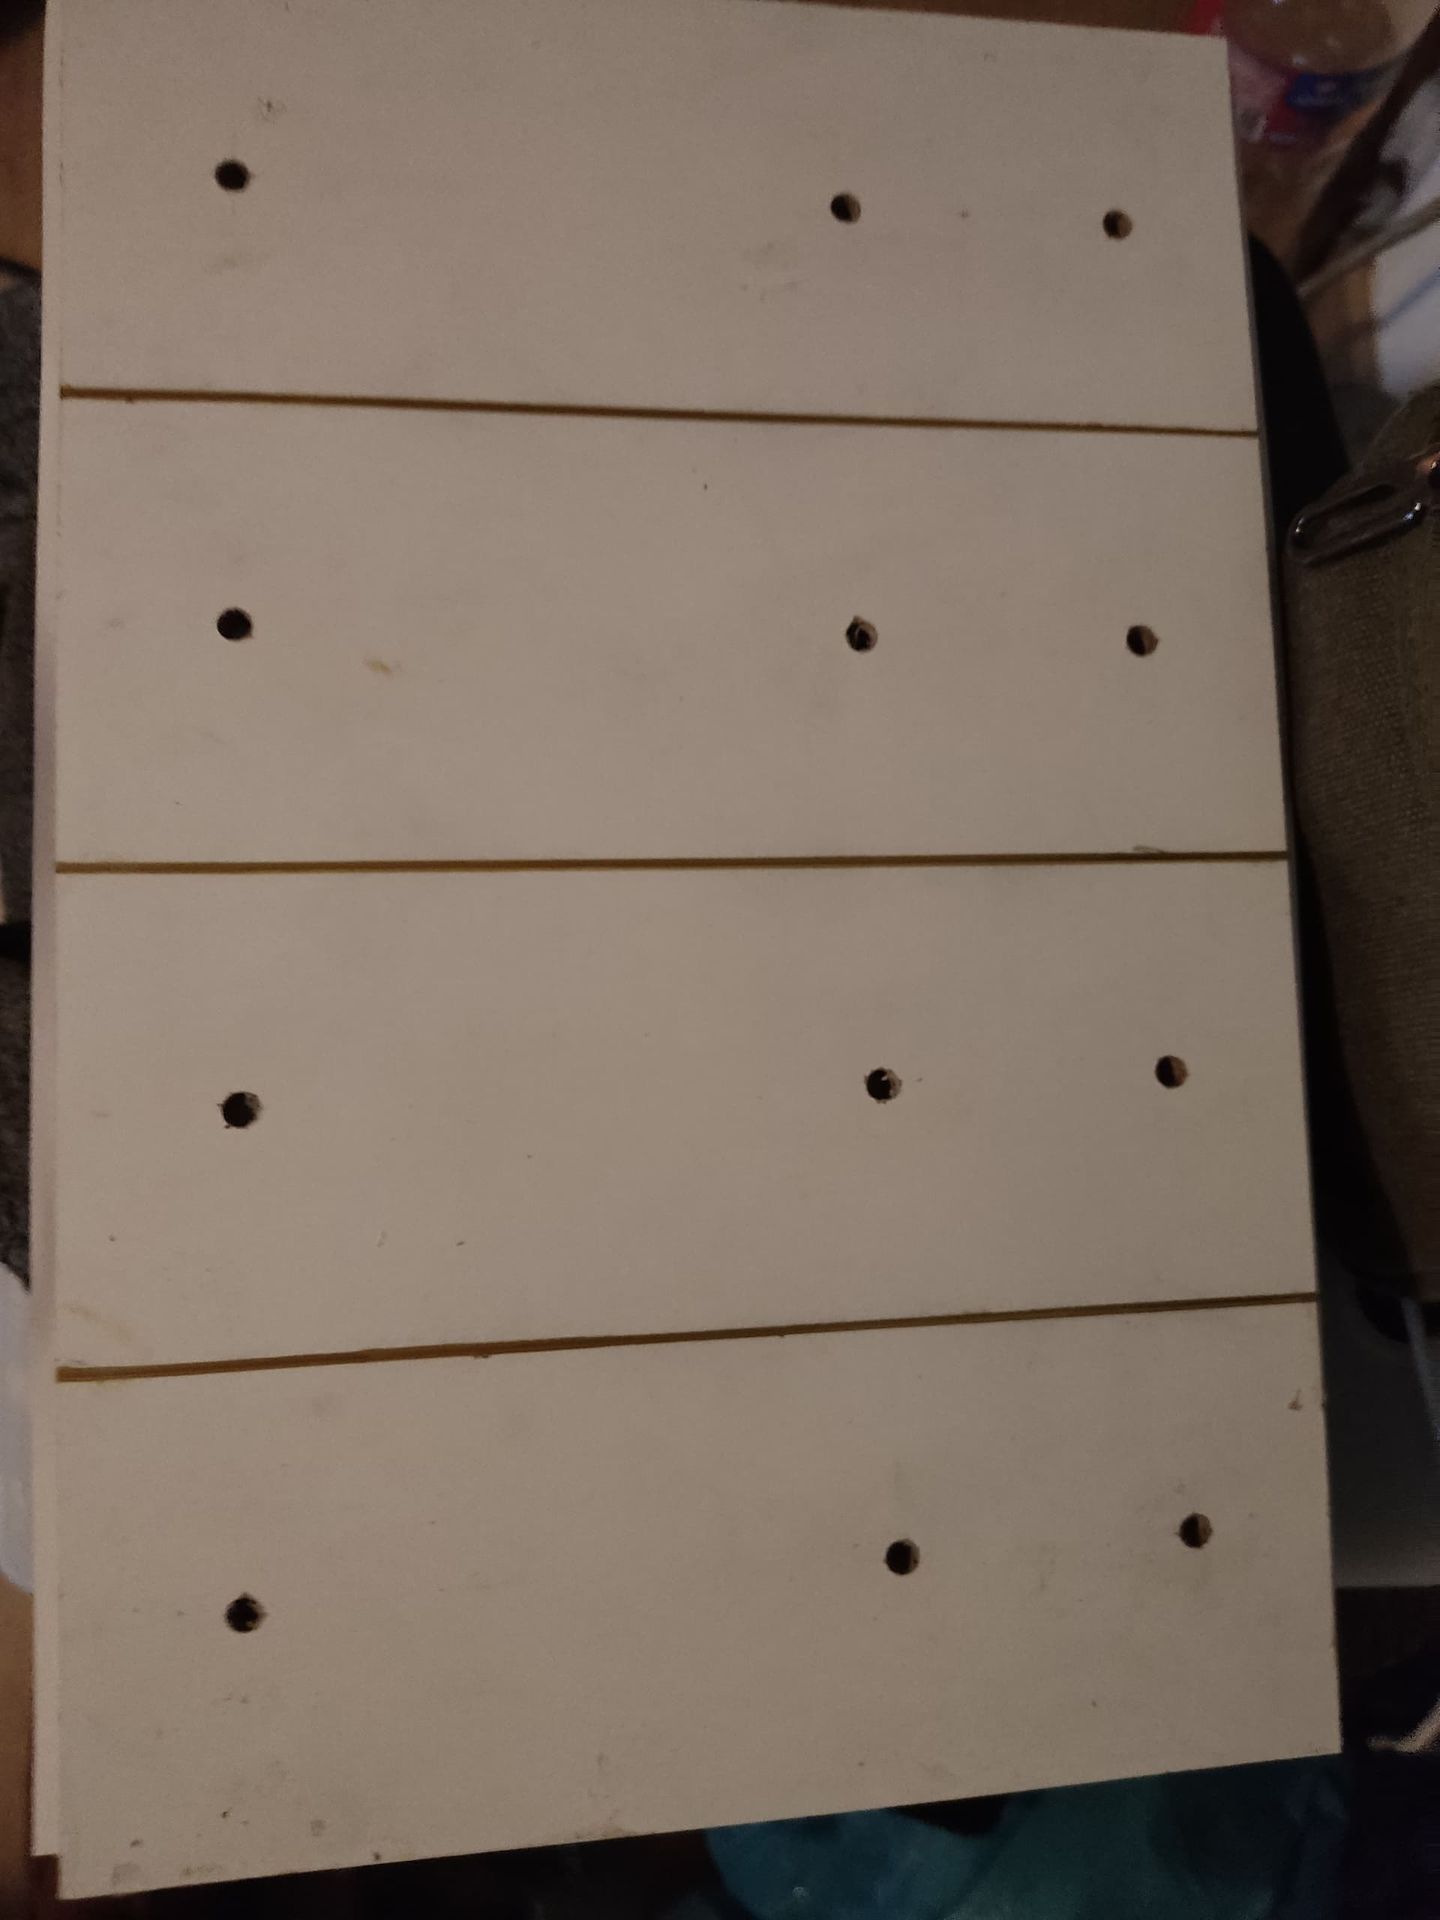
This part is what's important, and again, the measurements.
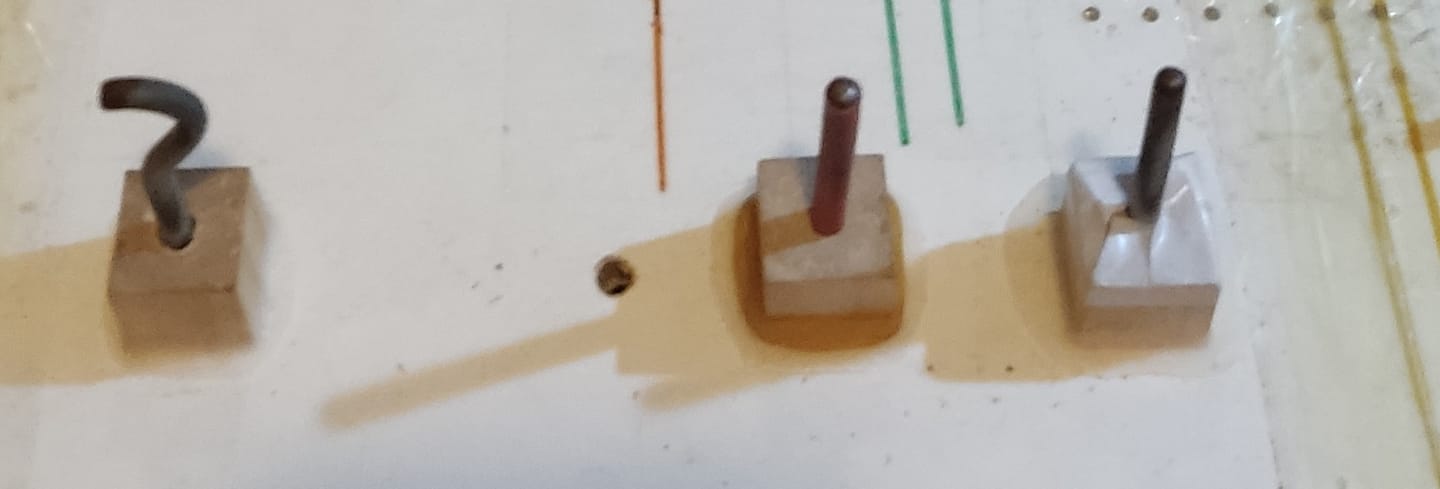
In my case, my wrist measurement is about 20 cm + 4 or 5 cm (these extra centimeters are for tying the knot properly), which gives me a 25 cm board, from the first gold line to the last gold line.
This means:
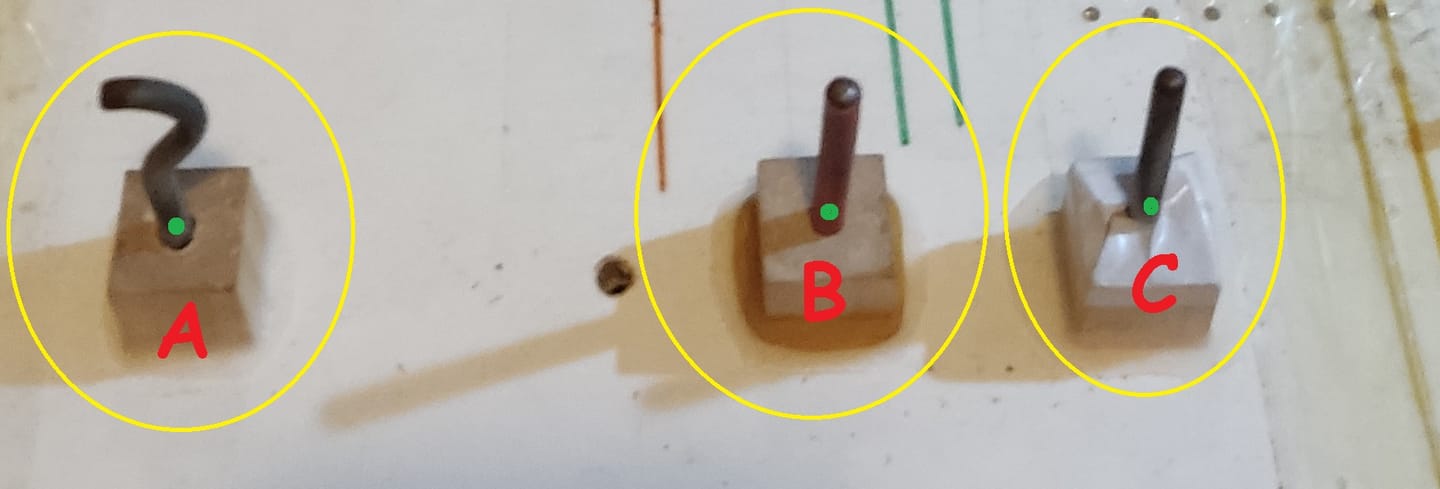
From point A to point B should be half the distance of your wrist (10 cm in my case), and from point B to point C, half of that previous distance (5 cm in my case).
We could call it "the half-and-half rule".
What about those orange and green lines over there? And that hole?
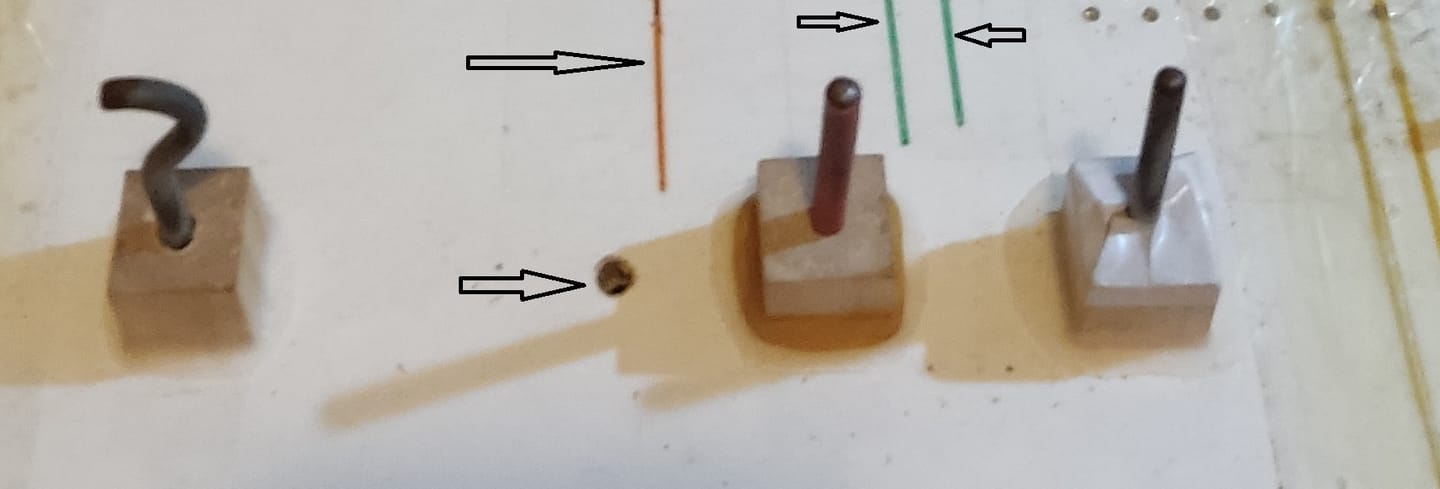
Easy, those are for the Loops I make for my 7-year-old daughter 😊
Her wrist, obviously, is still very small, and she needs her custom Loops (more than anyone else).
On the board, there were just some lines; on the Loop Maker, with an extra hole, I solved it this way.
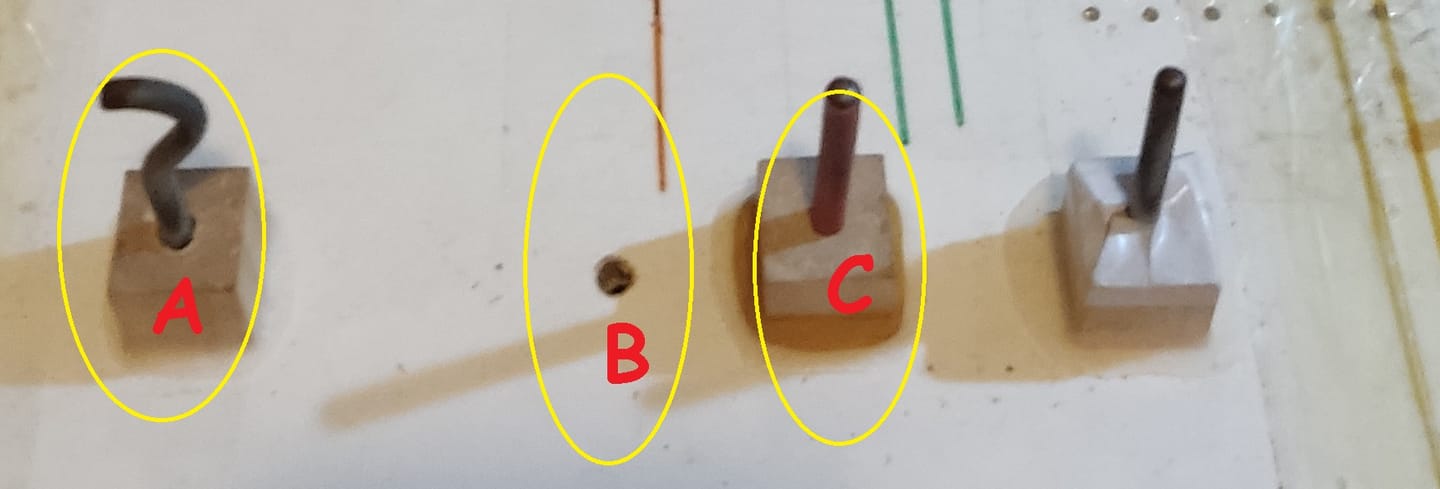
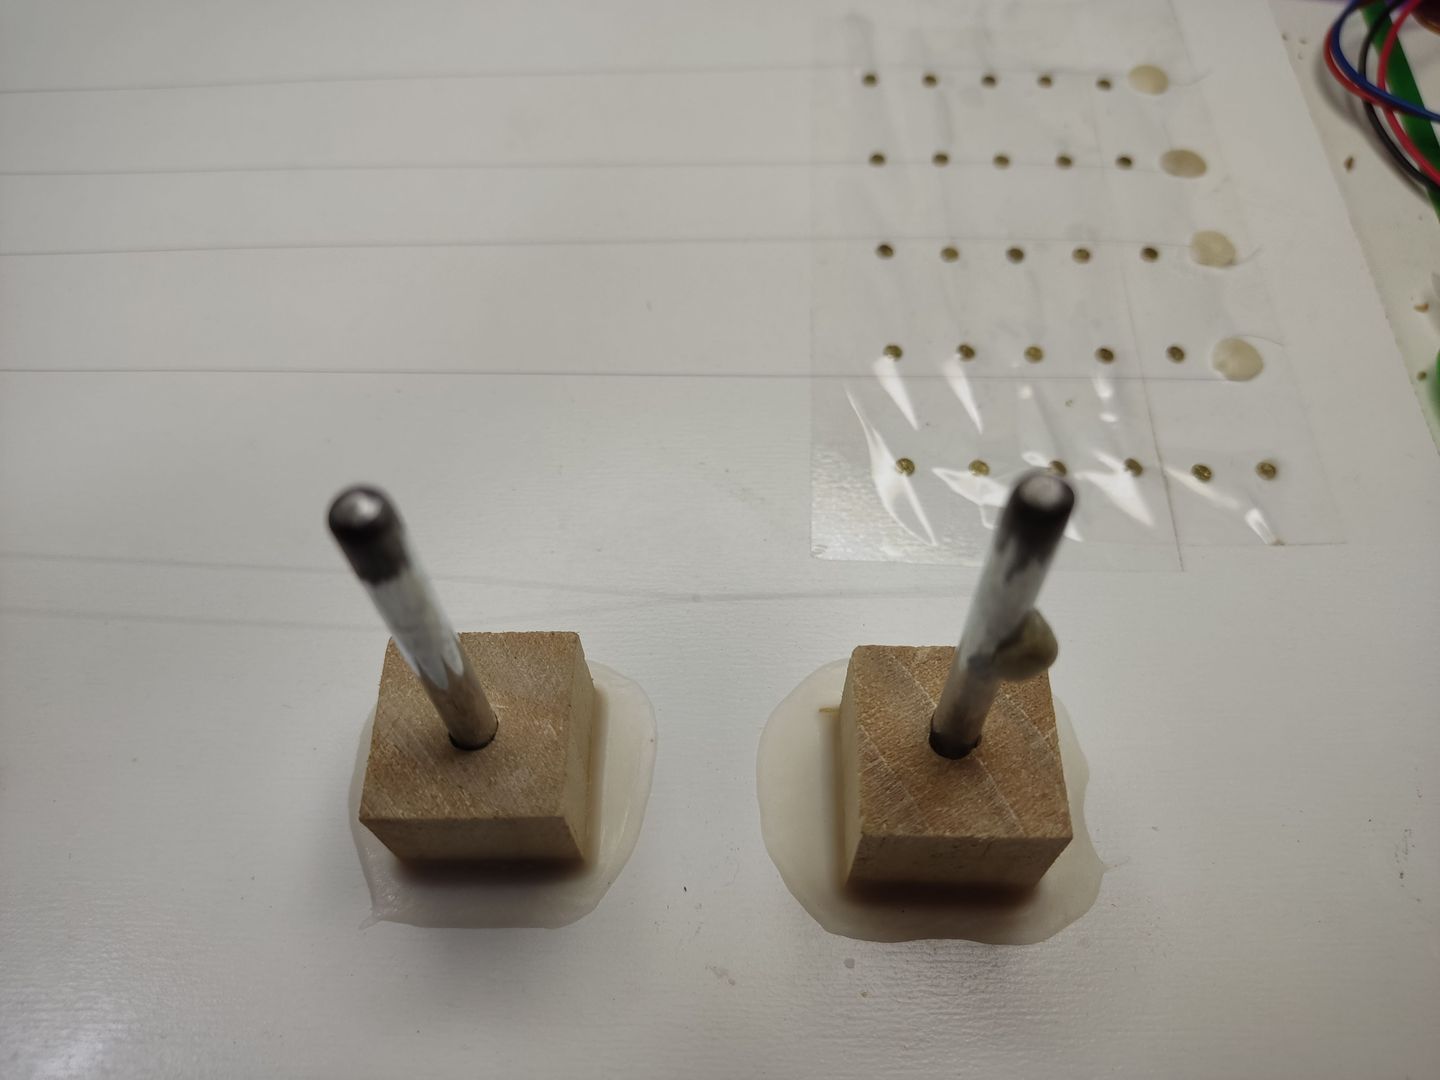
When I make them for her, I add a rod in that hole and use that setup for her mini-loops.
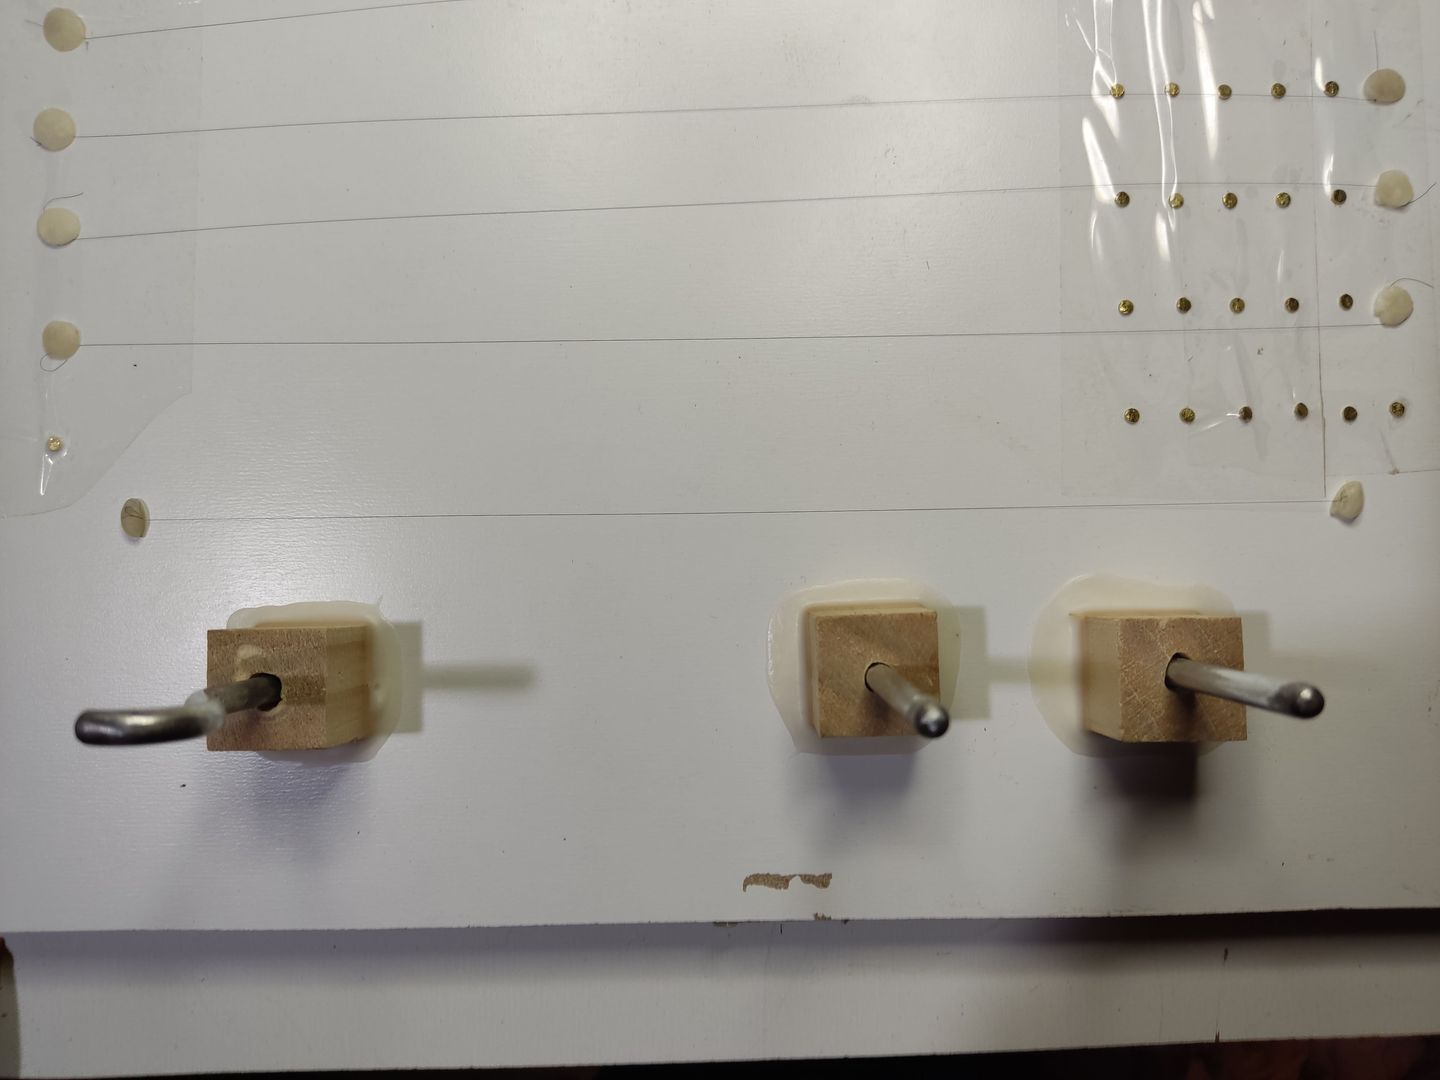
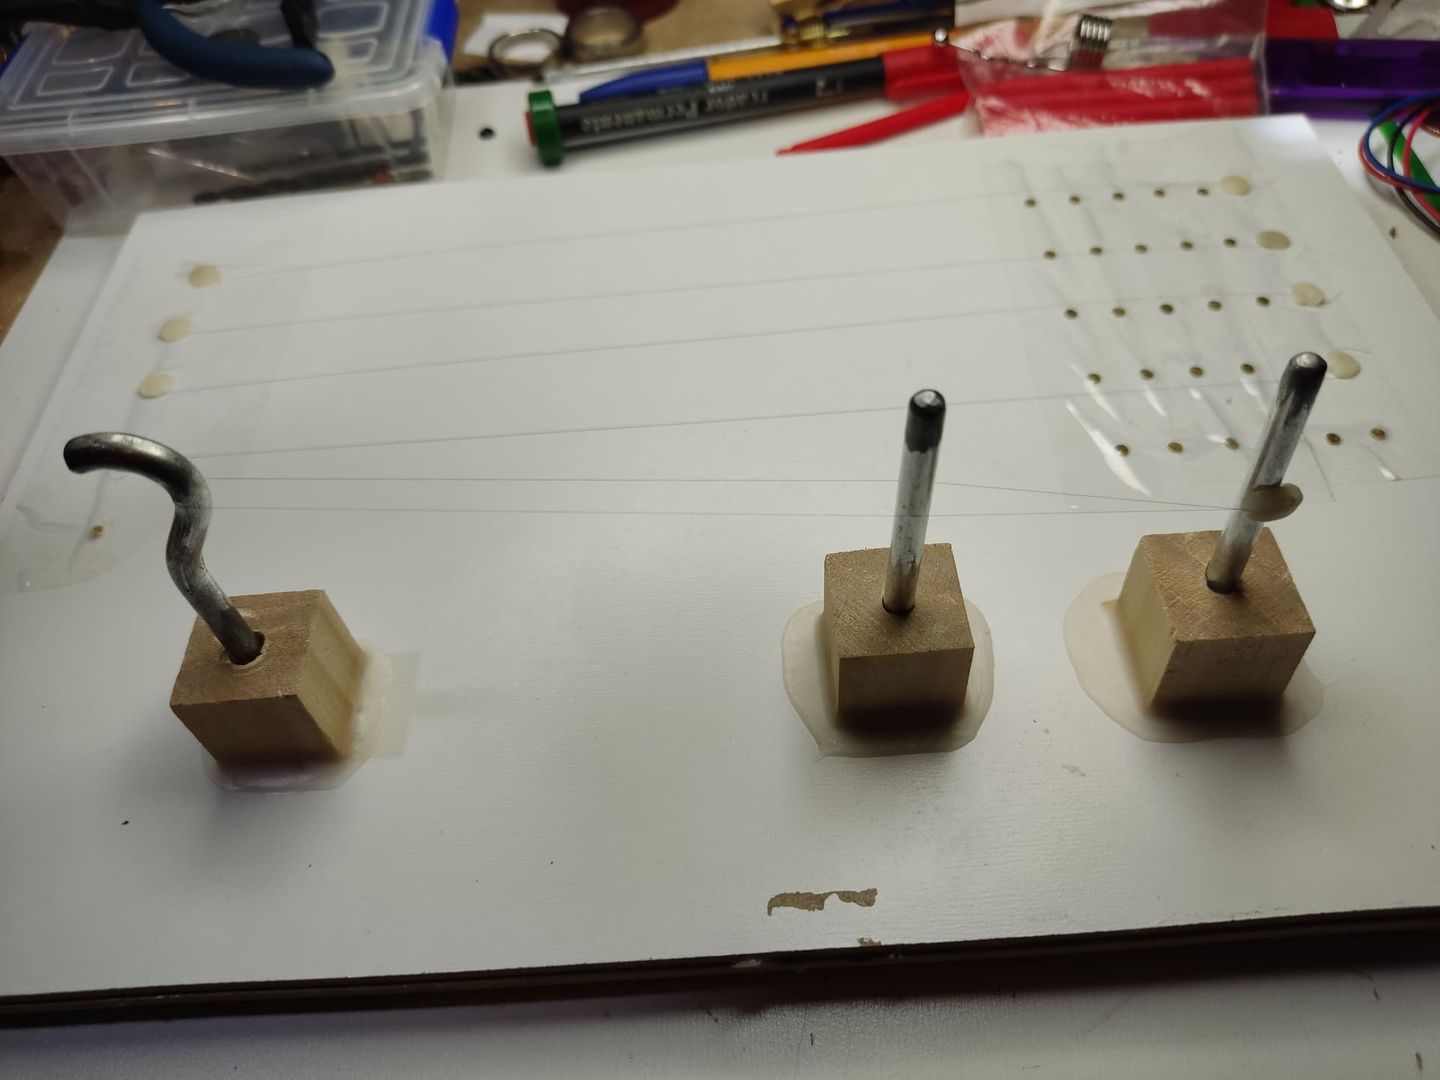
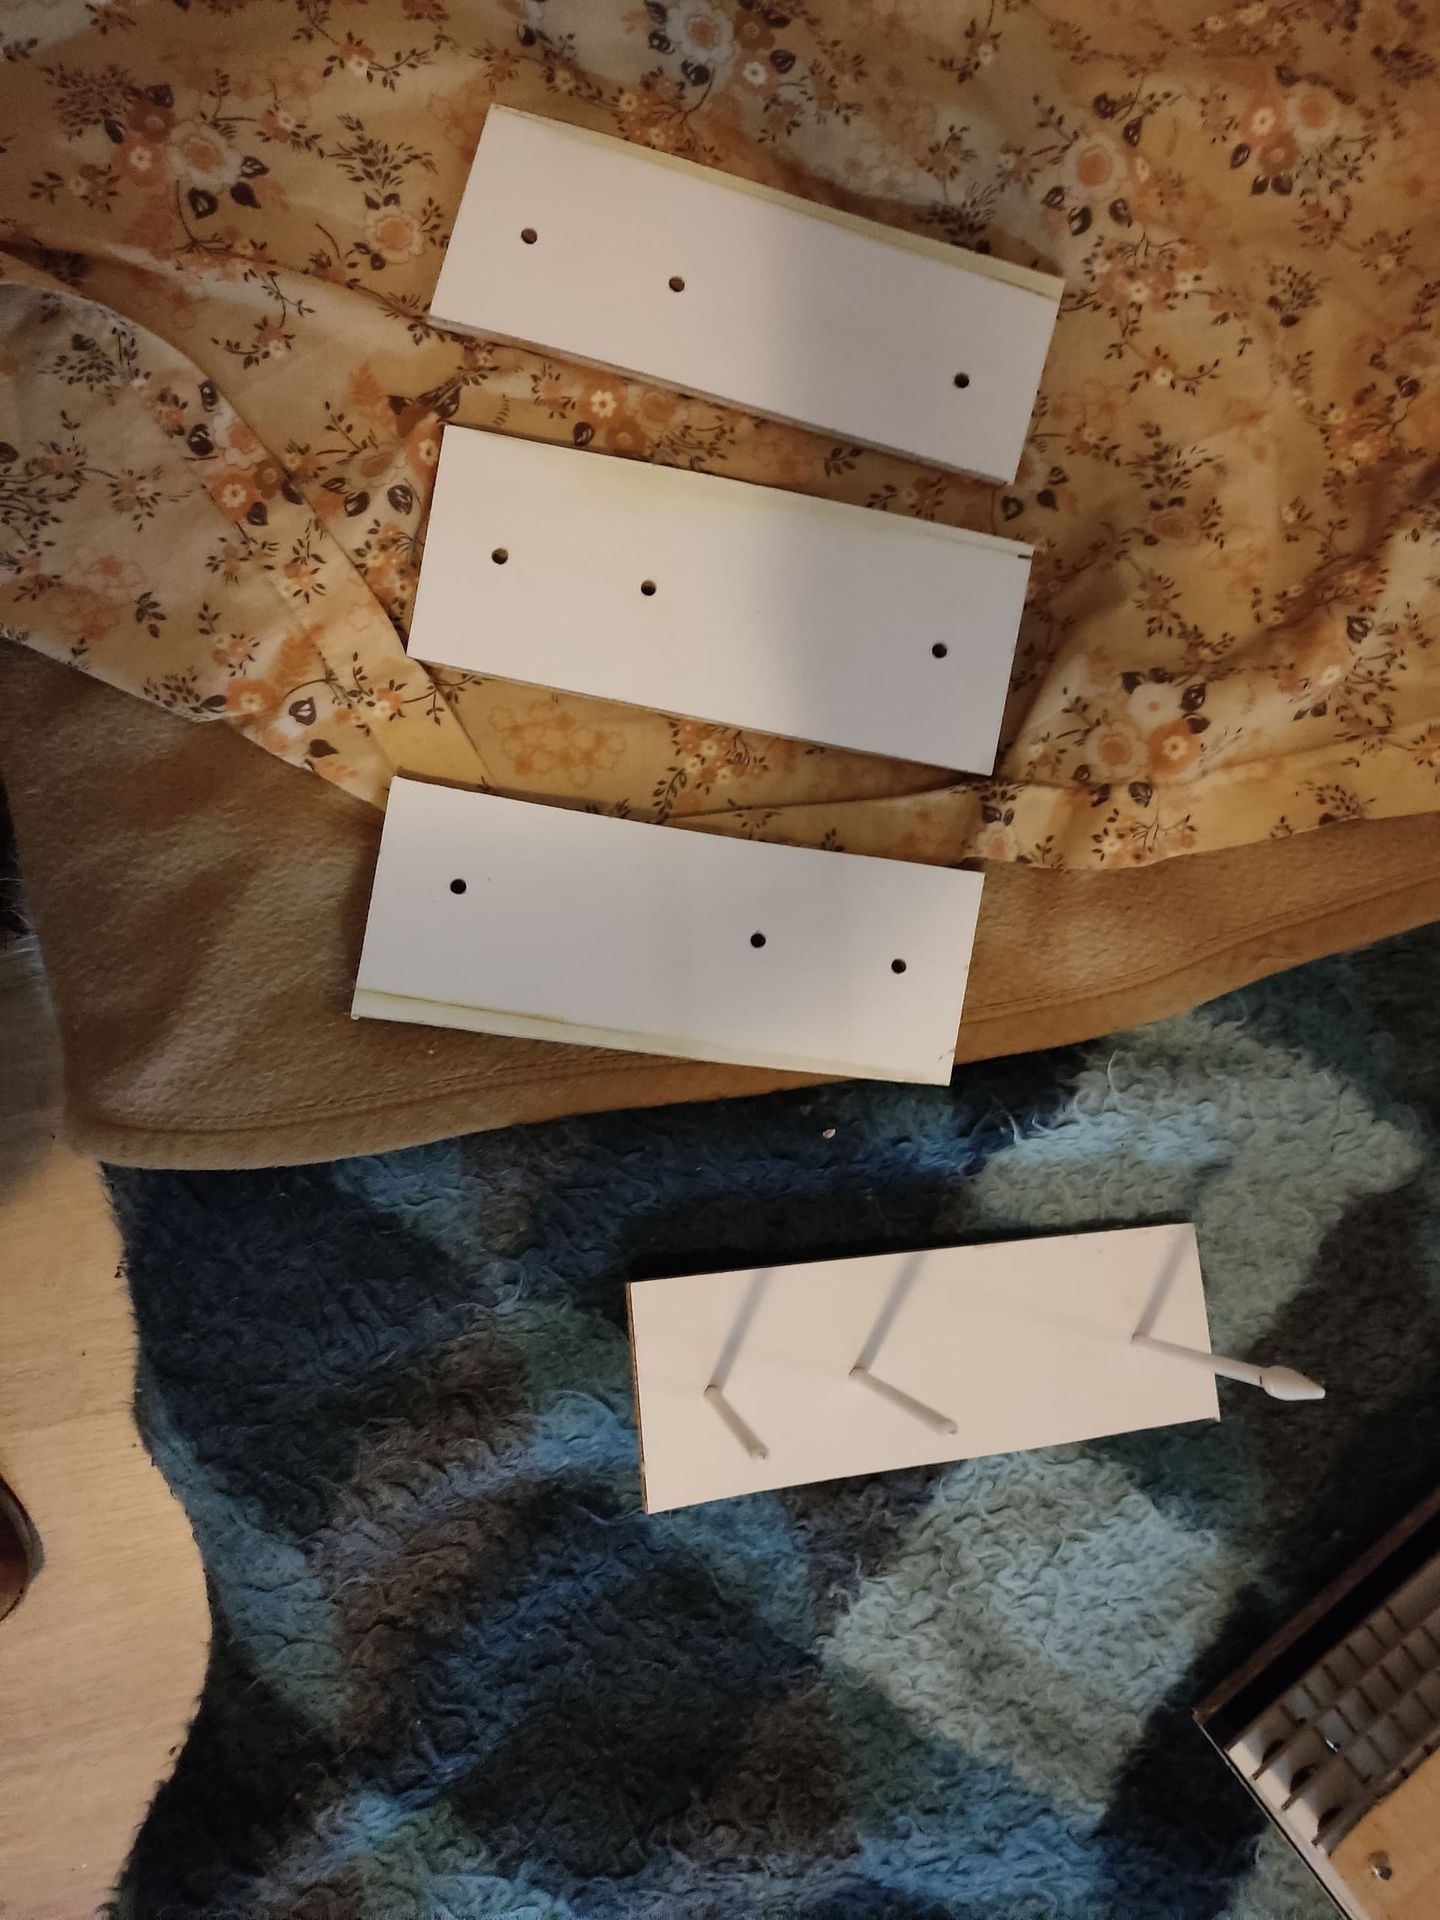
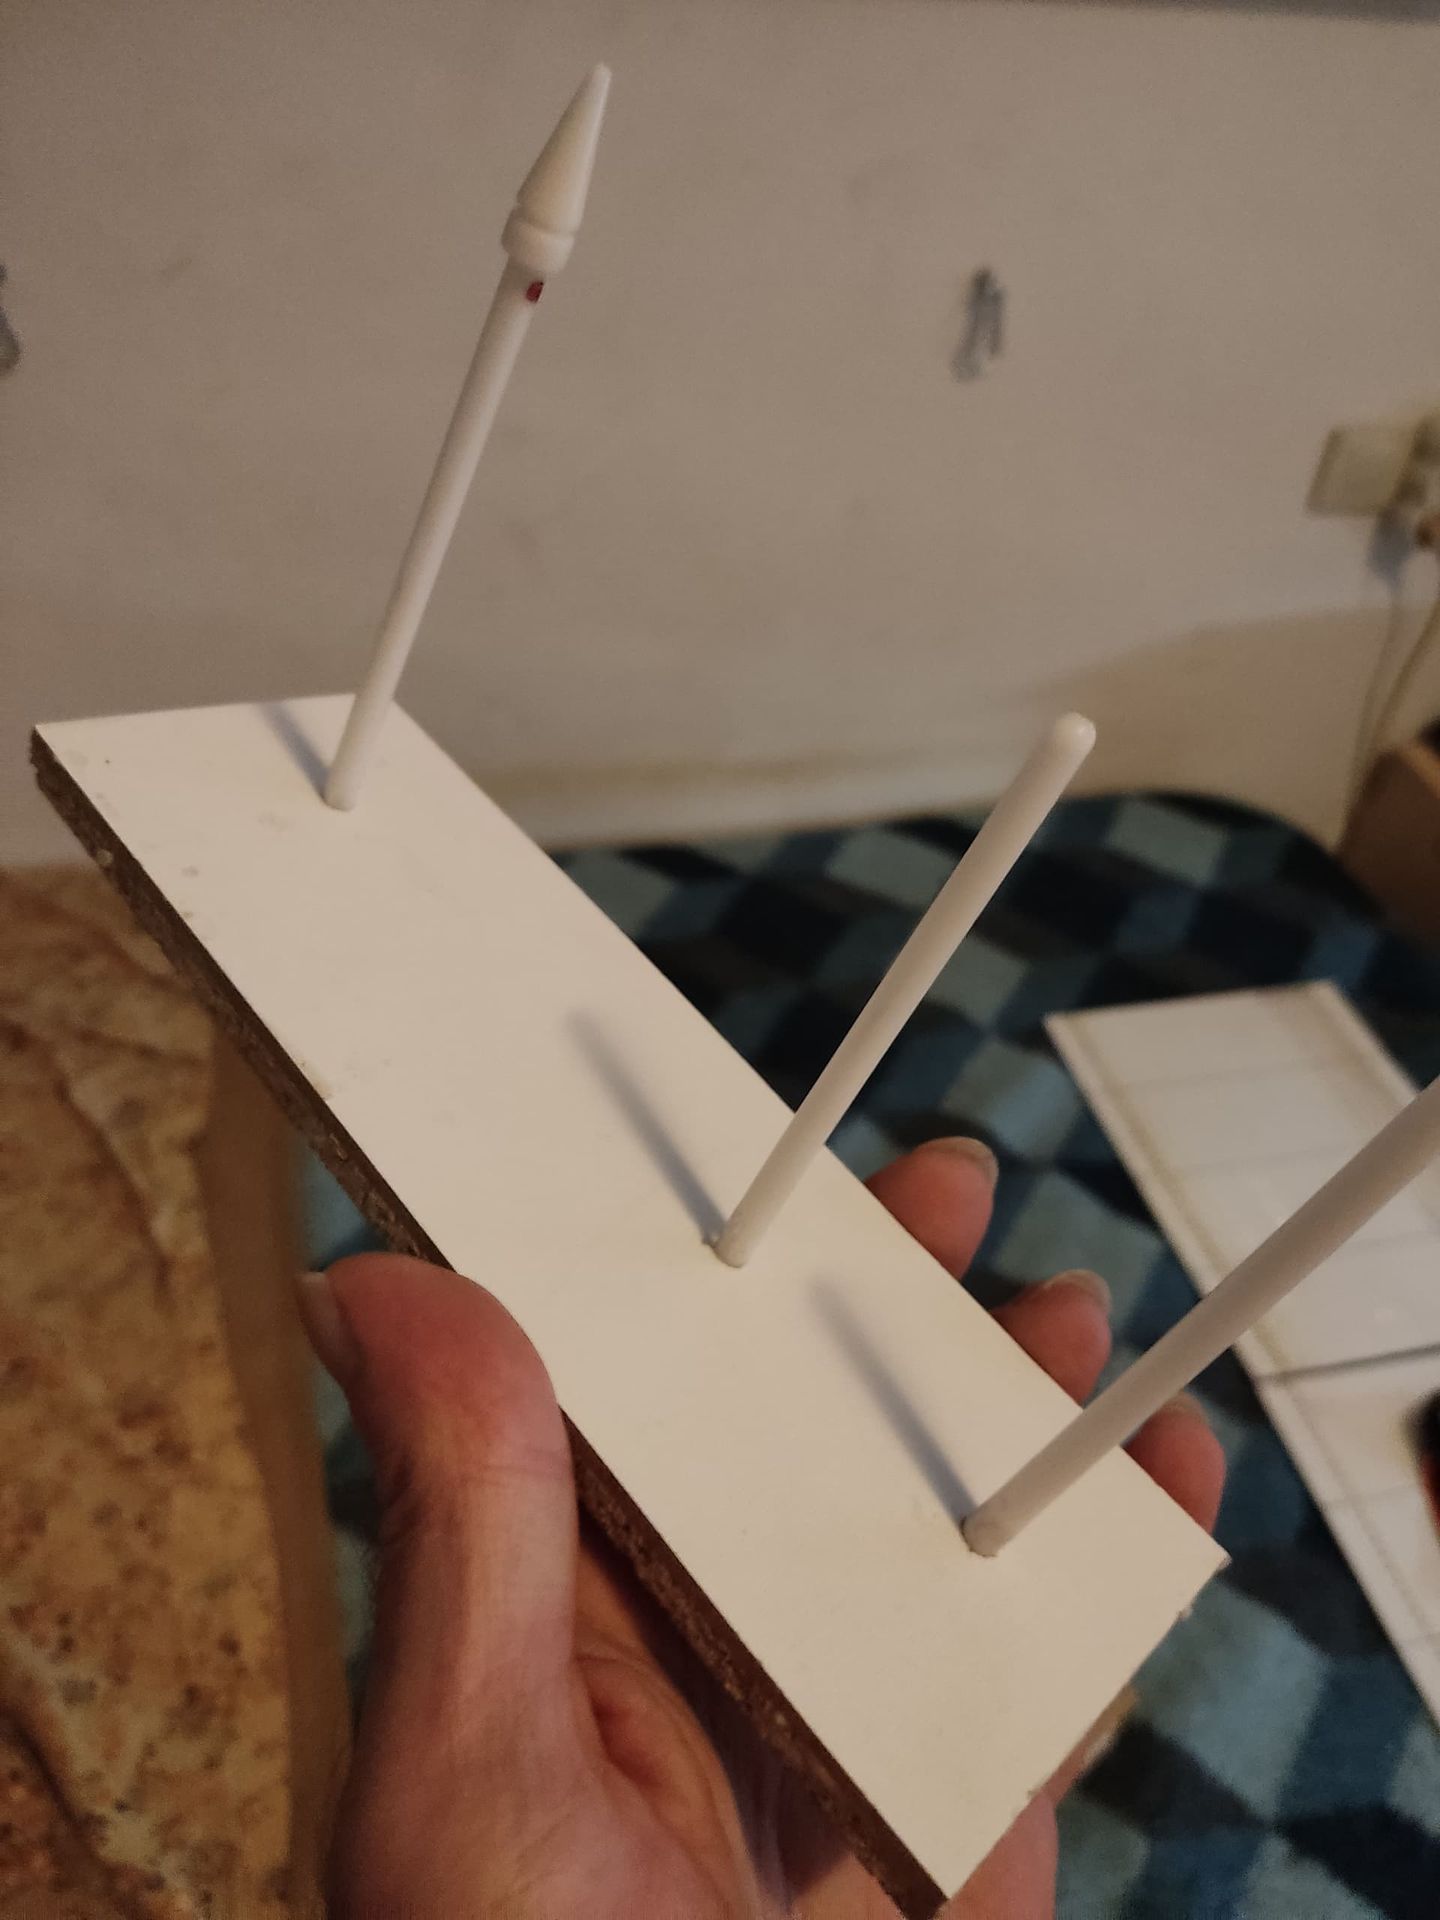
So, until now we've seen that the "contraption" is a board with some rods nailed in (at specific distances).
Back then, I took an A4 sheet and, using my measurements, drew up a plan.
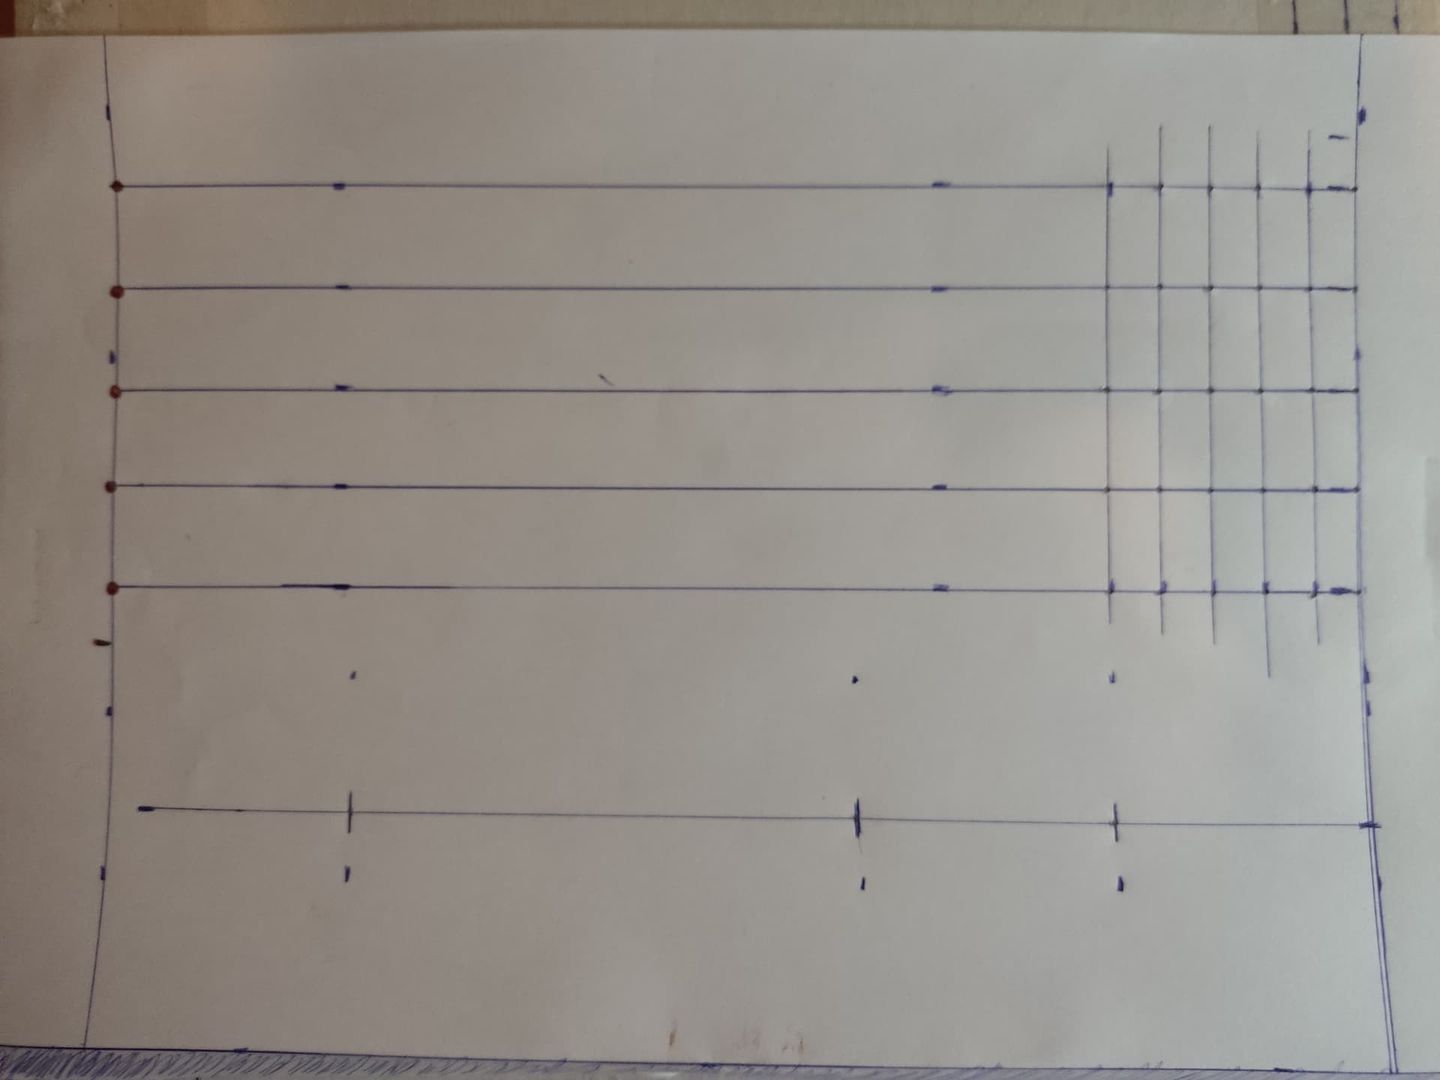
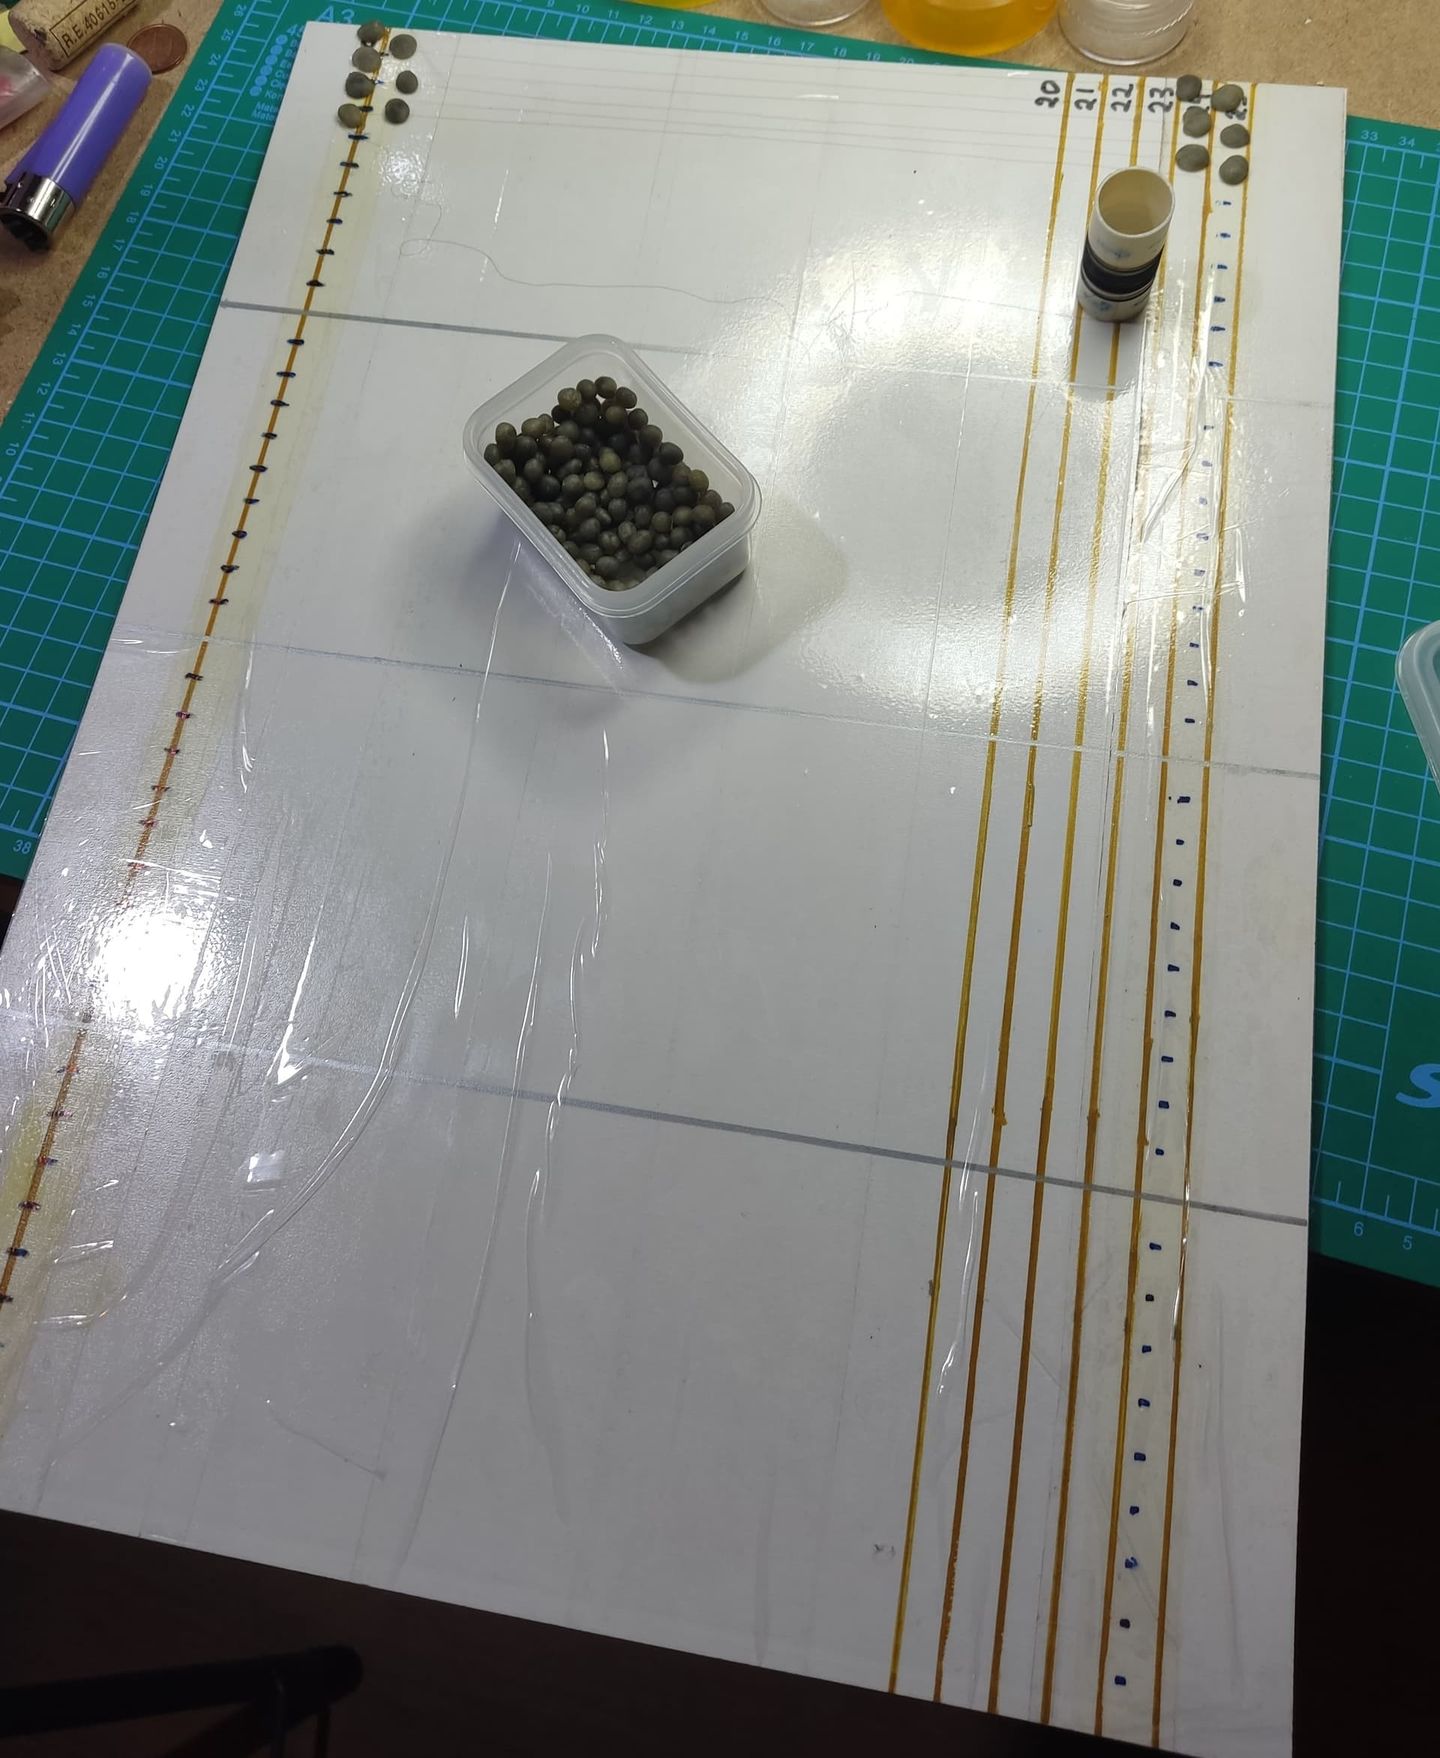
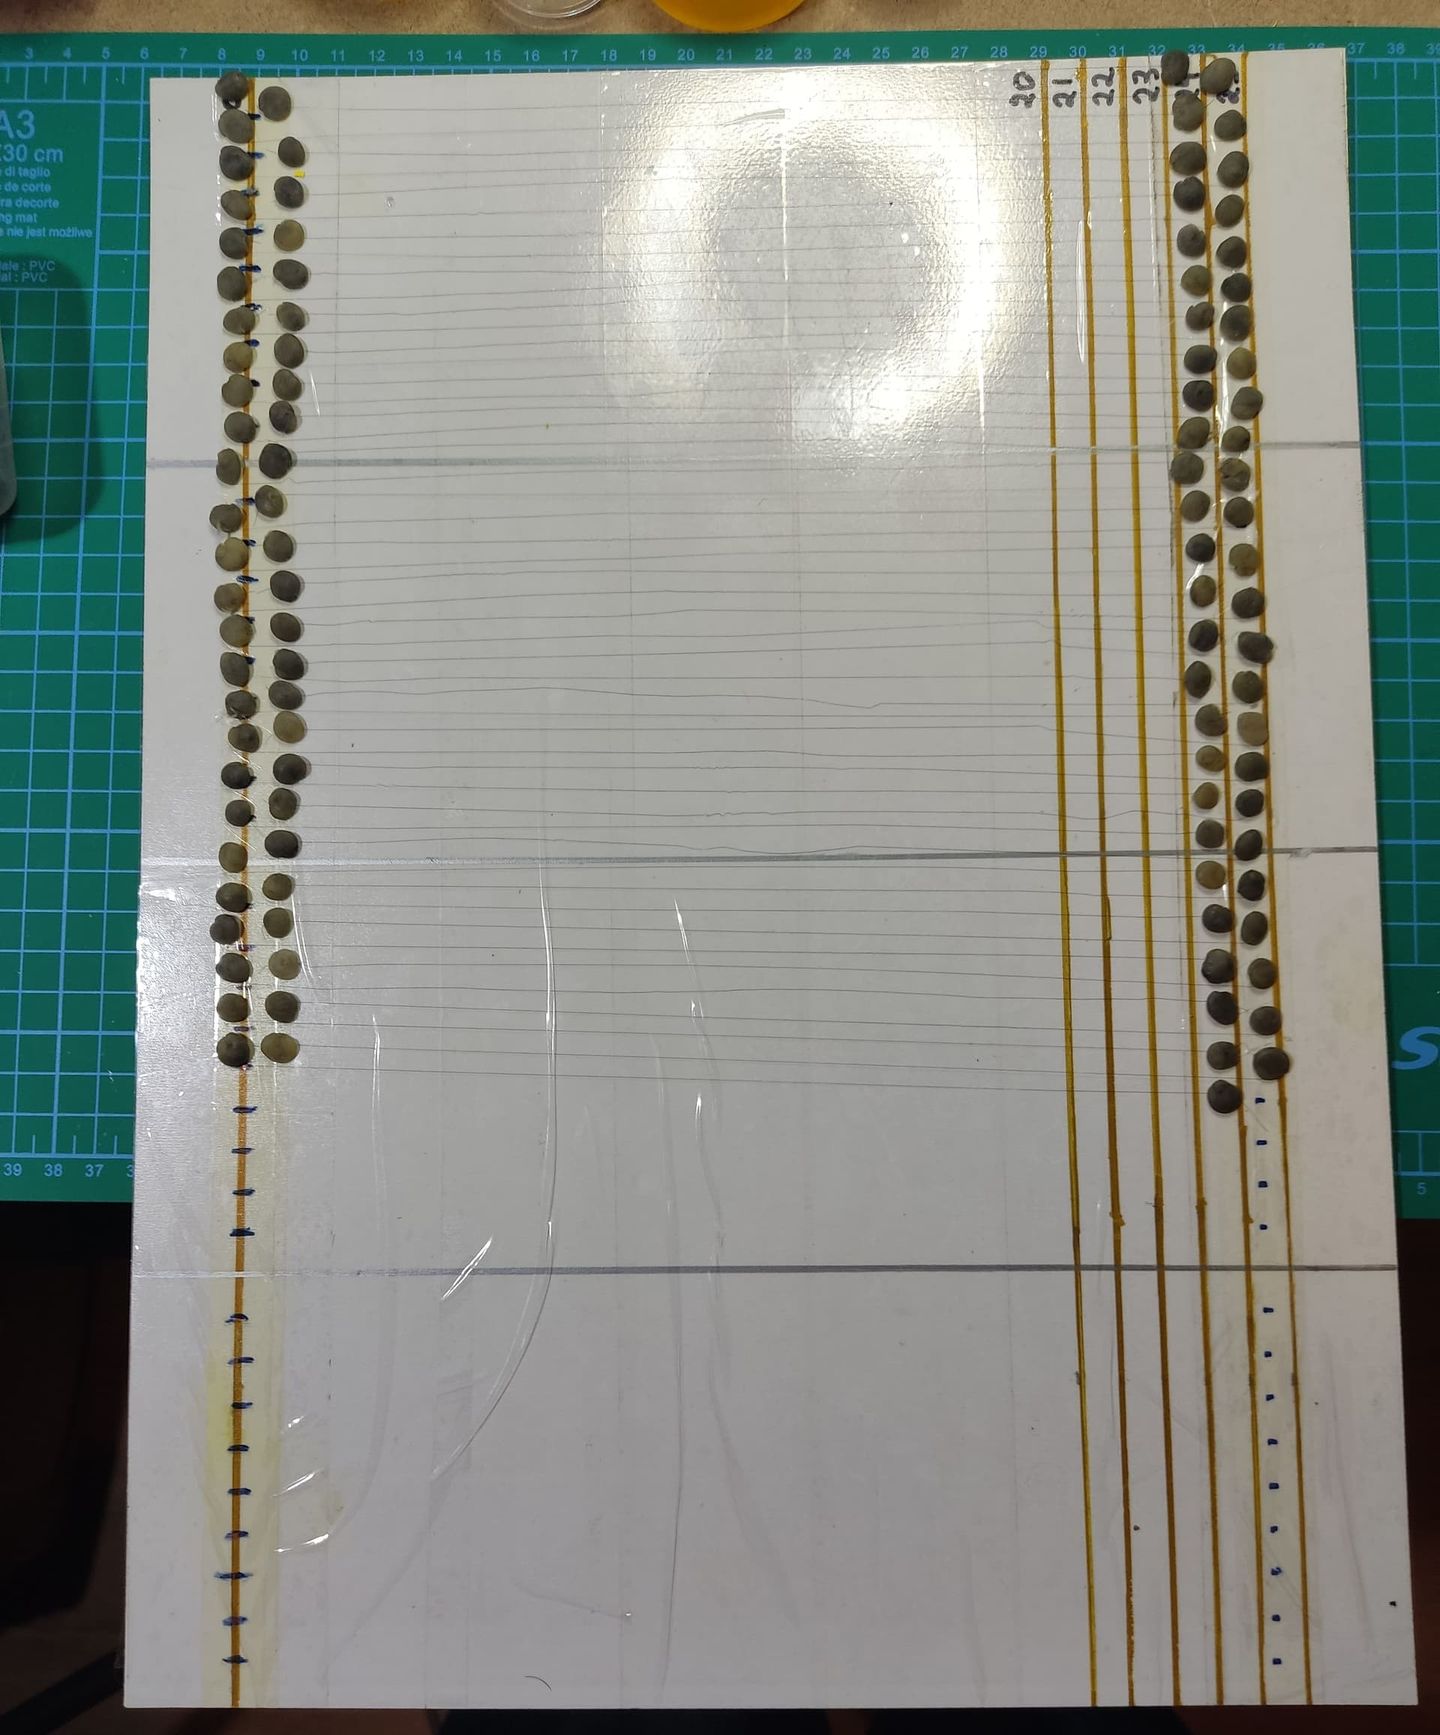
As you can see, the Loop Maker has a board to prepare the threads on it, but later, as I made more boards to speed up the process, I ended up adapting it to attach each board to it using some pegs and holes.
This is what you need to build
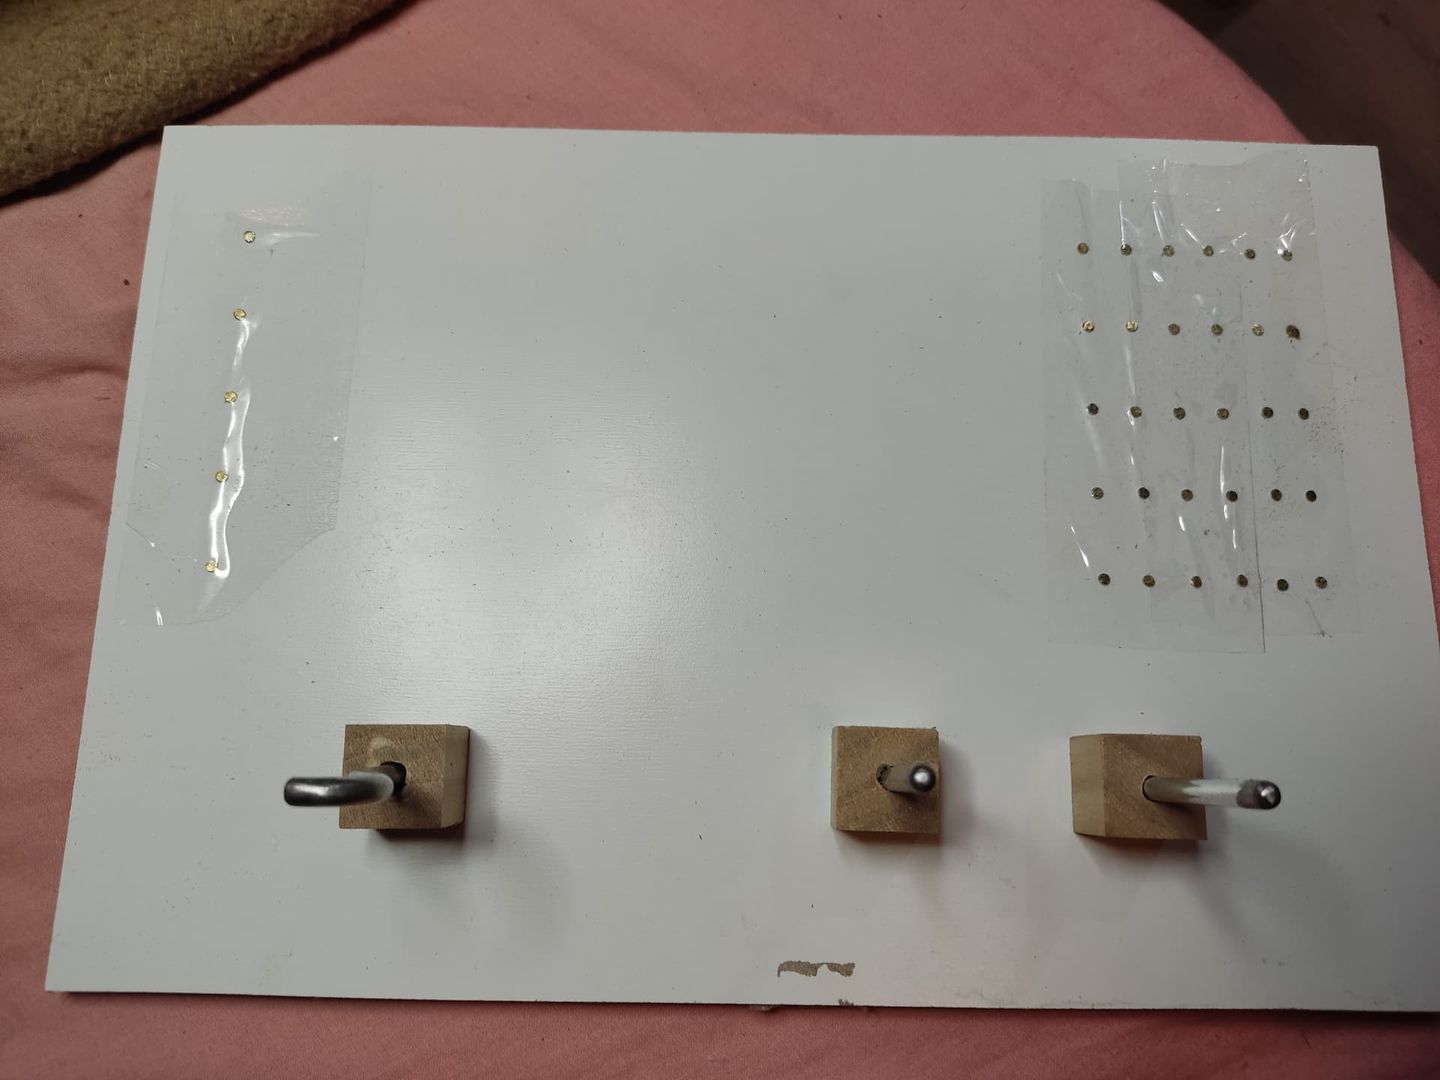
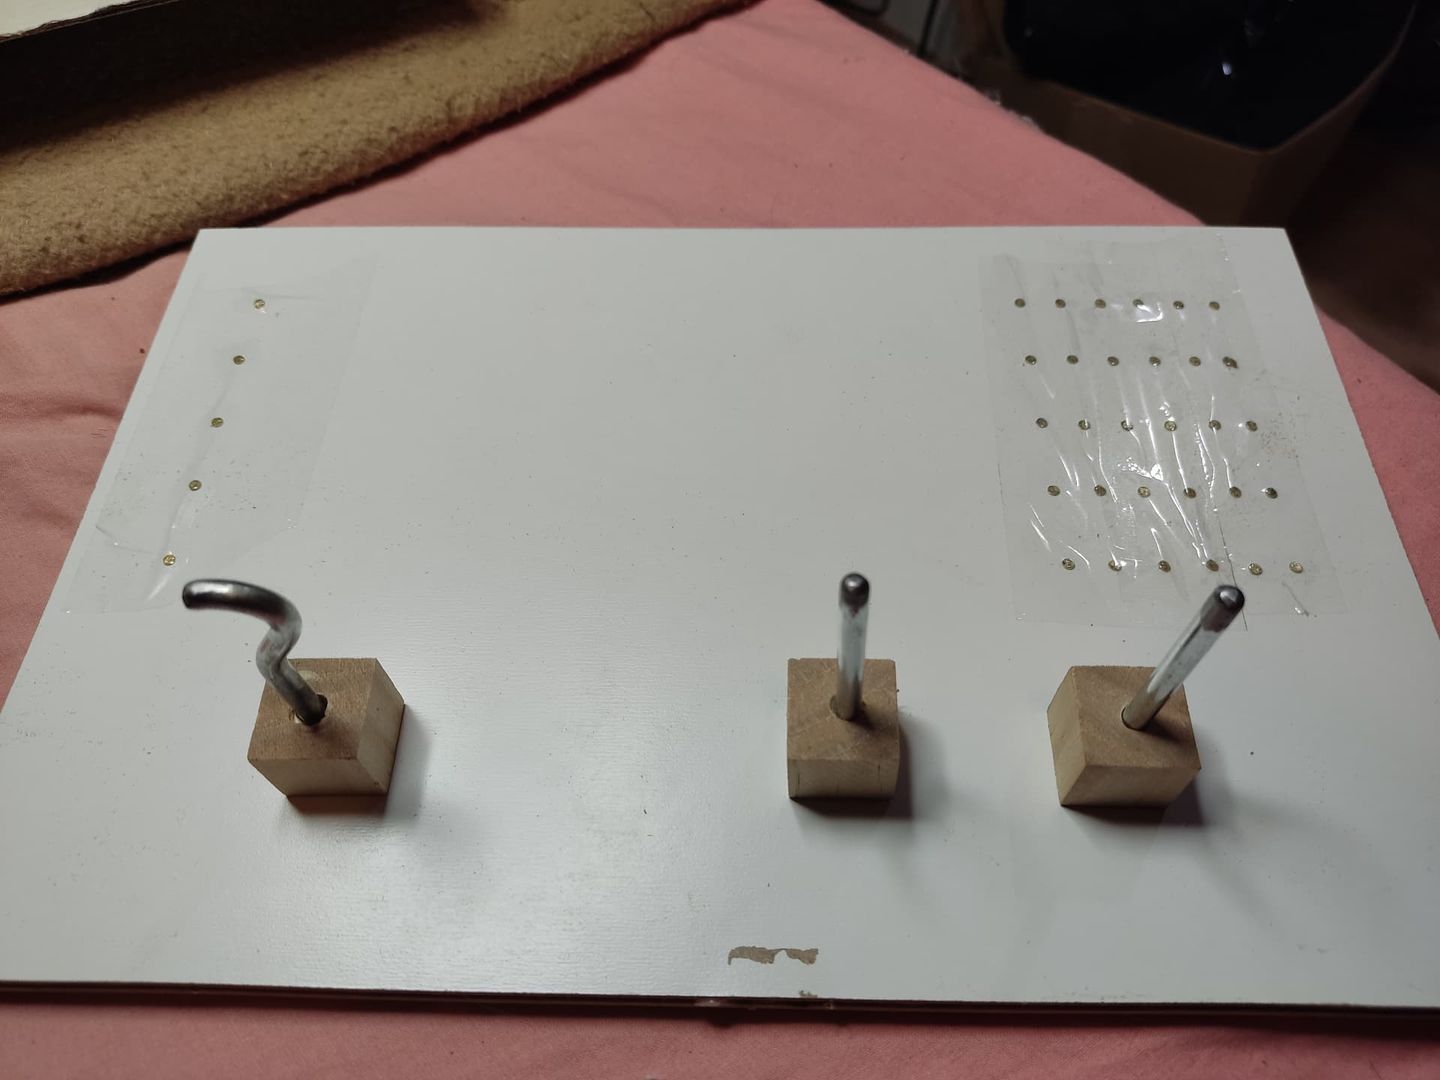
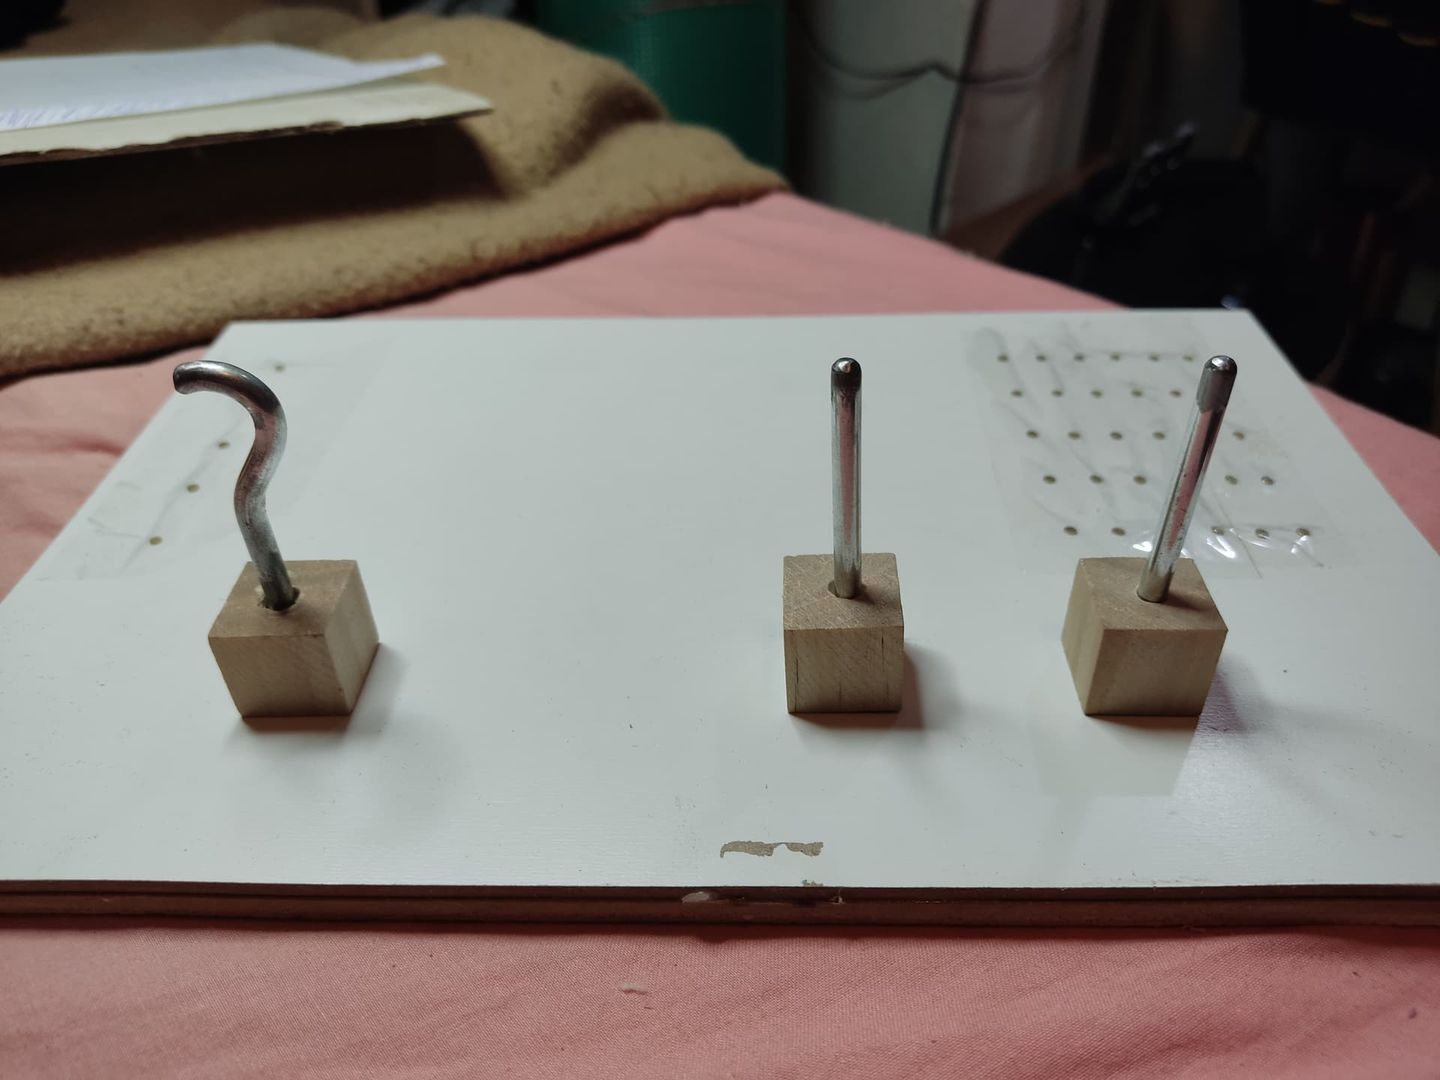
A board, fairly thick, so we can place the "posts".
The "posts," which are nothing more than our guides, in my case, I made them with tent pegs, from the Chinese bazaar. But you could use any other rod (metal is better) like metal chopsticks, or anything that allows the thread to slide without cutting it.
A drill and a bit the diameter of the tent pegs.
And that's it, a bit of DIY and patience.
With the materials on hand, it shouldn't take you more than an hour to build.
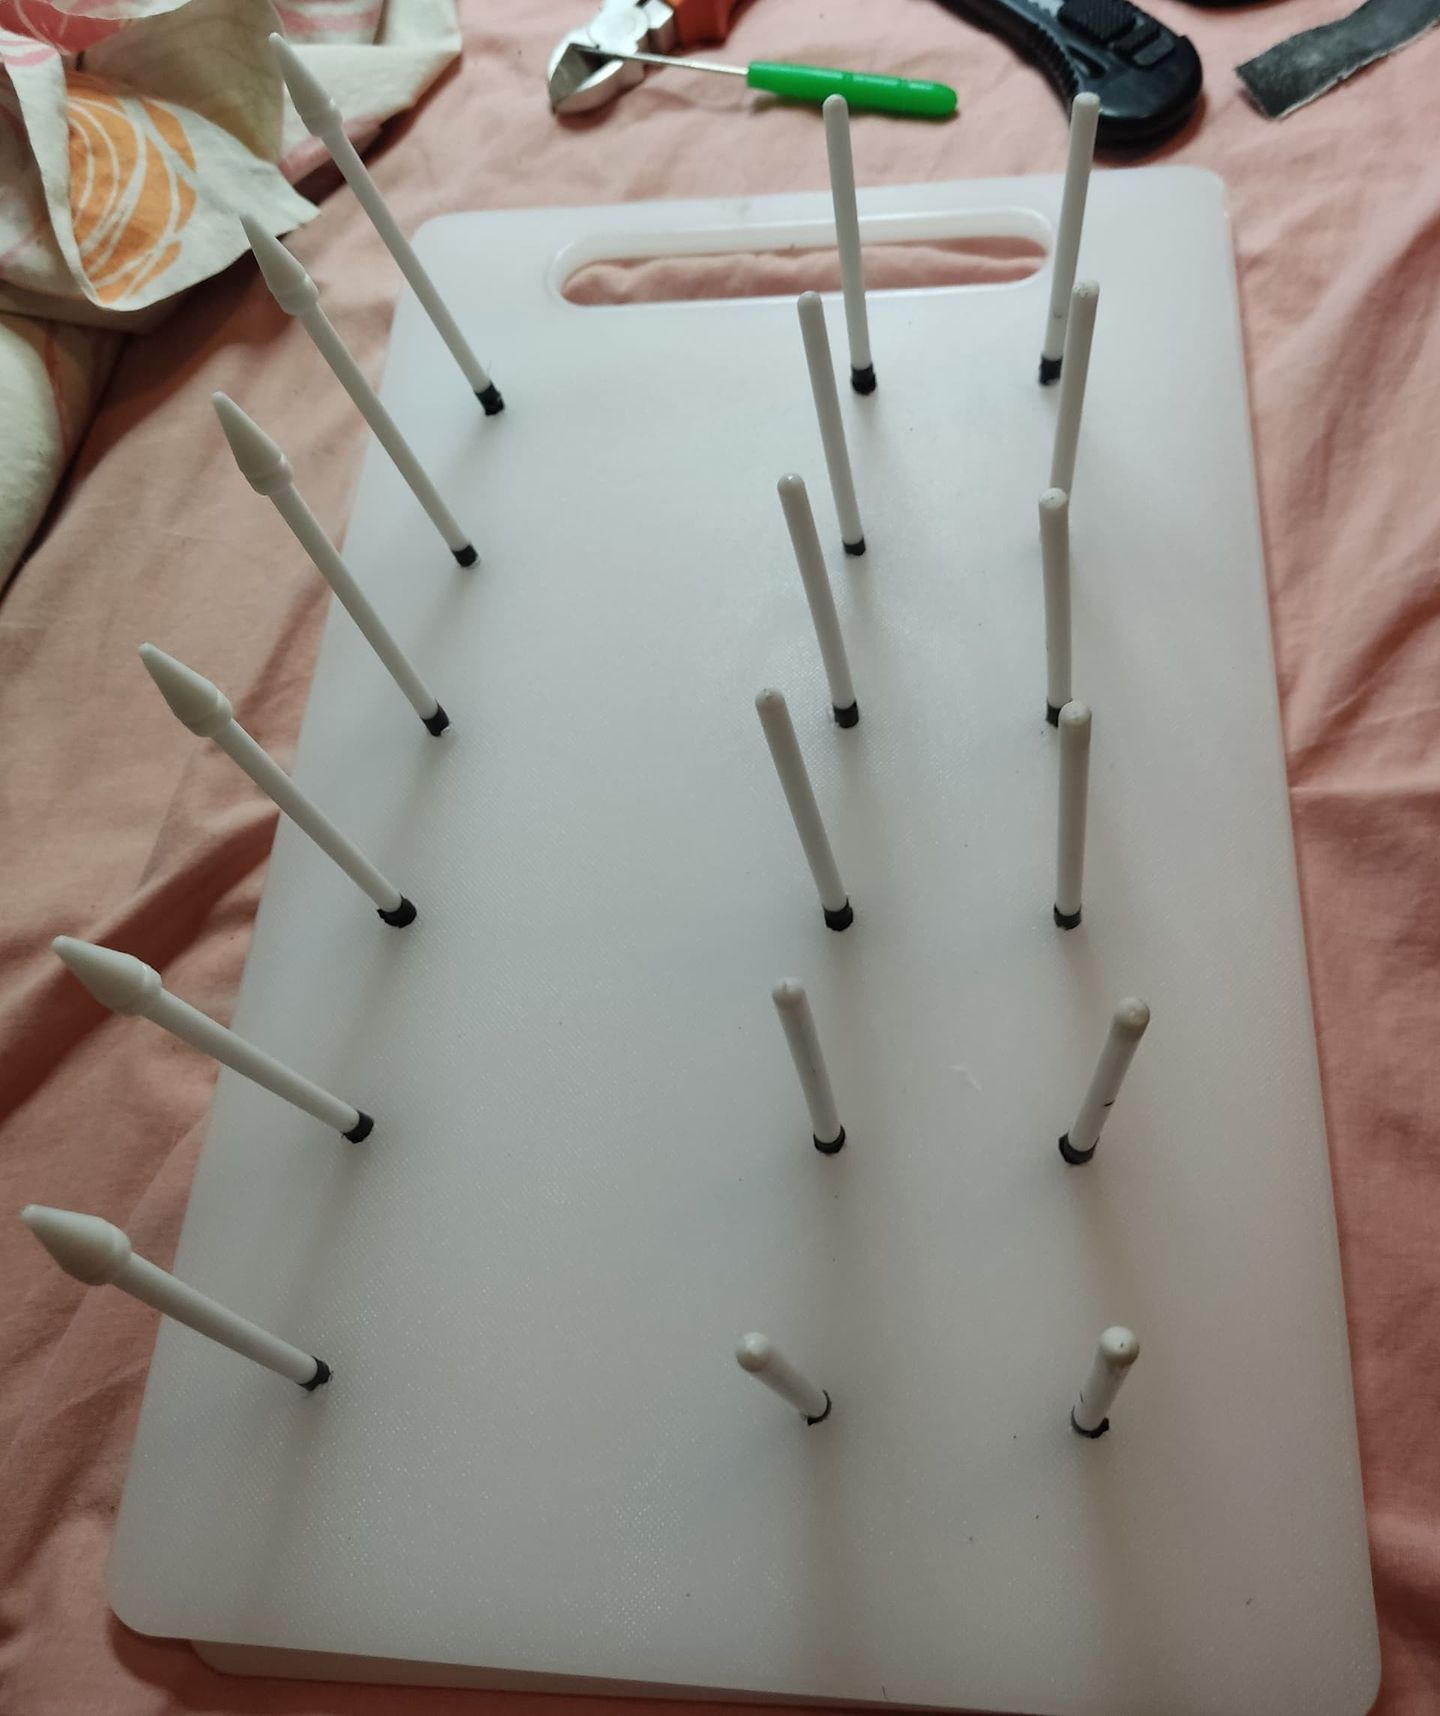
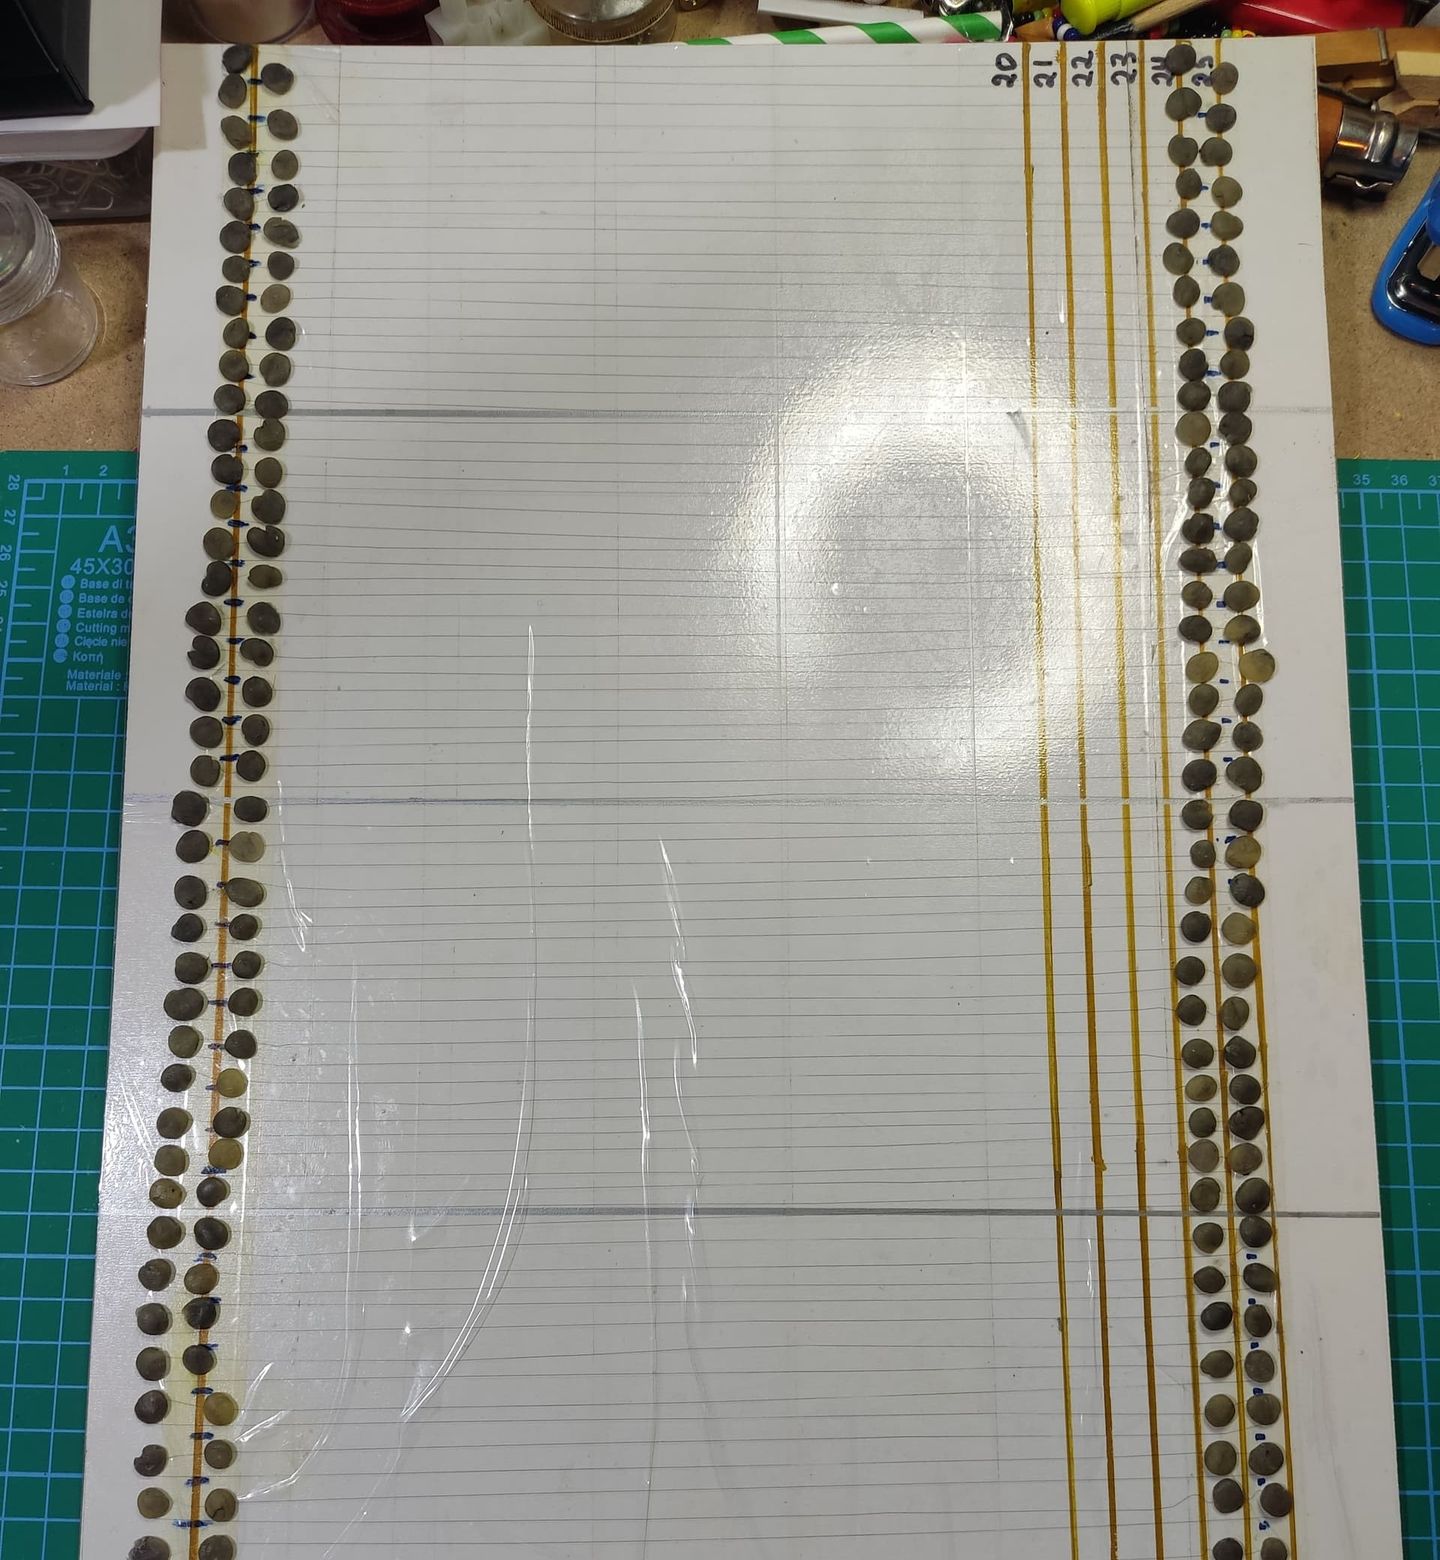
Here's another example of a multi-Loop Maker (just some ideas that pop up) made from a kitchen cutting board + some pirate flag poles from the bazaar.
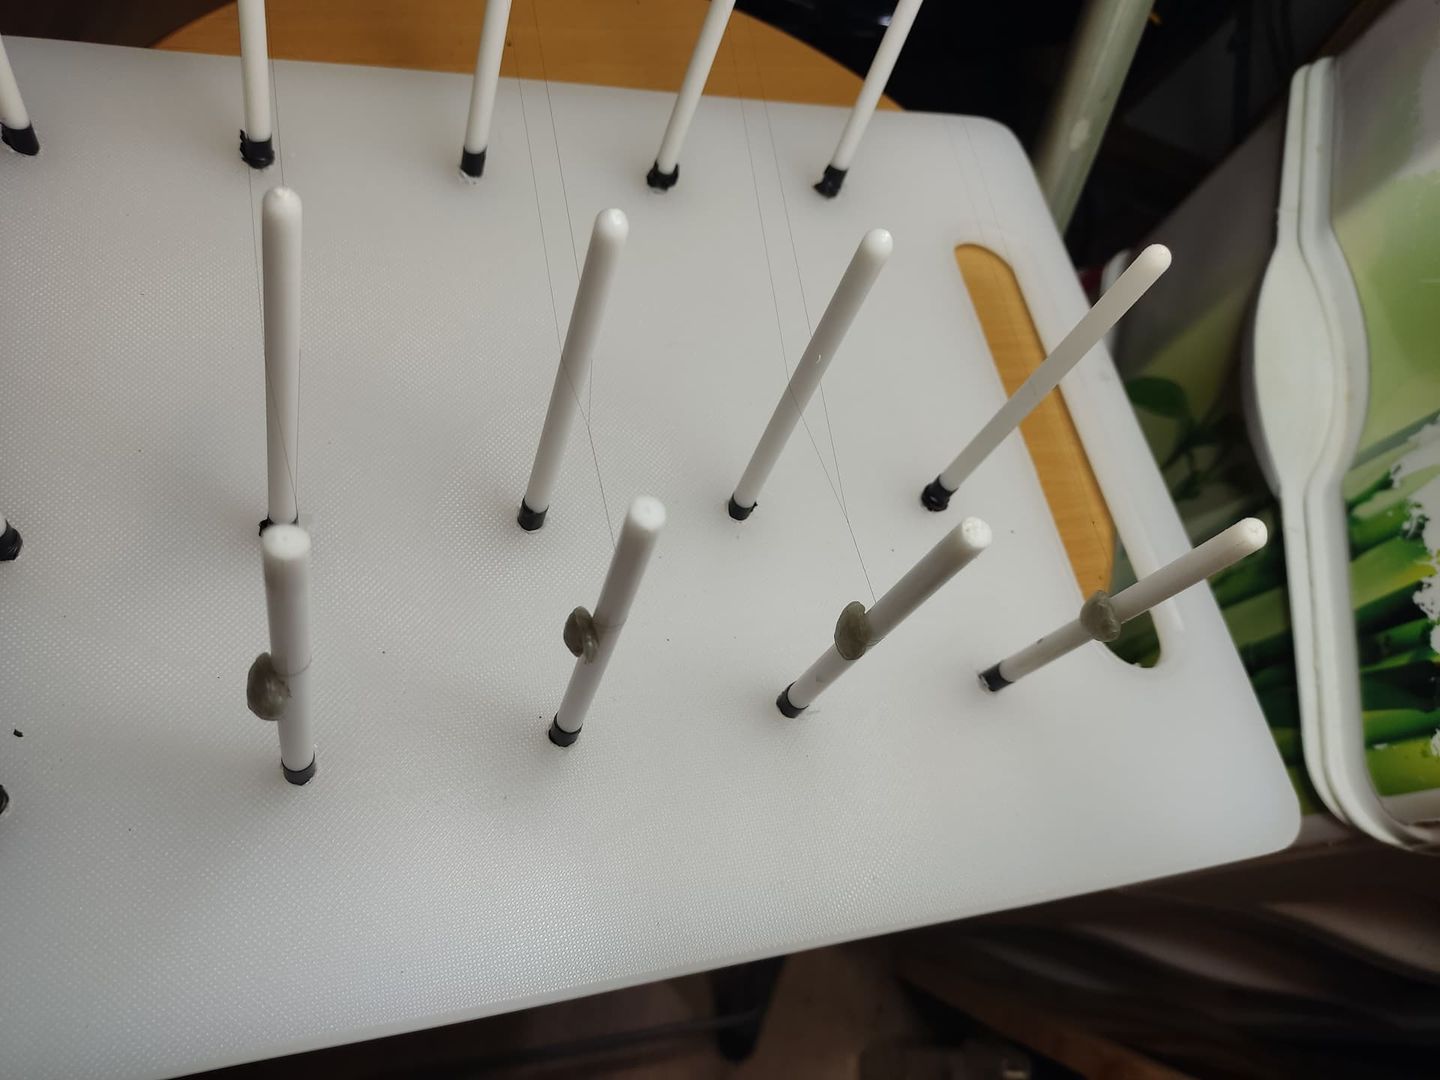
In this one, you can see the pre-loops, after tying their triple knot and before cutting them.
We've reached the point where I need to upload a video to properly explain how I do it, but it's taken me almost an hour to finish this second part (and it's not even that much content). It's 1 AM (here in Spain), and I'm totally exhausted.
Except for that video, which I'll get to once I wake up and make some coffee, I promise I'll get right on it, for the rest, you already have something to work on to get ready.
On one hand, the " Boards" (https://magigram.com/es/club/beginners/taller-de-magia-guia-tutorial-de-la-tejedora-de-bucles-loops-knitter-parte-1-de-2-1048/), and on the other, the Loop Maker.
It's all pretty easy, but you've got to do it.
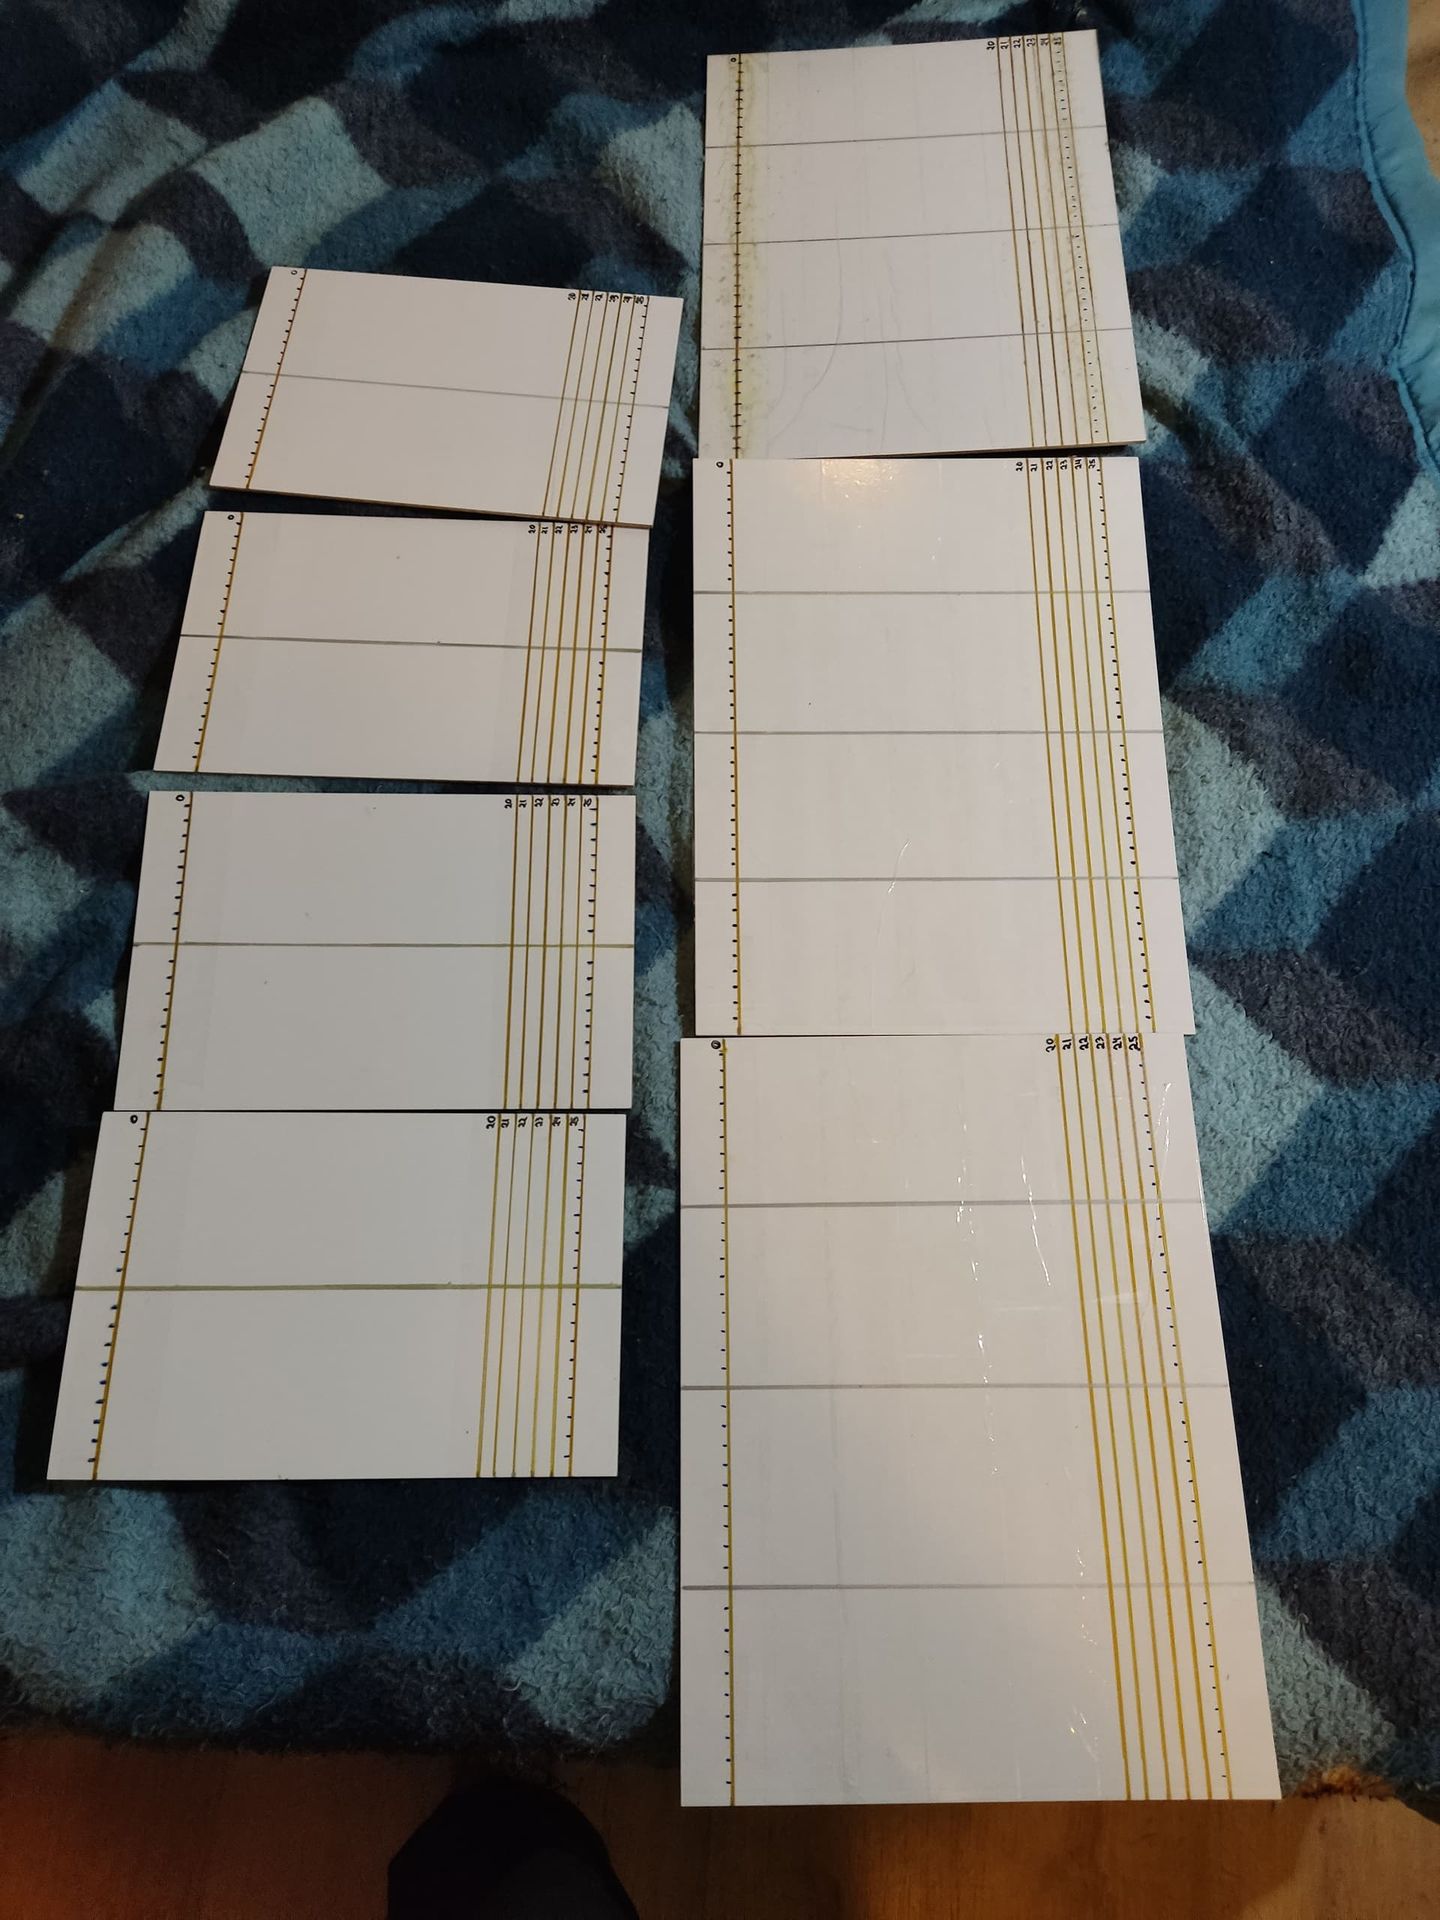
As I said, I'll make and upload the video in about 8 or 9 hours, though the more intuitive among you probably won't need it if you've got good logical deduction.
For now, you've got some work to do until I upload the video with the full process, which I'll post as a reply to this same post as a "solution".
Cheers everyone, and good magic!!!
Join the conversation
Log in to read 35 comments and replies.