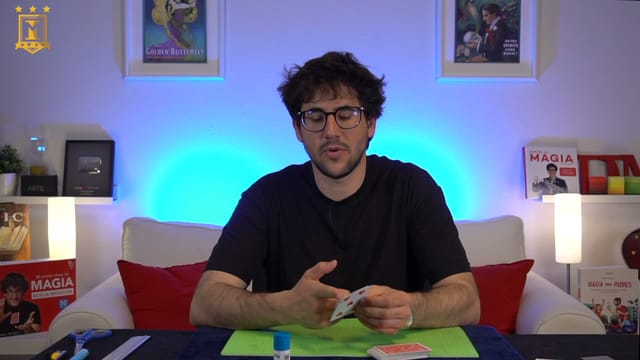
Crafting Double-Backers and Magnetic Gimmicks
Preparing Cards and Magnetic Props
Borja Montón teaches DIY card magic crafting techniques to repurpose loose cards and build custom gimmick cards. This masterclass combines making a double-backer with a hands-on introduction to using magnets and a prop to work with the card box. The goal is to understand the materials and their potential, rather than learning a complete routine from start to finish.
Splitting and Joining Card Layers
The explanation begins with the structure of a playing card: its outer faces, the inner core layer, and the relationship between thickness, opacity, and flexibility. You will see how to start splitting without warping the paper too much, guide the motion smoothly, and know when to change direction. Borja repeats the process with another card; small tears and paper residue appear, highlighting the care needed.
Next, he demonstrates how to flatten the layers, apply and spread the adhesive, align the edges, and keep pressure while drying. Both the consistency of the result and its finish are addressed. Other possibilities are also discussed, such as double-facers or face-and-back combinations; these are presented as applications of the same principle, without building a full collection of specialty cards.
Choosing and Handling Magnets
Pieces of different sizes and thicknesses are compared, and the difference between a metal plate attracted to a magnet versus a small magnet built into a prop is explained. This lesson helps you gauge how much bulk a card can take, the rigidity added by the preparation, and why it is best to check the polarity and mark the spots before gluing. The fragility of very thin magnets and the importance of avoiding impacts are also noted.
Suggested applications include joining or vanishing cards and combining a prepared card with the card box. These are tools to help you develop your own effects; references to card detection, sandwich routines, or the Ambitious Card do not constitute full explanations of those routines.
Card Box Applications
Borja introduces the commercial prop The Tool and shows examples of a card traveling to the box and a torn and restored card. He explains its general function, but does not teach how to manufacture the commercial product. He then demonstrates his own alternative, discusses its preparation, and shows differences in handling and removal.
When explaining his alternative, the instructor mentions that part of the box setup is already prepared and describes how he made it, the materials used, and the finishing decisions. The lesson concludes with presentation possibilities using a signed card and recommendations for testing new applications.
Materials and Prior Experience
For the crafting section, you will need expendable cards, a card box, a glue stick, a ruler or hard surface, and a heavy book or flat boards to keep the pieces flat. To explore magnetic prep, thin magnets, super glue, card box stock, and a pencil to mark positions are used; a caliper helps compare thicknesses. The commercial prop is not needed to practice splitting and gluing cards.
Difficulty lies mainly in working the paper patiently and achieving an even finish. Familiarity with basic card handling and practicing the construction using spare cards is recommended. The presentation examples require rehearsing the handling of the prop and adapting its possibilities to a specific effect.