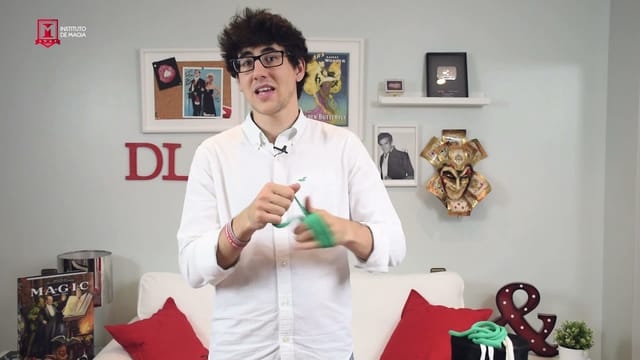
Travelling Knots
Two ropes are used to present a travel of three knots: they vanish from one and appear on the other. The explanation breaks down the full routine and the necessary sleights so that the actions flow continuously and the audience can follow each change.
Choosing and Preparing the Ropes
The class begins by comparing different types of rope. Borja distinguishes flexible magician's ropes from stiffer ones and discusses how their construction and thickness affect handling. He also shows a way to finish the ends to reduce fraying and maintain a neat appearance.
The technical part covers grips, coordination, and tension control when tying the knots. It includes repetitions of the handling and details on length and speed: the rope must allow for comfortable working, and the moves must be sufficiently rehearsed to look like a natural pickup. The explanation also covers checking the knots with a spectator.
Giving Intention to Your Actions
The routine is built with distinct moments: showing the ropes, establishing the knots, and making their vanish and appearance clear. Borja discusses the separation between an action and its revelation, as well as the convenience of making the final knots look consistent with the previous ones.
The internal script occupies its own section of the class. It consists of imagining what the character discovers and tells themselves during each action, even if unspoken. This intention guides the gaze, reactions, and communication when the presentation features music.
Presentation and Props
Story ideas for children's audiences and a casual presentation for adults are offered. These are options to adapt the routine to your own style; using music is not required.
Prepare two flexible ropes of sufficient length and a top hat or suitable container. If you are going to finish the ends, the recording shows the tools and the finishing work. You do not need to know another rope routine, but you do need to practice the knots and the sequence before performing.