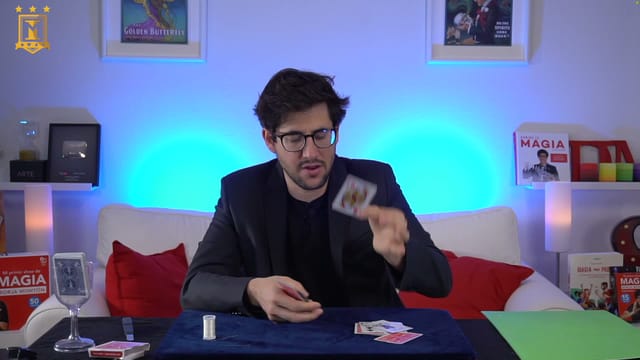
Rising Card: Two Versions with Elastics
Borja Montón explains two versions of the rising card, where a selected card slowly rises out of the deck. The lesson focuses on crafting the gimmicks, adjusting their strength, and handling them inside the case or within the deck. The construction is done step-by-step during the class, addressing common issues that arise when testing each version.
A Card Prepared with Elastic Thread
The first version uses a card rigged with elastic thread. The instructor links this system to a version popularized by Henry Evans and shows how to prepare a face card, punch it, thread the elastic, and secure the proper tension.
Elasticity and material thickness are compared. The goal is for the card to be inserted without bending from excess force while still having enough resistance to rise. The knot, its initial adjustment, and the final finish receive special attention: it is best to test the mechanics several times before trimming any excess.
He explains how to locate the prepared card, insert the selection, and perform the effect using the card case. This handling is also compared to performing it directly in the hands. Borja discusses the limitations of the gimmick during other shuffles and the risk of the thread snagging.
Two Cards and a Rubber Band
The second construction is attributed to the system described in Tarbell. It uses two cards, a rubber band, and staples. Aside from making the selection rise, it allows you to experiment with cards shooting out into the air to be caught in the hand.
The assembly includes making small cuts, placing the rubber band, orienting the staples, and flattening them. Emphasize holding the material firmly and minimizing any friction points that might become visible. The spacing between the cards and the overall tension are checked during construction and adapted to the rubber band being used.
A variant associated with Néstor Hato is mentioned as a reference for card productions in mid-air. The construction taught in this class is the rubber band and staple version; it is not presented as a complete explanation of that specific commercial product or all of its handlings.
Adjustment and Working Conditions
The speed and power of the rise depend on the materials and the tension. Fine thread is compared with rubber bands of different thicknesses, explaining why excessive tension can make it hard to insert the card or damage it.
Another important point is friction when pulling out the selection. In both versions, the prepared card or its companion pieces might drag along. This risk is reviewed during the demonstrations so it can be factored into your practice.
The opening performance shows a card rising slowly without holding the deck. That version is shown as a reference for the effect, but its method is not taught here. The two constructions covered require holding and controlling the deck. This study does not include external invisible thread setups or an explanation of the Haunted Deck.
Materials and Practice
You will need a standard deck with cards you can gimmicked, the card case, fine elastic thread, a rubber band, a needle or pin, a craft knife, a stapler, and a cutting mat. A ruler will help check your assembly. The brands of thread, rubber bands, and tools mentioned are just examples; the main criterion is that their features allow for a proper adjustment.
You do not need advanced sleight of hand, but you will need patience to work with small materials, adjust knots and staples, and test the path of the selection. Practice placing, rising, and removing the card as a complete sequence, watching out for any resistance or if any part shifts along with it.