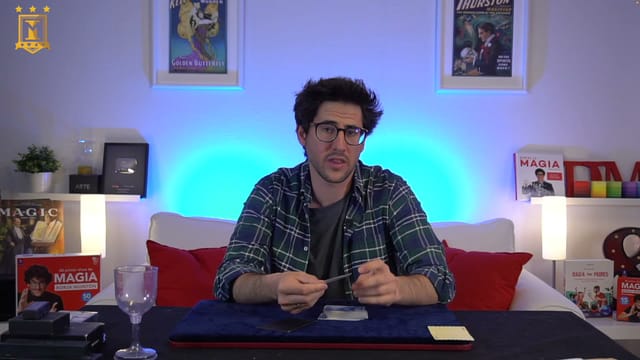
Haunted Deck and Rising Card with invisible thread
In the Haunted Deck, the deck appears to cut itself and ejects the chosen card. In the second routine, two selections rise from a deck placed in a glass. Borja Montón teaches both effects and uses a brief levitation as an exercise to get familiar with invisible thread.
First exercises with loops
The class starts with the elastic invisible thread in a loop configuration. He explains how to carry it in a resting position, set it up during a justified action, and coordinate the hands without pulling it too hard. A visible rubber band helps understand the placement before working with the fine material.
Levitating a card lets you practice anchoring and releasing the thread. The instructor suggests a brief suspension, followed by an action that brings the effect to a close. Other lightweight objects are mentioned as possible applications, without turning each one into an extra routine.
Different elastic threads are also compared based on their shine, strength, and performing conditions. The explanation stresses that no material eliminates the need to practice and choose a suitable environment.
Haunted Deck: setup, animation, and close
We work on a visible selection, anchoring it to the card and inserting it into the deck using a Charlier cut. The size of the packets, weight, friction, and hand coordination all influence whether the animation happens at the right moment.
Borja explains how to start cutting the deck slowly and control the card's exit. He compares this handling with another anchor around the set, paying attention to tension, the possibility of breakage, and the finishing situation. The close aims to let the spectator check the selection without dragging out the handling unnecessarily.
During the explanation, a thread breaks, which is used as an opportunity to show how to recover from the situation. He suggests carrying spares, removing any leftovers, resuming the patter, or switching to another effect. A threadless alternative is also briefly described as a backup, though the main focus remains the loop version.
Light, background, and clothing
You are taught to spot light sources and assess where a reflection might show up. Borja explains how to use your body to cast a shadow, the background behind the thread, and audience positioning. If you use spectators to block a light, remember that they can move.
Clothing with appropriate tones and patterns is studied as part of the visual environment. The lesson warns about the problems with direct light and backgrounds that make the thread stand out. These are criteria to test in each venue, not a guarantee of invisibility under any condition.
Rising card with reel and glass
After discussing a loop application for the rising card, he demonstrates and explains a version with two cards and a reel fixed to the table. The explanation covers loading and anchoring with magic wax, inserting the selections, and controlling the tension so no card rises prematurely.
The progressive rise of the first selection and a second revelation by moving the glass are studied. Hand positioning helps both control the movement and cover the thread. The close explains how to gather the cards, release the anchor, and leave the deck ready to continue.
Gimmicks, materials, and practice
An overview of mechanical and electronic reels is presented, referencing ITRs, Tarantula, Spider Pen, and programmable devices. The instructor compares their possibilities, constant tension, and different ways of fixing them. These are observations on the gear shown in the recording; you do not need all those devices to study the routines.
For the Haunted Deck, you need a deck and loops, preferably with spares. A visible rubber band can help you study the placement. For the second routine, you need a reel with suitable thread, magic wax, setup cards, a glass that fits the deck, and a surface to attach the device. The attachment demonstrated uses magnets.
It helps to know the Charlier cut and be comfortable with basic card handling. Practice placement, tension, and gathering before combining them with the presentation. The final comparison between thread types also reminds us that higher strength can increase visibility: test the specific material without jerking and avoid pulling it tight against your fingers.