Flap Cards: Construction with Elastic Thread and Applications
Flap cards allow you to visually transform the appearance of a card. Borja Montón presents several models and demonstrates the construction of a basic flap using elastic thread. The lesson combines practical applications, handiwork, and mechanism adjustments, also highlighting the difficulties that arise during fabrication.
What Possibilities They Offer
Examples are compared for a card change, a deck color change, producing cards from an apparent card case, a bitten card, and a pencil through card. A transformation performed while tossing the card into the air is also shown. These examples help illustrate the uses of the flap; not all of them include a complete routine or manufacturing instructions.
The explanation contrasts latex models with those made using elastic thread. Their speed, pull strength, thickness, noise, and wear are discussed. Detailed construction focuses on the elastic thread: the instructor shows latex models and explains their general principle, but does not build them during the class.
Bill-to-Card Routine
Borja explains a presentation where he wagers a banknote that he will find the selected card. After several apparent misses, the banknote and the card swap places in the scene. The presentation, the timing for directing attention to the hands, the revelation near the foot, and the disposal of the prepared prop are all studied.
The explanation utilizes a commercial flap which the instructor attributes to Henry Evans. It requires a force that the student already knows, a duplicate, and a banknote matching the presentation. During the explanation, it is clarified that the selection can be lost and shuffled after the force; for this version, controlling its position is not necessary.
Crafting the Basic Flap
Work begins with a double-backer and a face card. It is explained why the artwork of a face card makes it easier to conceal the joins and why it proves to be a more accessible starting option than a pip card. Center placement, cut thickness, and piece alignment all affect the final finish.
The demonstration covers scoring, light cutting, creasing preparation, gluing, and drying. Glue sticks are compared with a marker-style adhesive, and the importance of keeping the corners together without adding unnecessary thickness is emphasized.
Next, the holes are punched, and the elastic thread is rigged. The routing, knot position, and necessary tension for the flap to open and close smoothly are examined. The adjustment is tested before final fixing. The lesson repeats the setup on another card and shows how to touch up small white lines with colored markers matching the artwork.
Adapting a Banknote and Recognizing the Limits of the Setup
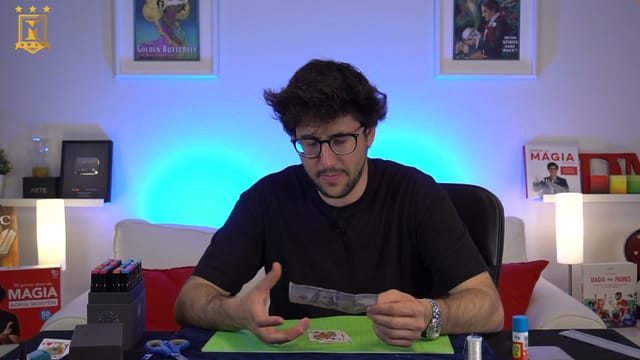
The second demonstration explores a homemade bill-to-card version. Prop money is used, its dimensions are compared to playing cards, and the setup, trimming of excess material, and edge finishing are shown.
The instructor mentions a version he already prepared with magnets, but in the on-camera build, he tries a different arrangement without installing them. The thread routing proves tricky to adjust, the thread snaps, and this second piece does not end up working as an automatic flap. The explanation serves to analyze that problem and the decisions that would need revisiting; it does not present a second successfully finished mechanism.
Materials and Practice
For the basic flap, you need poker-size playing cards, a double-backer, a face card, fine elastic thread, paper-safe glue, a fine needle, a hobby knife or precision blade, a metal ruler, scissors, and a cutting mat. Fine-tip markers help touch up the joins. To explore the banknote variant, prop money and a stronger adhesive are also used.
It is best to start with flat cards from incomplete decks, allow enough drying time, and keep spare materials on hand. Fabrication requires patience and precision; wear and tear and thread breakage are all part of regular maintenance. The forces and palms used in the presentation are assumed knowledge, whereas the construction of the basic flap is explained step-by-step.